I just swapped a set of 4 leather seats into my 2000 SC1. The seats are leather and came from a 1997 SL2.
I came across some issues that I didn’t expect, so thus, a quick picture tutorial.
This should prevent you from destroying your seats while trying to swap them. However, if you do destroy them, or cut a finger off, or something dumb like that, it’s your own fault, not mine.
Tools
1/2 drive 18mm socket and ratchet
E10 Socket, short extension and appropriate ratchet
Medium sized flatblade screwdriver
You might need:
Breaker bar
Air tools
Phillips screwdriver
Procedure
Step 1
First of all, the front seats. Supaaaa easy. I’ve heard they are held in place by a T50 torx bolt, but on my car, I needed an E10 socket to remove the bolts, which is the mating opposite of a T50….so, check. If the bolt is male, get the E10. There is one bolt under each corner of the seat, and it lifts out. Make sure to disconnect the driver’s side seatbelt harness.
Step 2
Remove the rear seat by wiggling back and forth and lifting. Push the seat backs towards the middle of the car to release the outside rod, and then lift them out.
Step 3
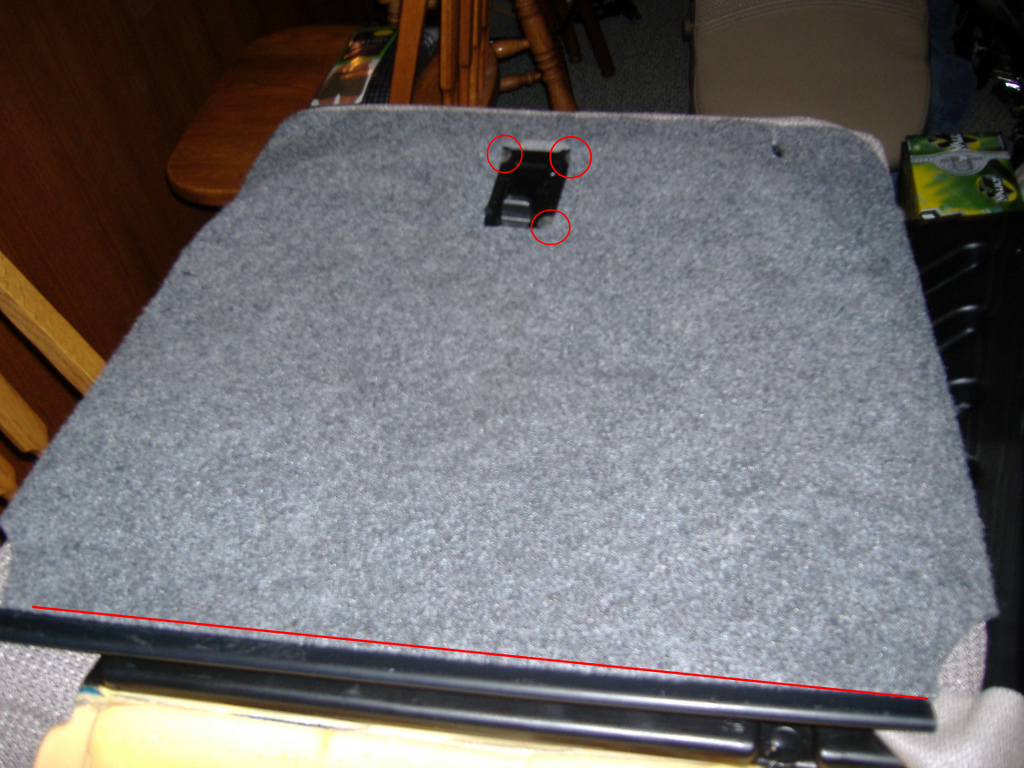
Remove the plastic risers underneath the seats via 18mm socket. They’re on there pretty good…air tools are recommended. Switch to the appropriate riser, either coupe or sedan, and refasten the 18mm nuts. Attach the new seat bottom.
Step 4
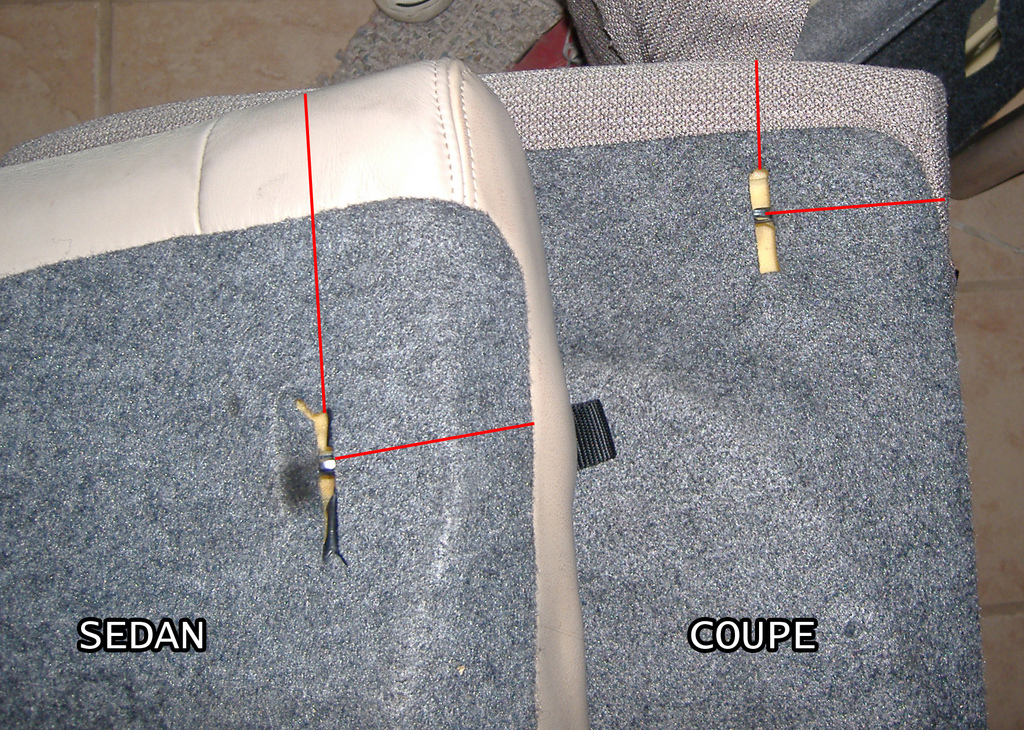
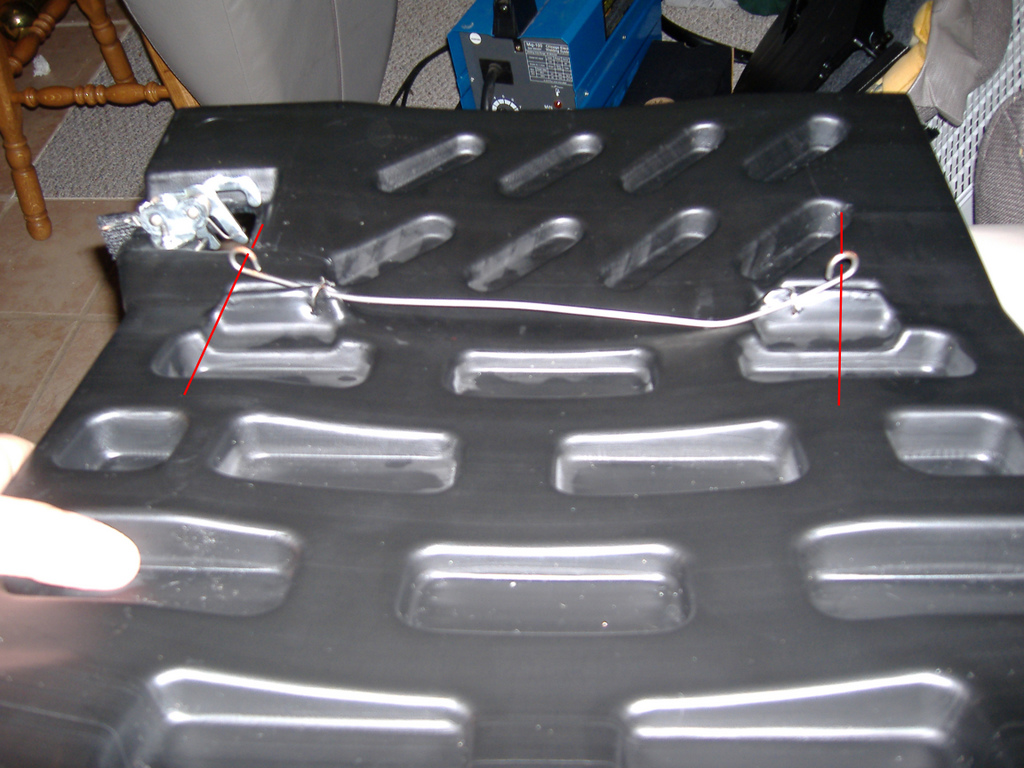
Problem arises when you notice that the latching positions are different from the sedans to the coupes…
The sedan backs are also slightly taller.
We’re going to swap the seat cores between the two seats so that they latch correctly.
Begin by releasing the double J clip at the bottom of the picture. If your seat has a locking thingy, pop off the cover with a flatblade and remove it via the three phillips screws.
Step 5
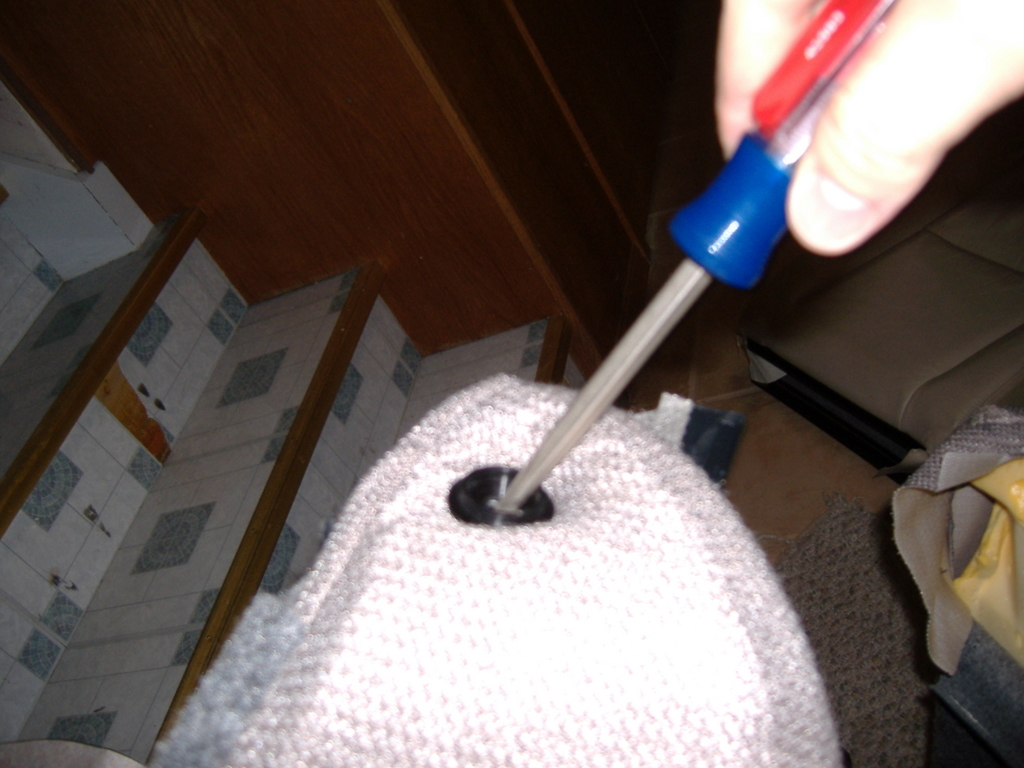
Remove the seat pivot bushing. The easiest way I found to do this is to put your flatblade in pretty shallow and just pry. It will pop out.
Step 6
Open the two rings at the bottom of the seat.
Step 7
Pop the staples out of corners, revealing them.
Step 8
Pull the rod out of the fabric and get the core out as much as you can.
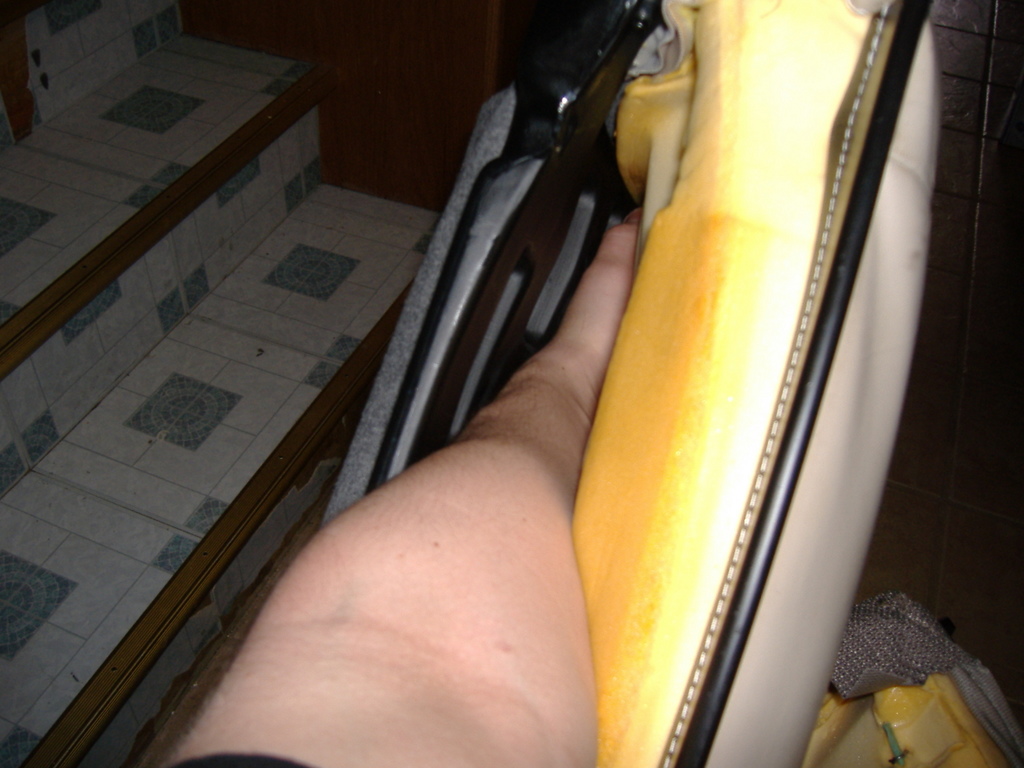
Step 9
On one set of my seats, I was able to pull the core out at this point. However, on the other set, there was a locking thingy waaayyyy down inside.
Reach way back there and pull the loops off the ends of the rods (up in this picture). Not sure why this part is there…except to completely enrage me until I figured it out. This was obviously much easier on the 60 part than the 40 part.
Step 10
Slide the core from your old seat into the back of the new seat.
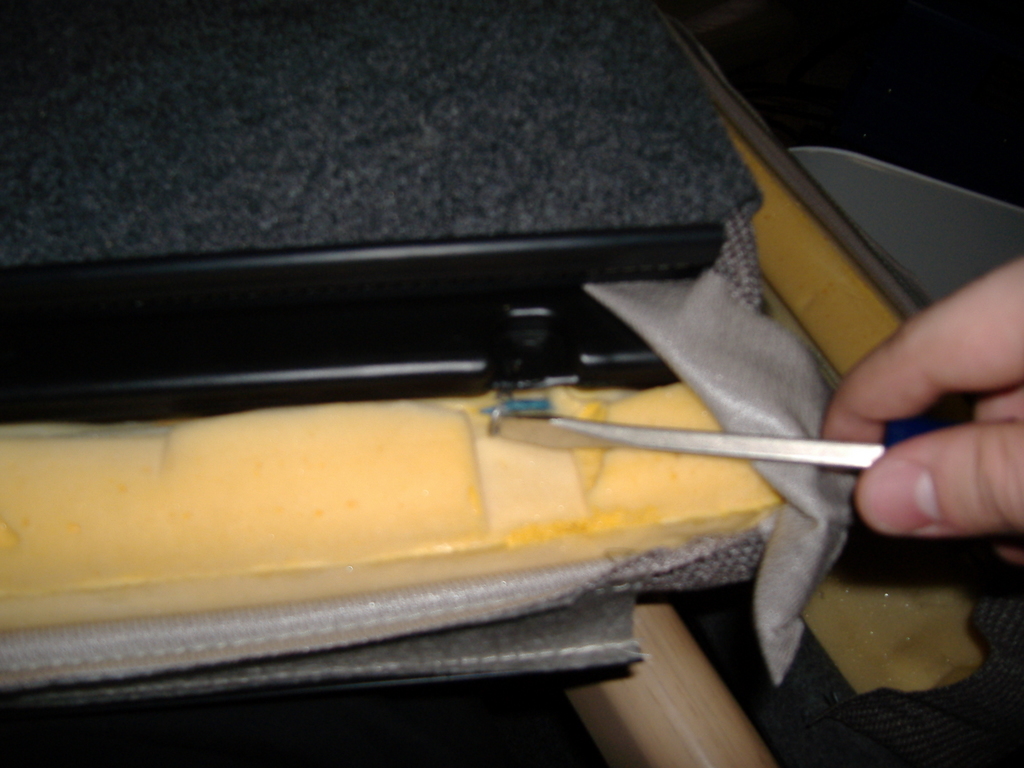
Step 11
Make a cut here
so that it latches. The easiest way I found to do this was with a razor blade. Don’t cut your seats!
Step 12
At this point, I just snapped the J clips back together and reinstalled the bushing and the seat held together just fine. If you want to go back and reconnect all those obnoxious clips, go right ahead.
Using the old hole and reaching through the hole in the side of the seat, run the strap for the seat release back to it’s original location. You may wish to extend this, as it has become shorter after we moved them farther in.
Step 13
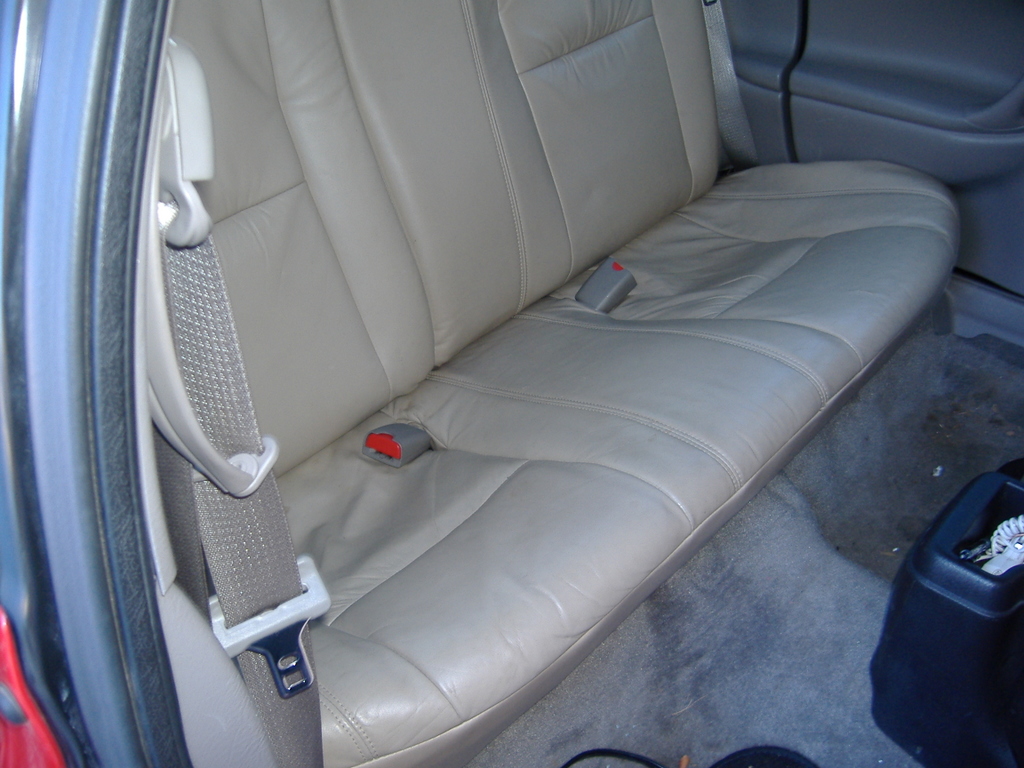
Reinstall the backs.
Success!
I’d be happy to answer any questions just PM me on sixthsphere.com!