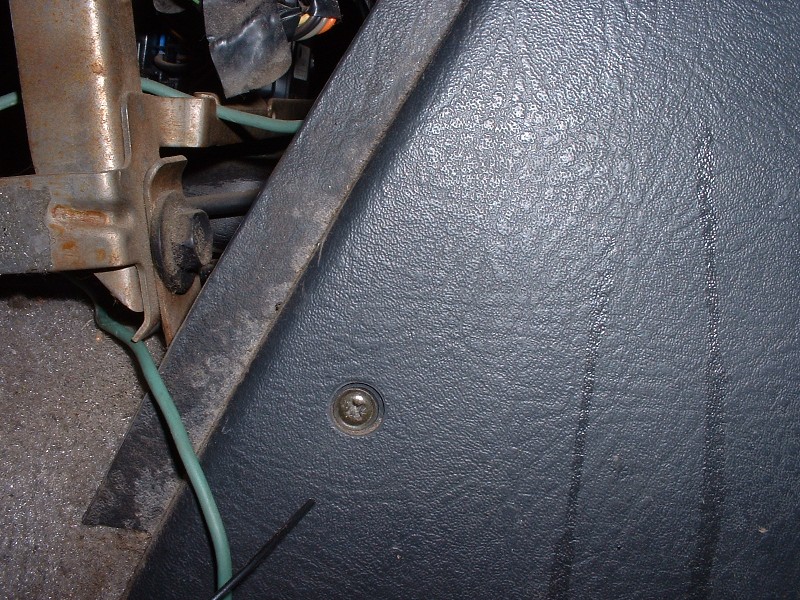
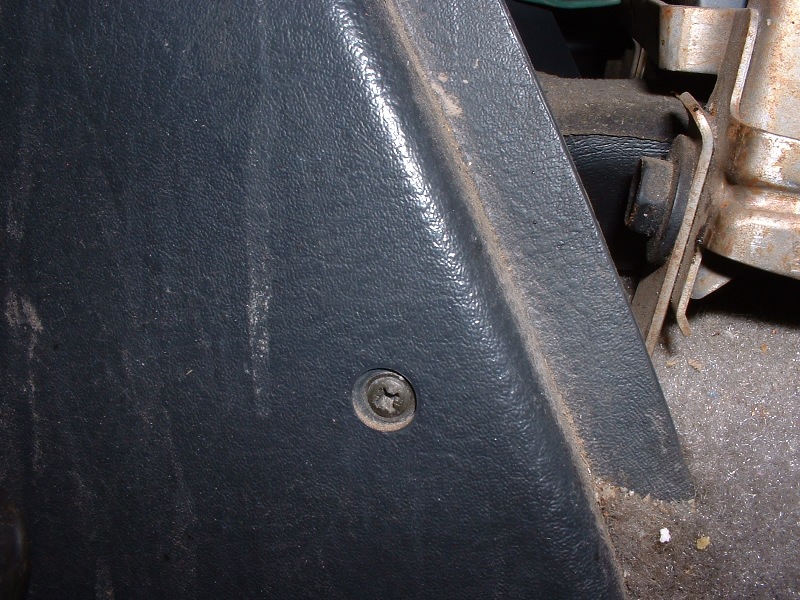
If no center armrest is installed, remove the 2 screws at the rear of the console. The same screws are used to hold down the console or to hold down the armrest – 2 phillips screws.
If you have manual windows, I think you can just leave the little tray in.
Step 3
Remove screws at the front of the console. To get at the screws, you’ll pop the little black piece from in front of the fuse box on the passenger side (just grab & pull from the top), and the same piece on the drivers side. There is one phillips screw on each side.
Step 4
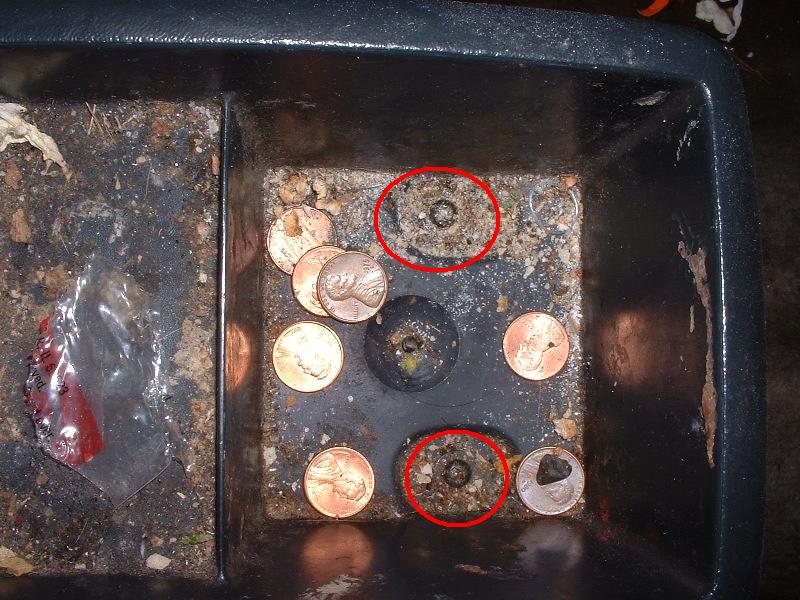
Remove ash tray. It lifts right out
Step 5
Unclip ash tray light. This thing holds on tight, but should unclip when pushed downward.
Step 6
Remove the cover in the lower center part of the console. Lift from the e-brake handle end. 2 clips will pop loose.
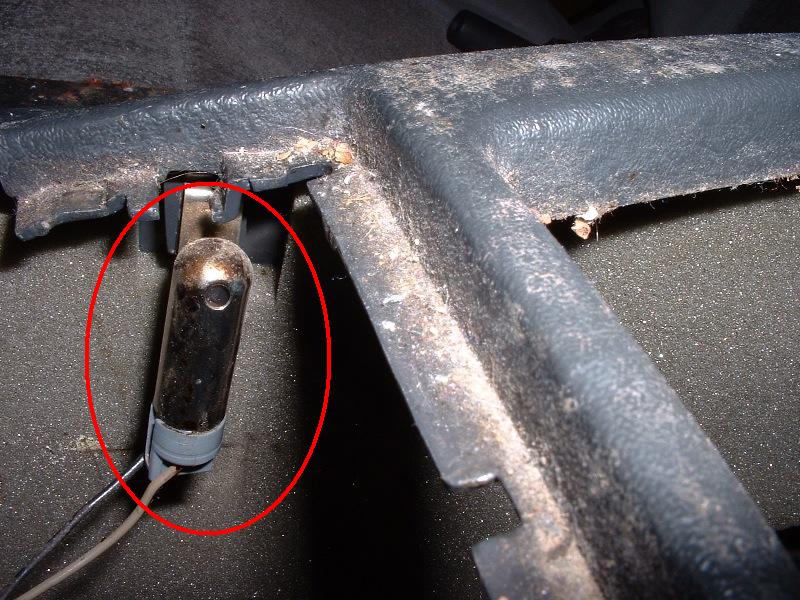
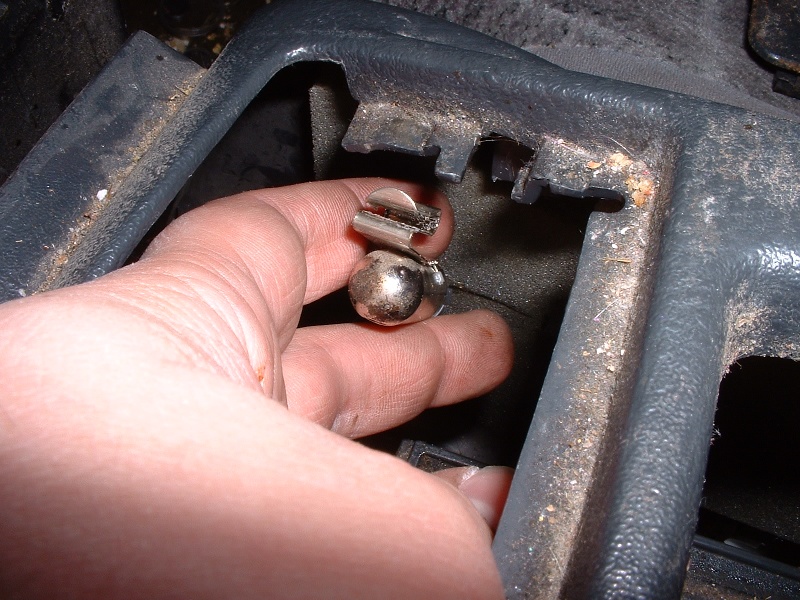
Pop the seatbelt guides loose. You can get these loose from the outside if you can get a screwdriver in behind the top of the guide, or you can lift the console up some to get underneath and push the guide out from inside the console.
Step 9
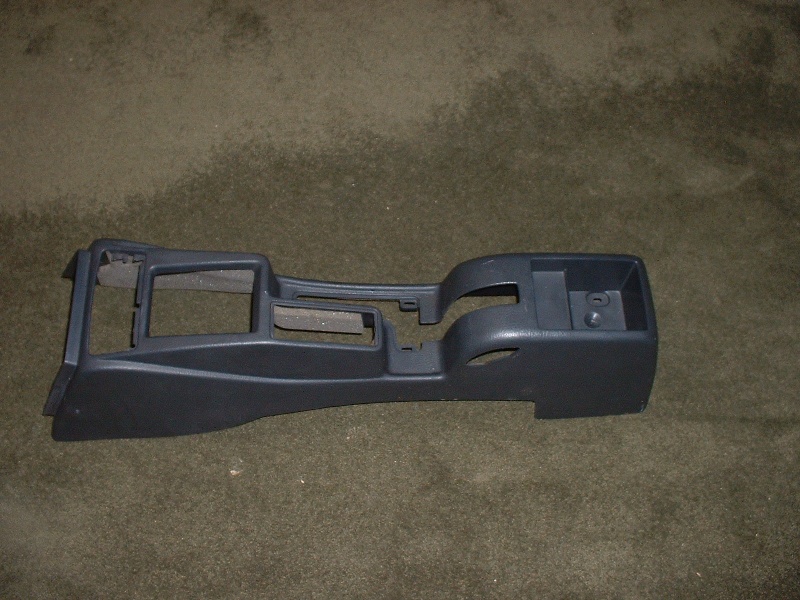
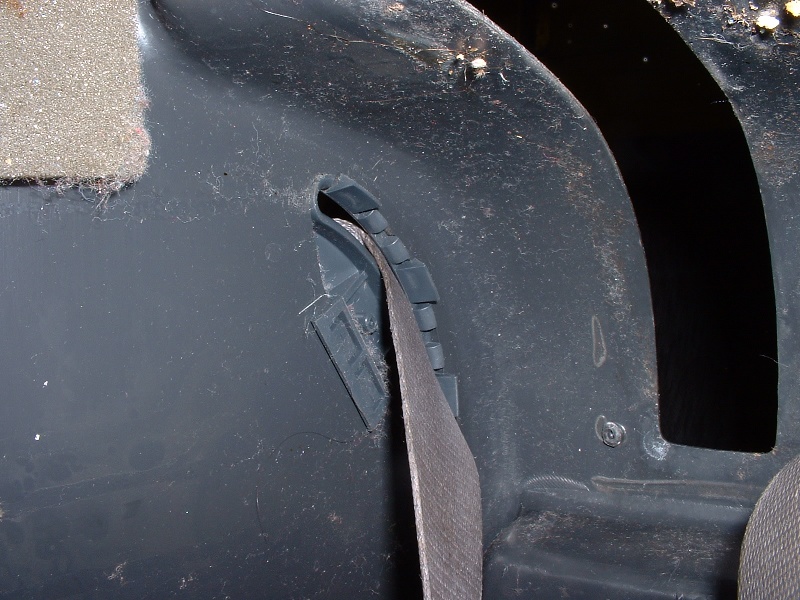
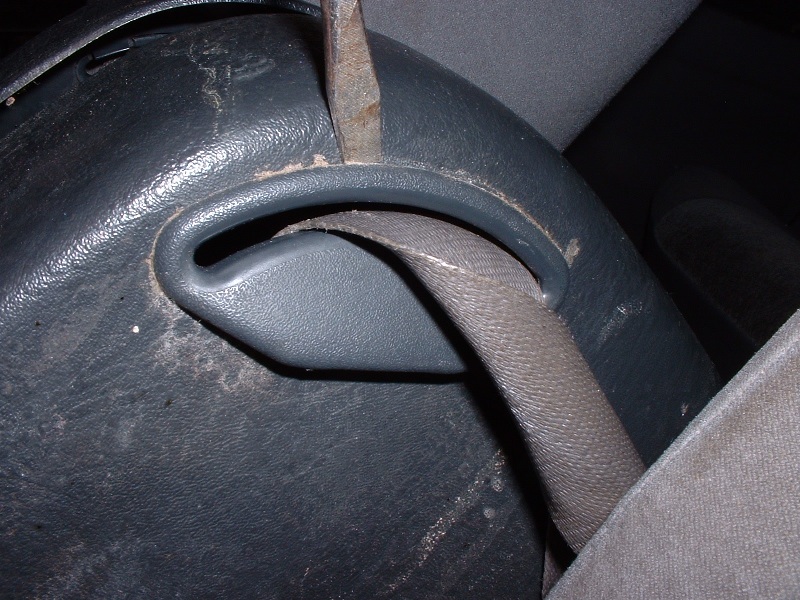
Snake the seatbelts and guides through their holes, and remove the console.