Locking pliers or large hex keys (depending on your bar)
Wrenches (size depending on your bar)
Installation
Step 1
Park the car on a flat, level surface and open the hood.
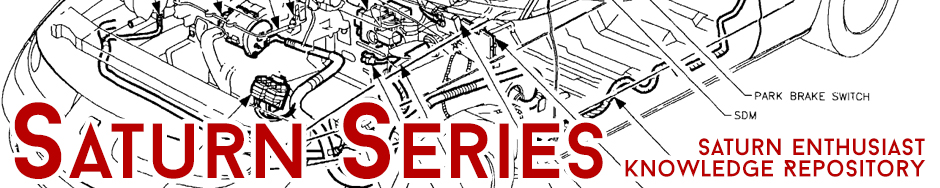
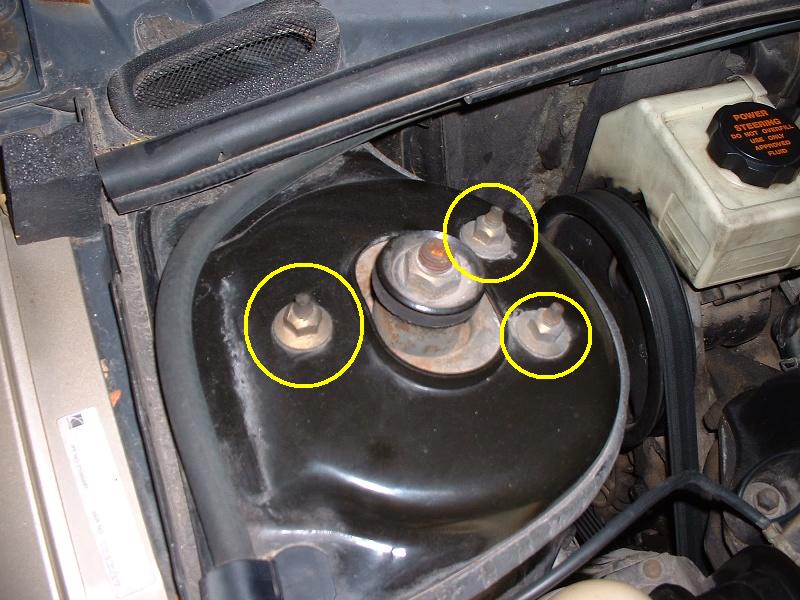
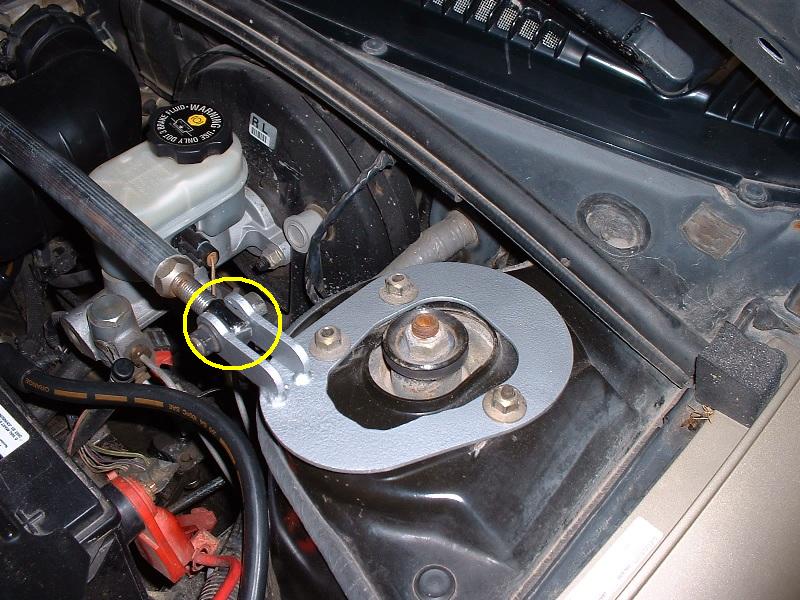
Step 2
Remove the strut to body nuts. There are 3 of these on each side. They are 13mm, and the studs they are on may interfere if you use a shallow socket, so grab a deep one if you have it.
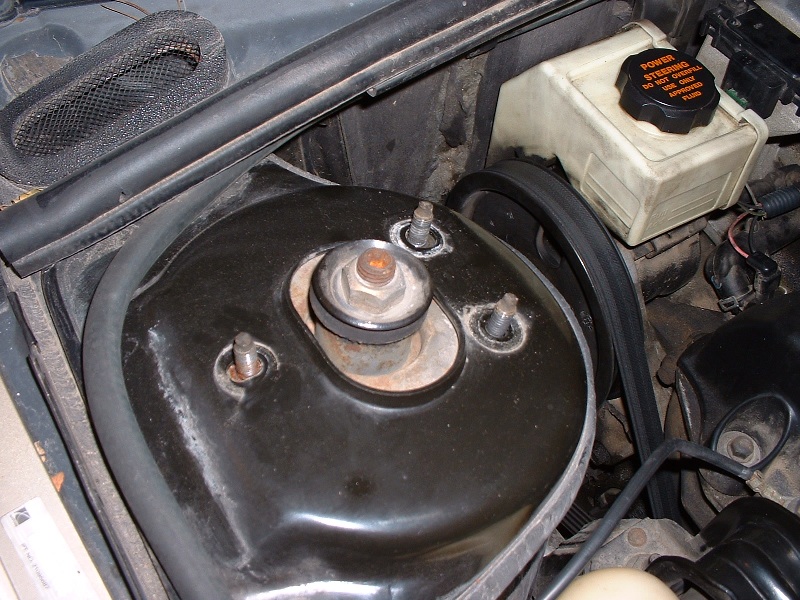
Step 3
Remove the strut bar from its end brackets. This is for adjustment purposes – if your bar is already adjusted (for example if it came off another S-Series), then you can set the bar in place, and skip to step 8.
Step 4
Loosen the length adjustment nuts on each end of the bar. This will let the end links be loose so you can adjust the overall length of the bar.
Step 5
Install strut bar end brackets. Just hand-tighten the strut to body nuts for now.
Step 6
Loosely install one end of the bar to its end bracket.
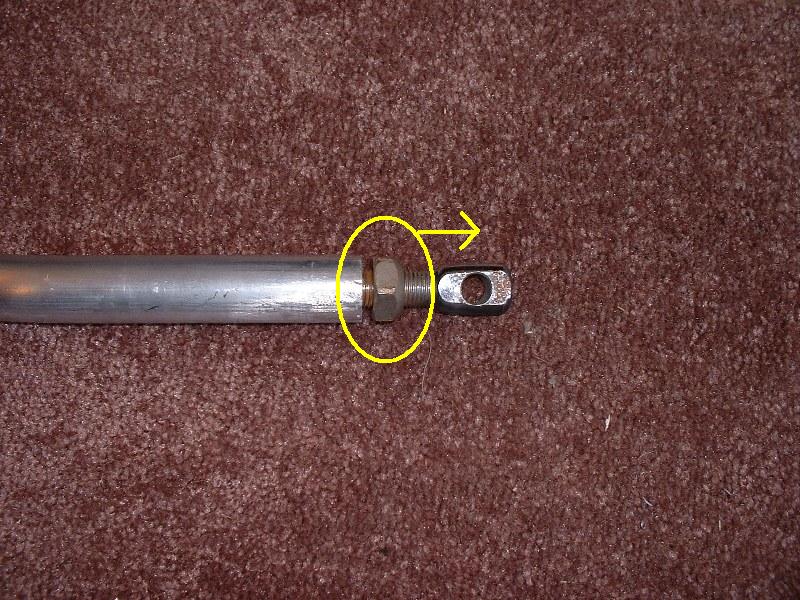
Step 7
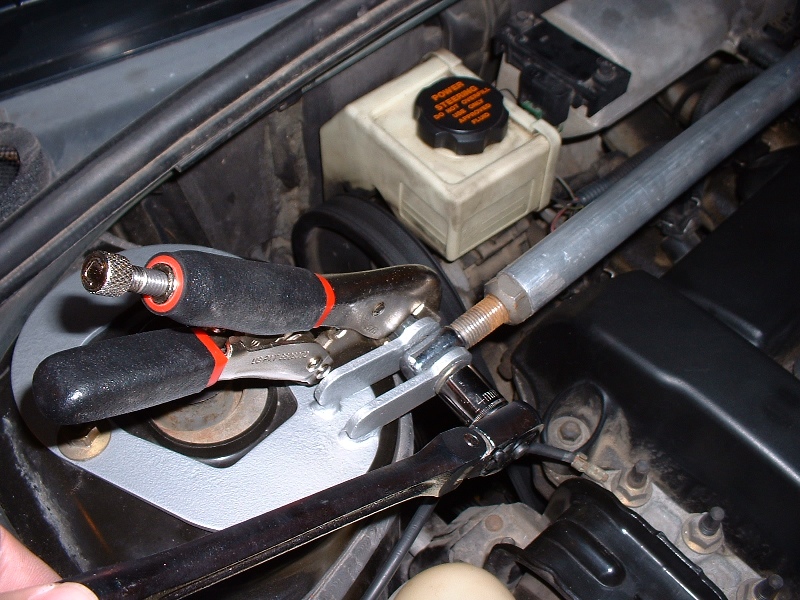
Adjust the bar length. Bit by bit, adjust each end link by spinning the loose end link, or spinning the whole bar to adjust the attached end link. It is likely that one end link will have reverse threads. By adjusting both, you can ensure the bar is centered, and that one end won’t be more loose than the other. Once the hole in the end link lines up with the end bracket, loosely attach it.
Step 8
Tighten things up. Start with the strut to body nuts – tighten them to 21 ft lbs. If you don’t have a torque wrench, 21 ft/lb is not very tight – just snug the nuts up. Over-tightening can result in snapping a stud. With both struts tightened up, go ahead and tighten the nuts in the bar, both for attaching the end links, and for adjusting the length.