Remove / Install Power Window Switch (1995-1999 S-Series)
Author: Jonathan Swain (aka "PurdueGuy")
Relevant Models
All 1995 – 1999 S-Series with power windows
Note
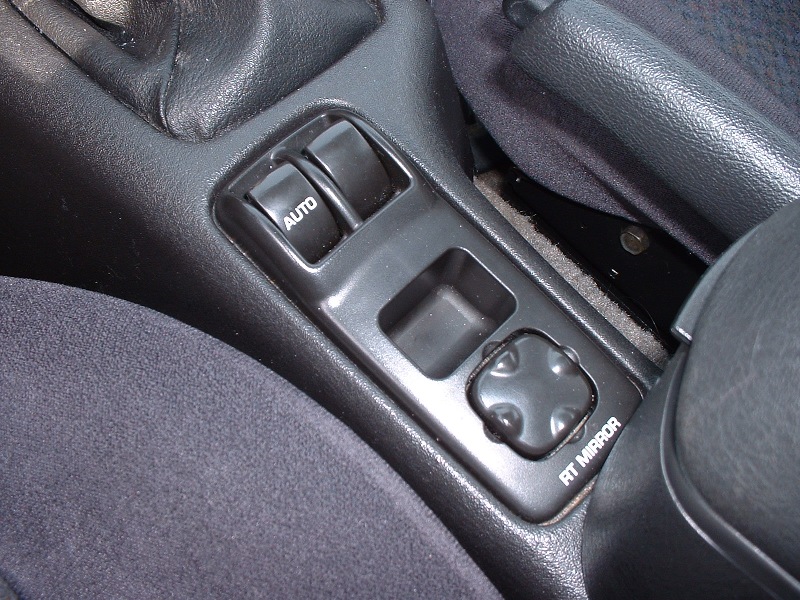
The pictures for this DIY guide show the 2-switch assembly for the SC models. The procedure is essentially identical for the SL & SW models, but there are 2 more switches in the assembly and a larger plugin on the bottom of the switch.
Tools
Rag (optional, but recommended)
Flathead screwdriver (stubby works great) or other prying tool
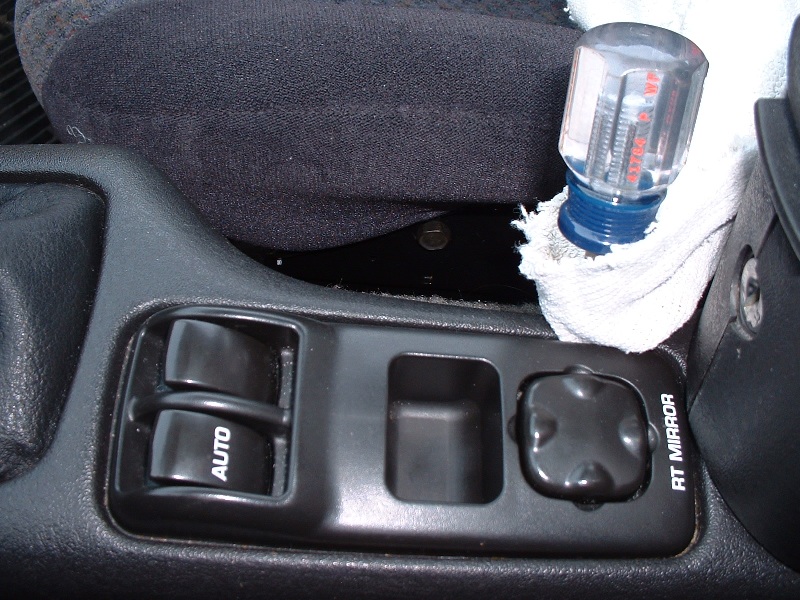
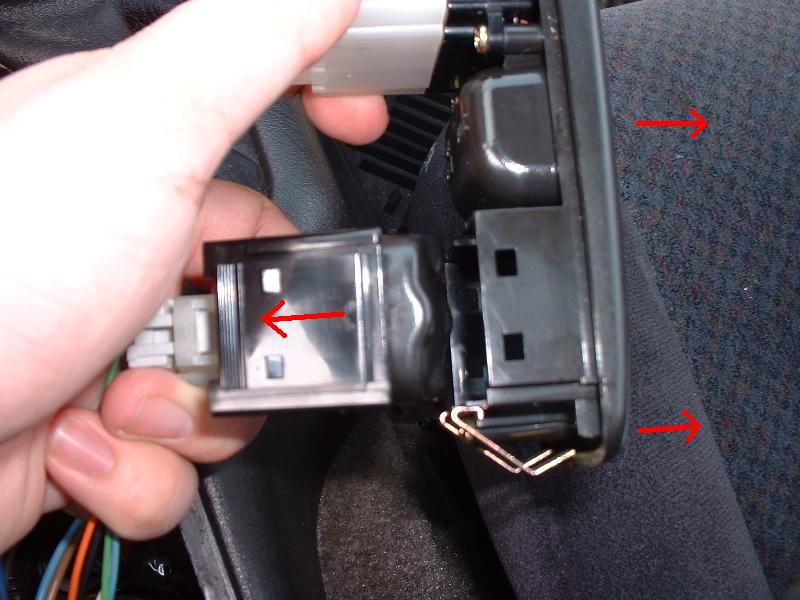
Pry the back end of the switch upward. Put your rag around the end of the prying tool (to prevent scratching), carefully wedge it under the edge of the back end of the switch, and pry upward. The prying needs done on the back end, because the front end is held with a tab, where as the back end is held in with spring clips.
Step 2
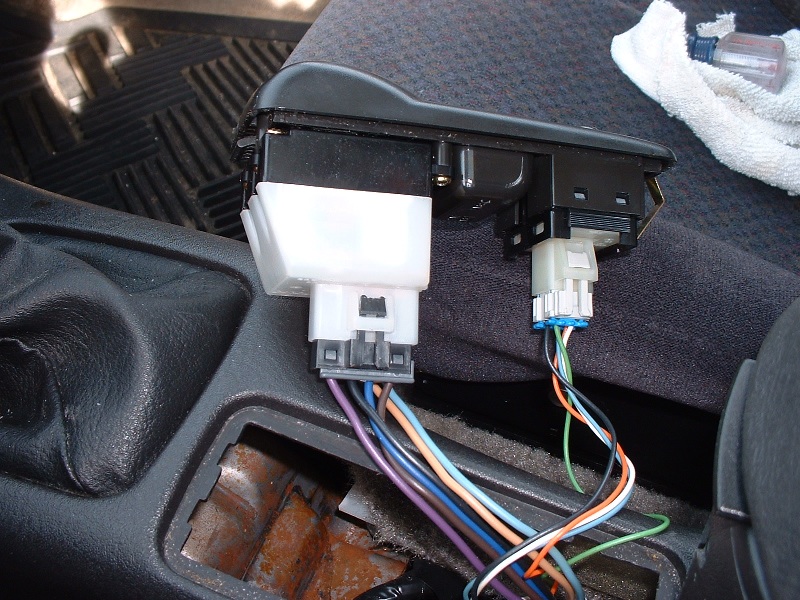
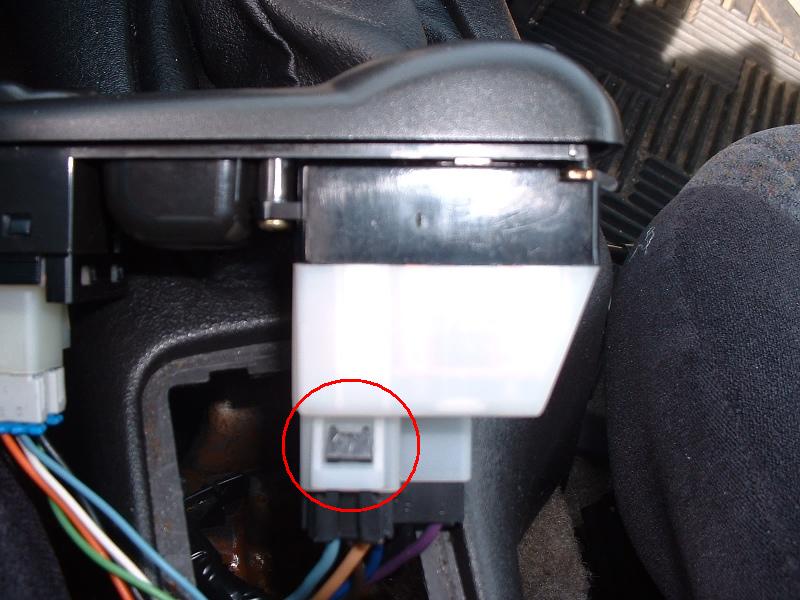
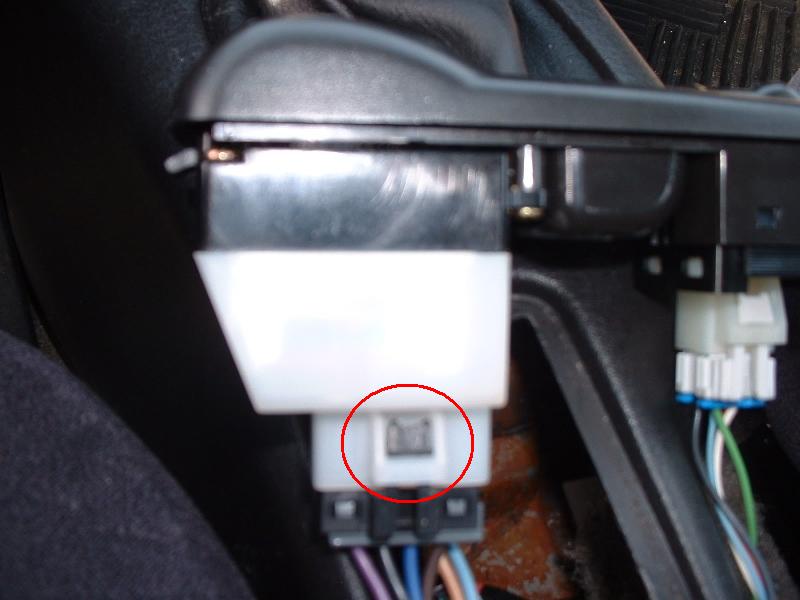
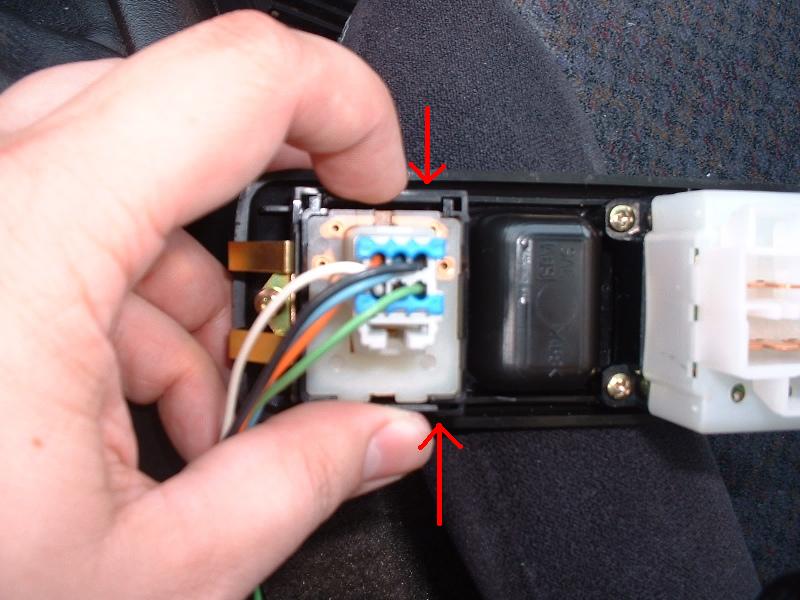
Unplug the wiring harnesses. There are 2 wiring harnesses for the window switches (they’re larger than pictured if you have an SL or SW). You should be able to use your prying tool, or even your fingers to dislodge the clip for each and unplug them.
Step 3
Remove the mirror switch. You can unhook the wiring harness from the mirror switch just like the ones for the window switches, or you can even more simply unclip the whole switch from the surrounding plate. Just squeeze on the tab on each side of the switch assembly.