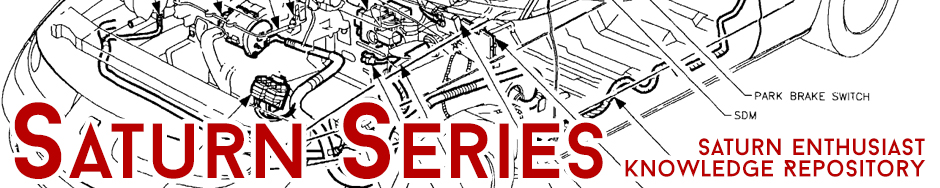
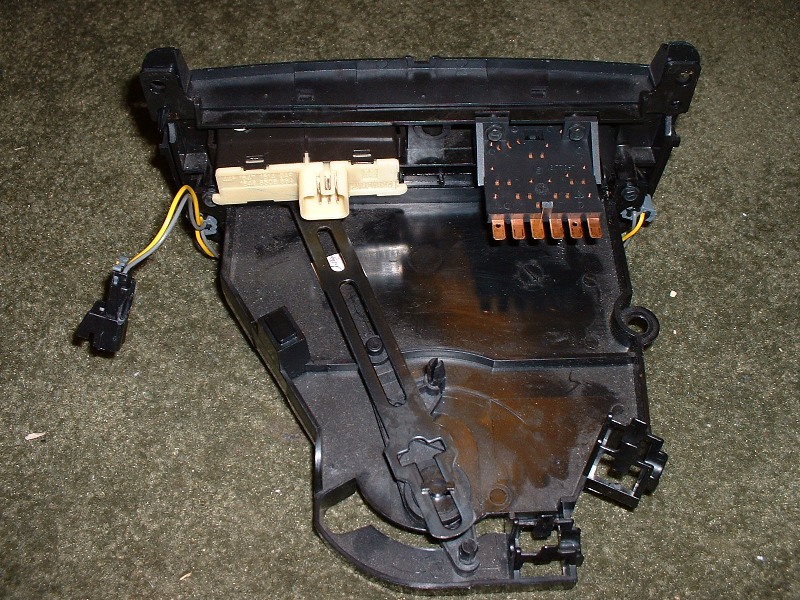
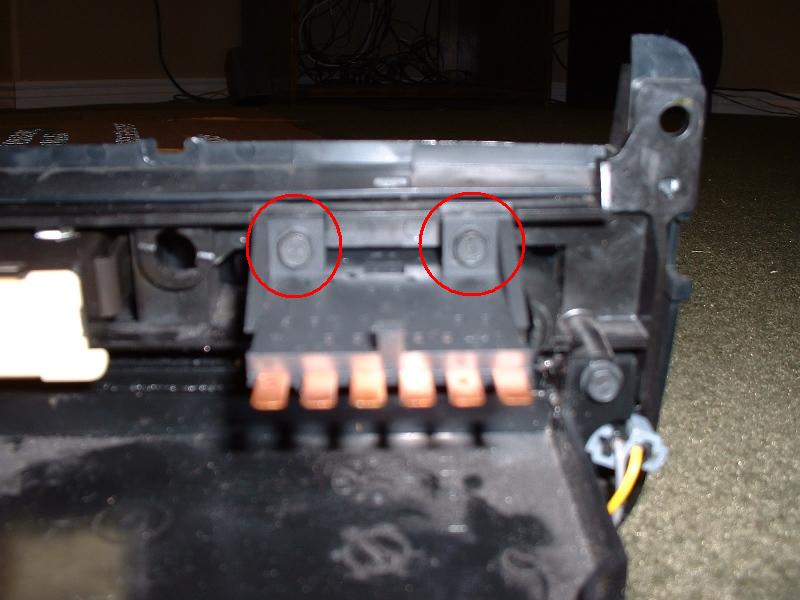
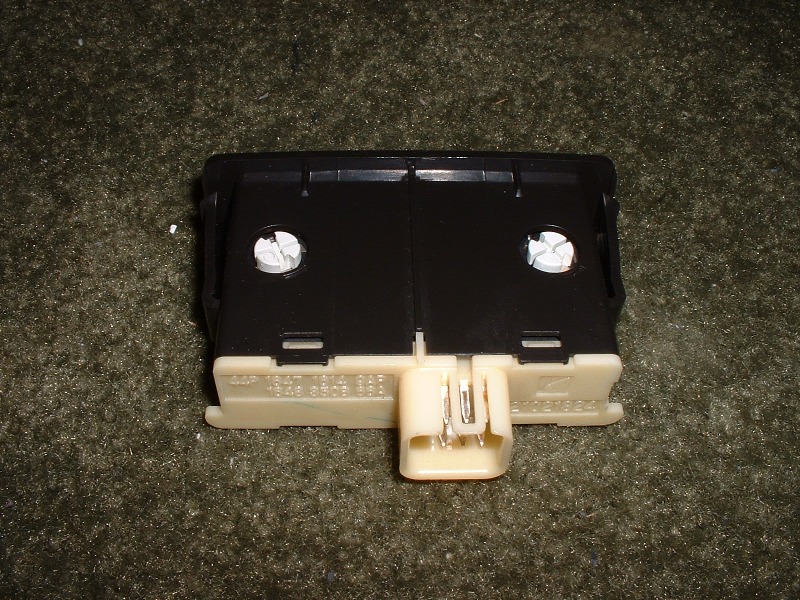
Remove the two 1/4″ screws (I have no idea why these aren’t metric like the rest of the car) and remove the switch out the back of the HVAC control panel.
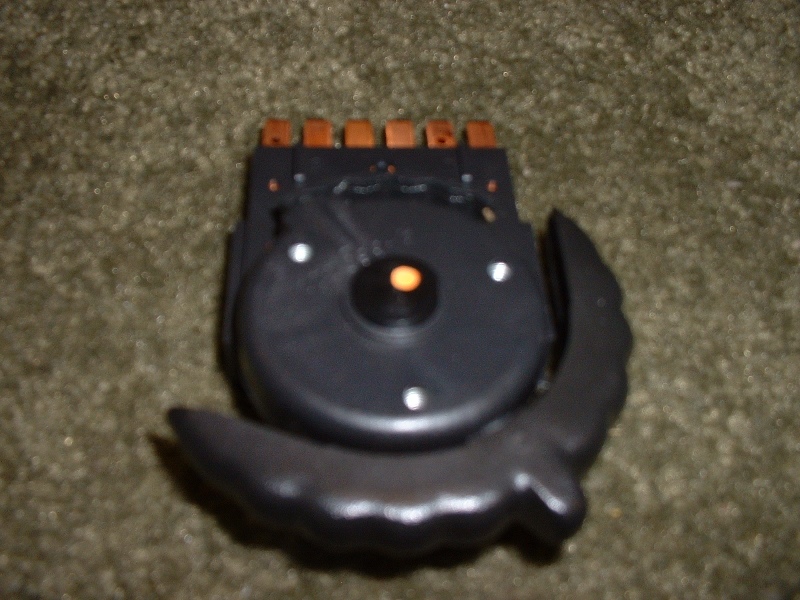
Fan control switch:
Dismantle Fan Control
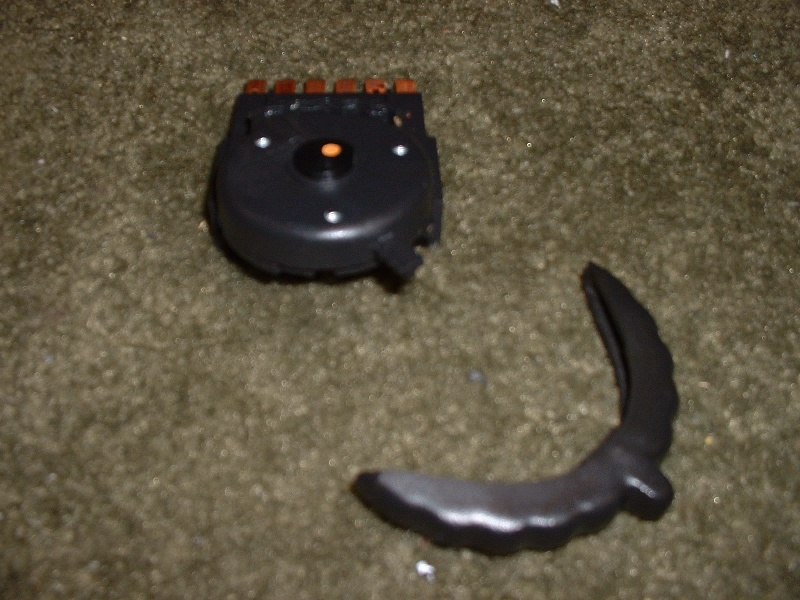
Step 1
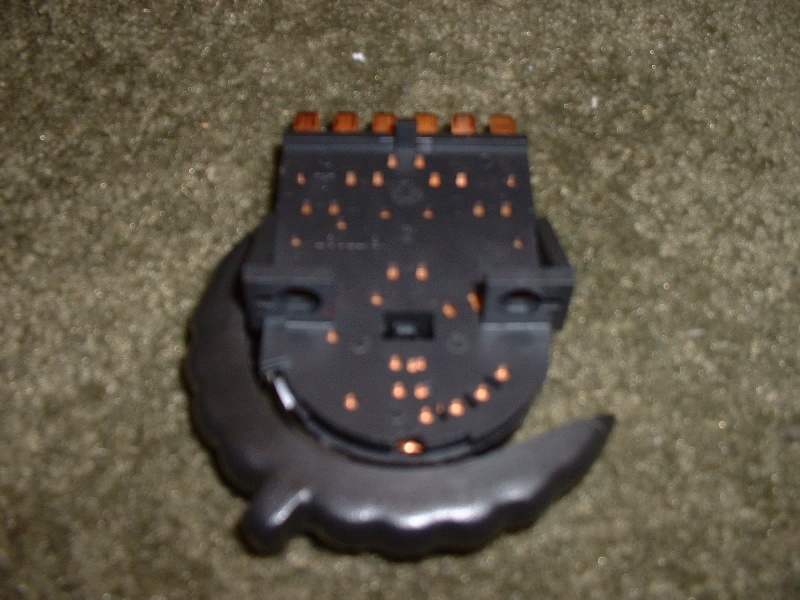
Remove the curved switch. Just pull straight out.
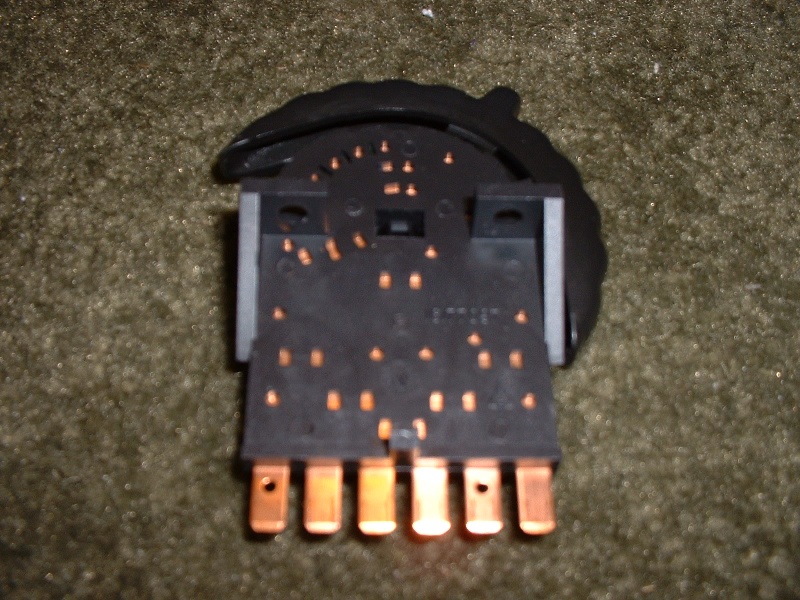
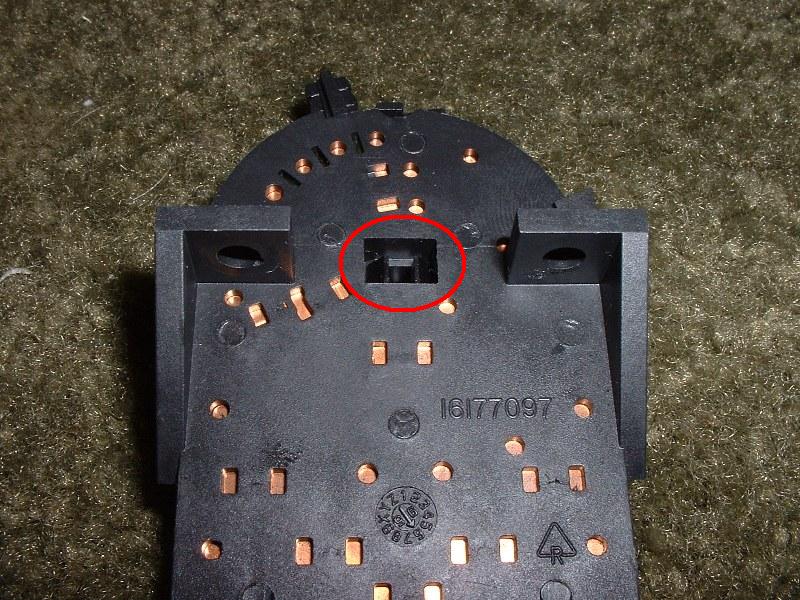
Step 2
Remove center retaining pin. Squeeze the two tabs together from the top of the switch assembly (can use a small flathead screwdriver, or some needle nose pliers) to release the pin. Get ready to catch small parts!
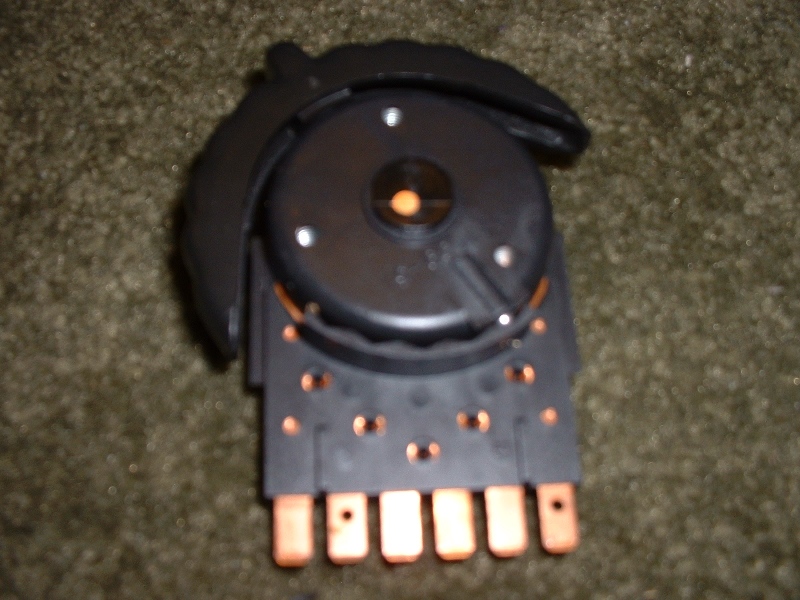
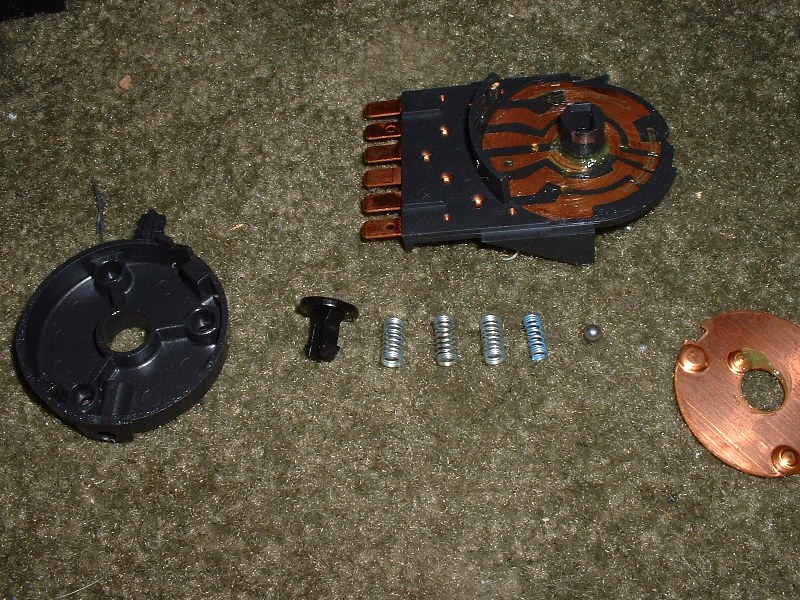
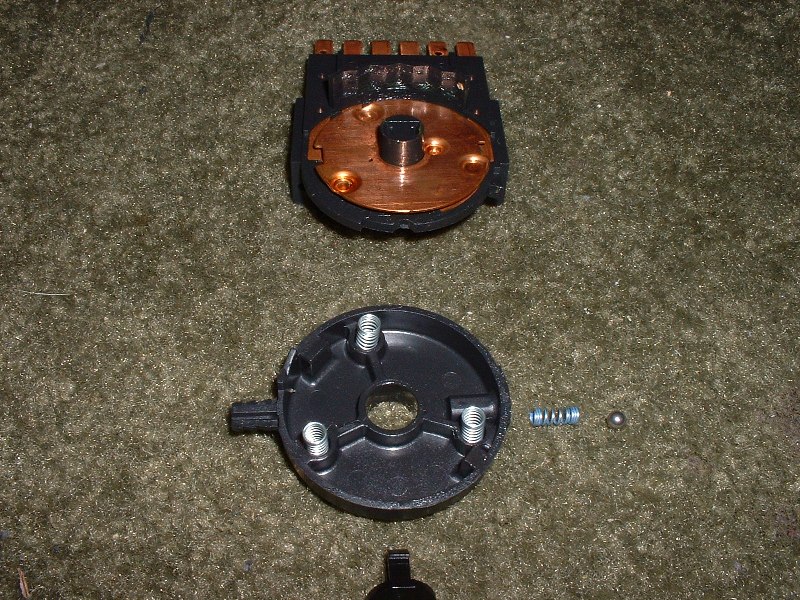
Resulting Parts
Resulting parts: -3 identical springs -1 smaller spring -plastic pin/clip -ball bearing -metal disk -plastic disk/housing -base with circuit board
Reassemble Fan Control
Step 1
Place 3 larger springs in the plastic disk. There are round indentations for them. You do not need to place the metal disk on the circuit base yet, despite it being there in the picture.
Step 2
Place the metal disk on top of the 3 springs. There are round indentations for them on this disk as well. Also pay attention, as there are notches in the metal disk that line up with parts of the plastic disk.
Step 3
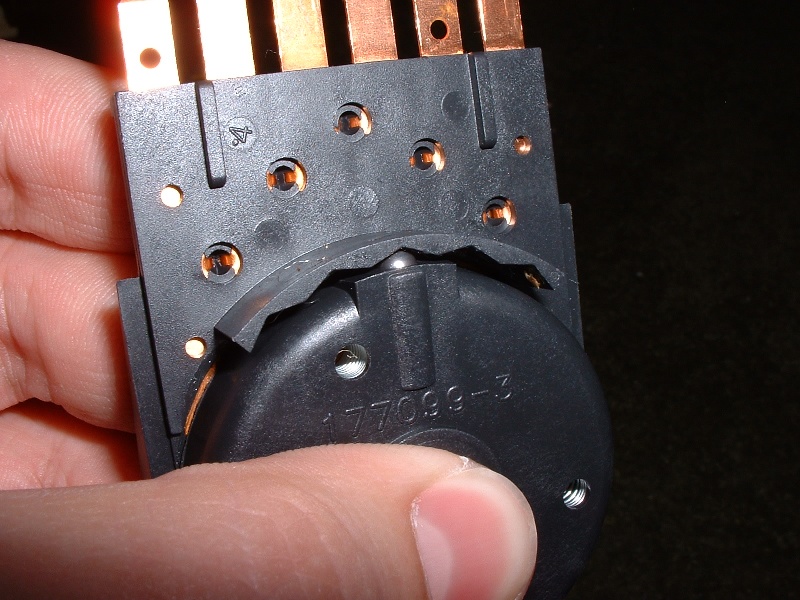
Place smaller spring and ball bearing into the plastic disk, and place the assembly onto the circuit base. There is a hole in the side of the plastic disk the spring and ball go into, as seen in the picture above. The spring goes in first. You will have to hold them in place while you carefully slide them onto the circuit base, with the ball nesting into the notches as seen below.
Step 4
Insert the retaining pin into the center of the plastic disk. It should click into place.
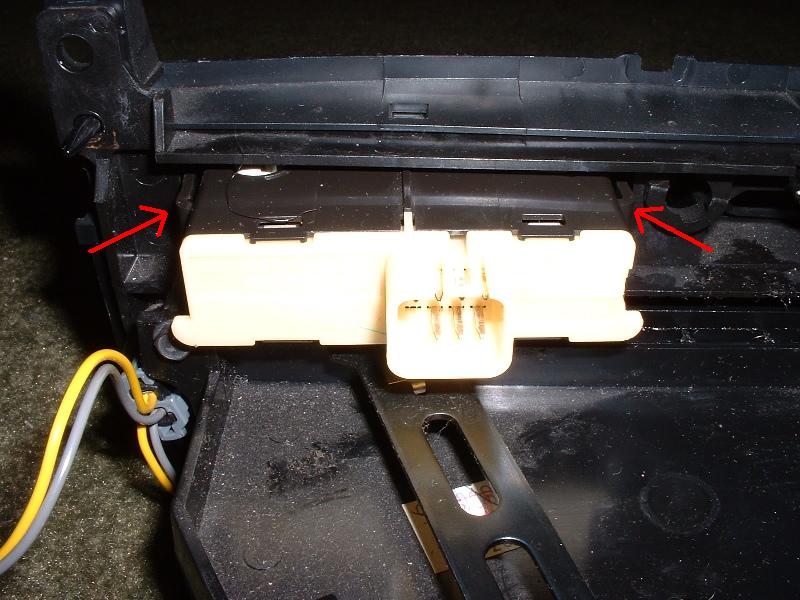
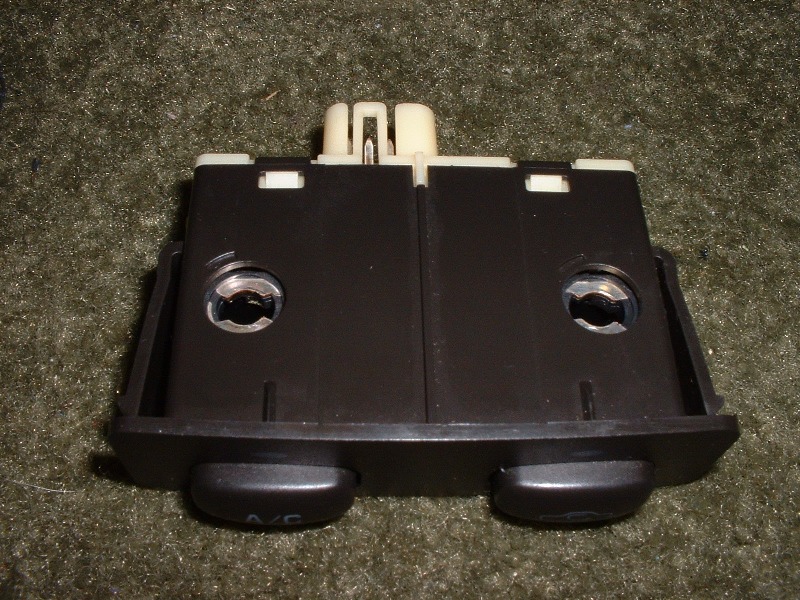
Remove AC and Recirculation Buttons
Step 1
Squeeze the tabs on each side of the assembly. You can probably do this with your fingers. If not, a good size flathead screwdriver will make it an easy job.
Step 2
Slide out the front of the HVAC control assembly.
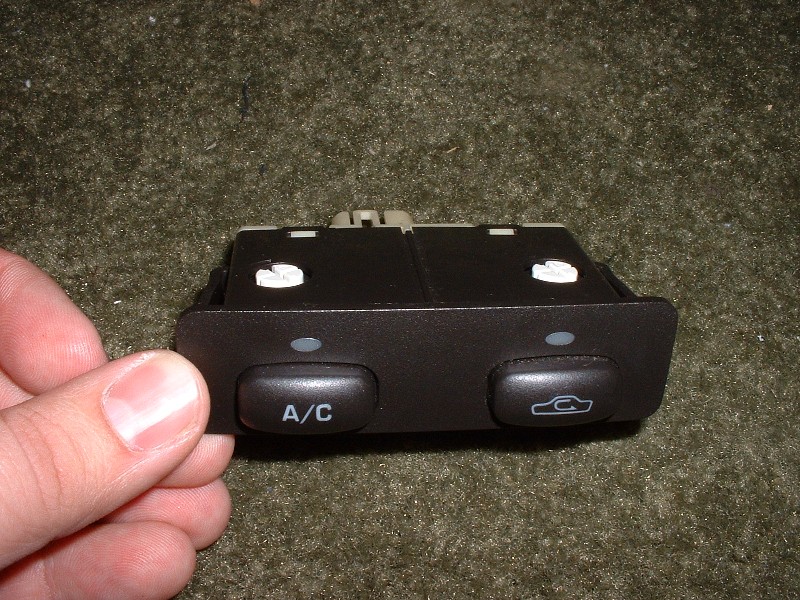
AC/Recirc button assembly:
Remove AC/Recirc Buttons from Housing
Step 1
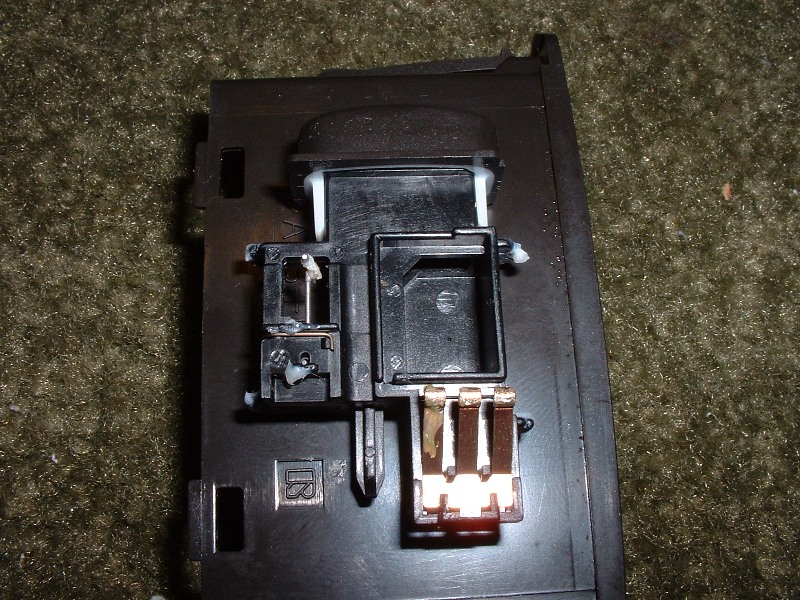
Remove light bulbs. Use a flathead screwdriver and turn the bulb about a quarter turn.
Step 2
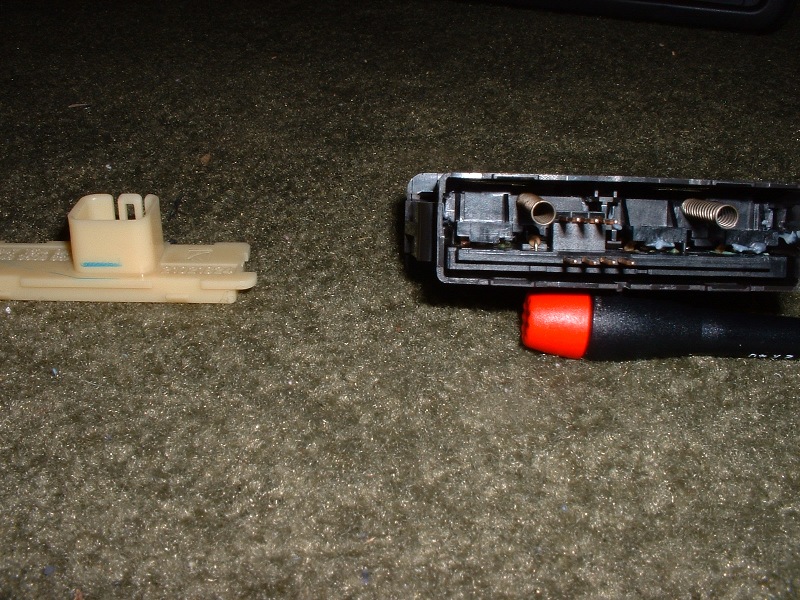
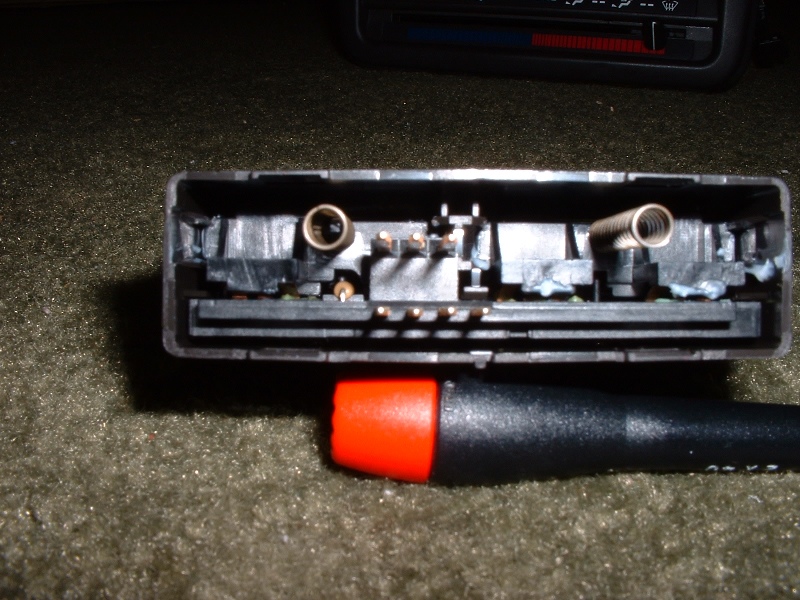
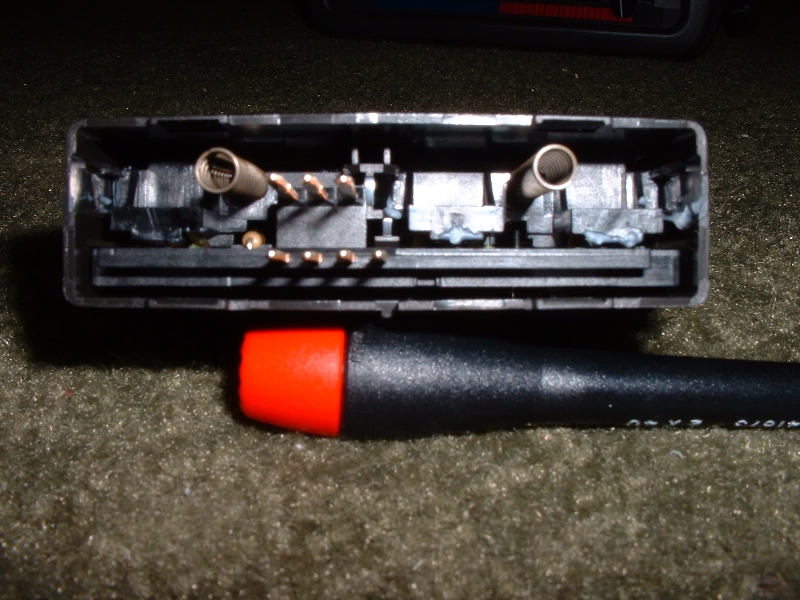
Remove the rear face. Use a flathead screwdriver to gently pry the tabs loose, and pull the rear face off, being careful of the wiring harness pins. (Assembly propped up in pictures by a screwdriver for better pictures)
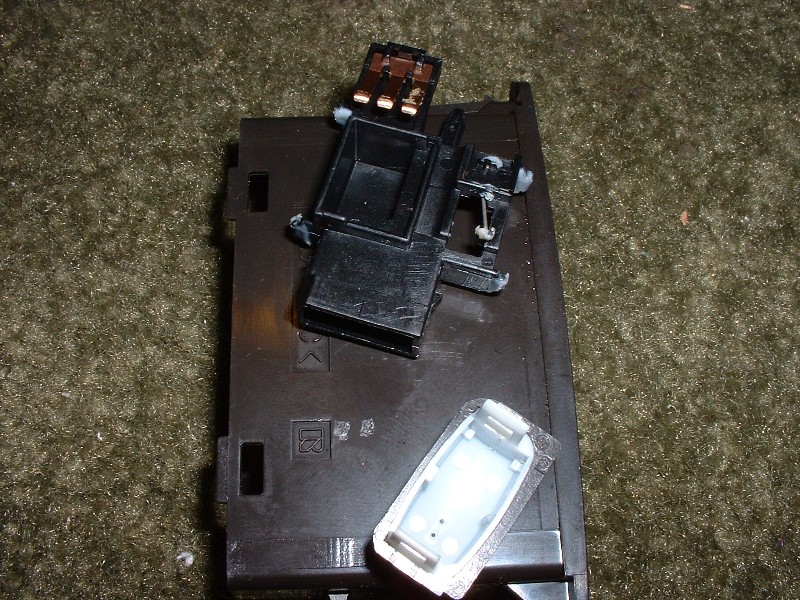
Step 3
Remove the buttons from the housing. Remove the two springs from the back of the assembly. Then press in on the buttons to start pushing the innards out of the housing. Then as you can reach the base of the innards, pull it the rest of the way out.
Step 4
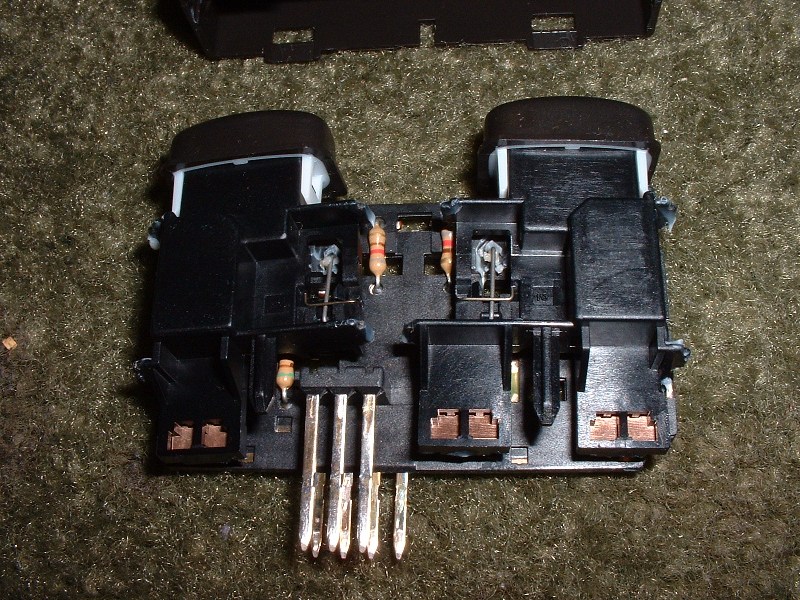
Remove the buttons. They just lift off. The button face can be popped off with a small flathead screwdriver – there is a tab on each side of the button. (shown resting on top of the housing to keep carpet fuzz out of the lubricants on the buttons)
Reassemble AC and Recirculation Buttons
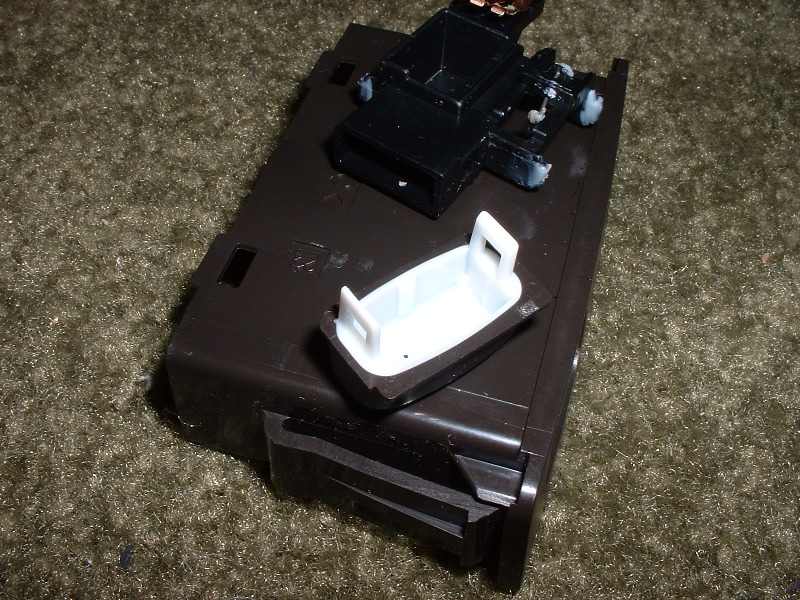
Step 1
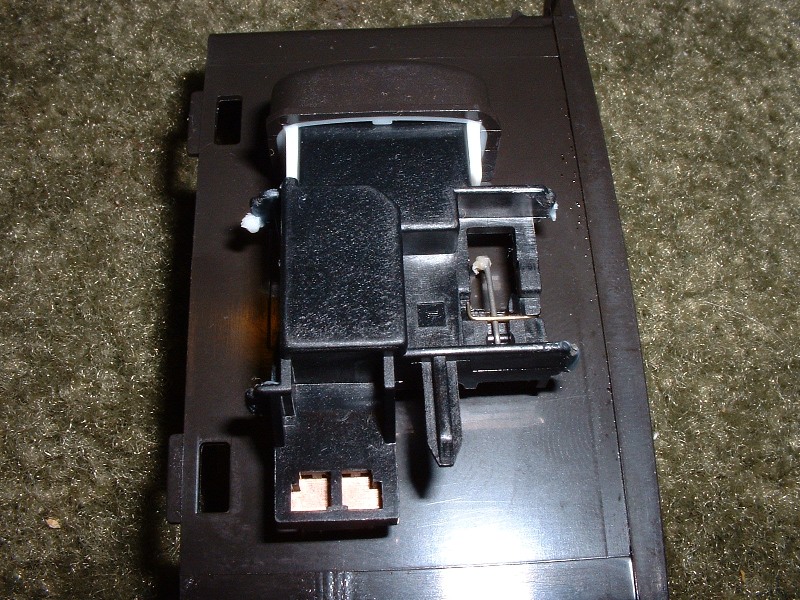
Place the button assemblies on the base plate. Make sure the small wire spring is resting in its track. If you hold the switch down against the plate, you should be able to click the button in and out properly to ensure the spring is positioned correctly.
Step 2
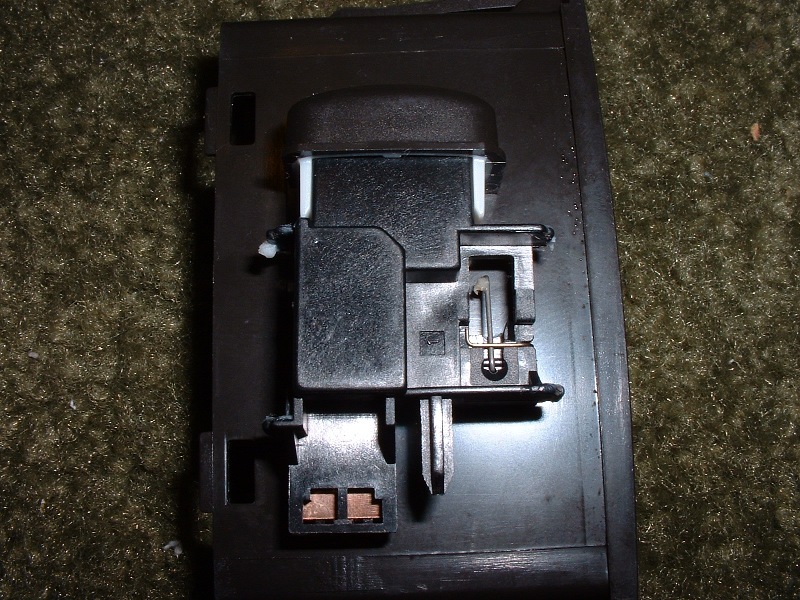
Push the parts into the housing.
Step 3
Push the parts into the housing.
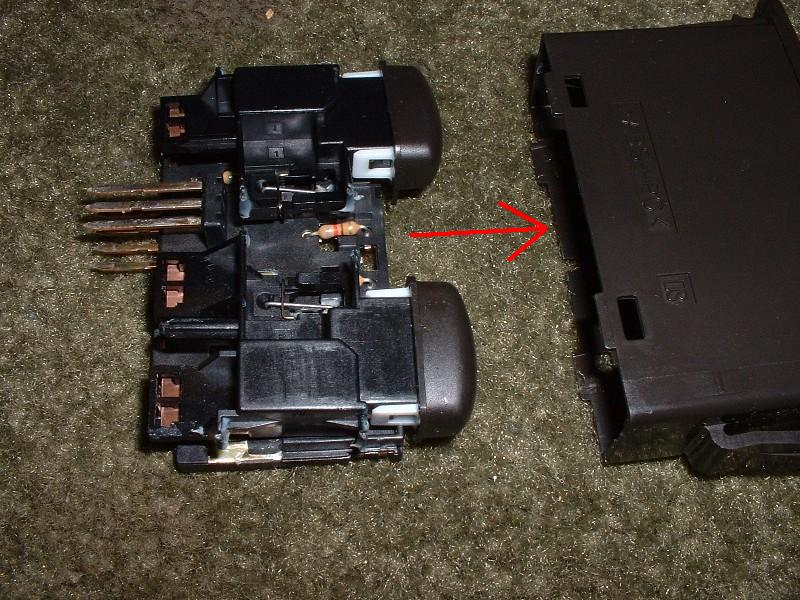
Step 4
Click the rear back into place. Make sure the two springs seat on the bumps on the back of the housing, and that you do not bend any of the wiring harness tabs.
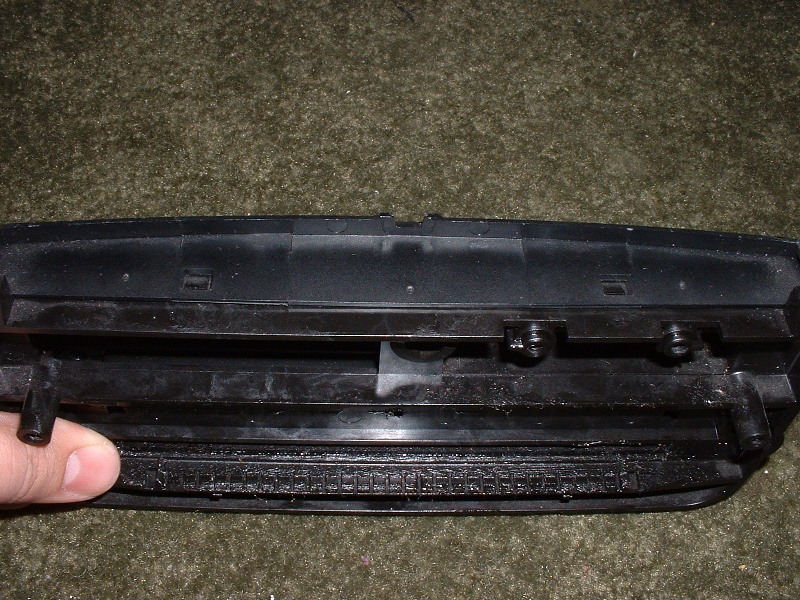
Remove Slider Light Bulbs and Wiring
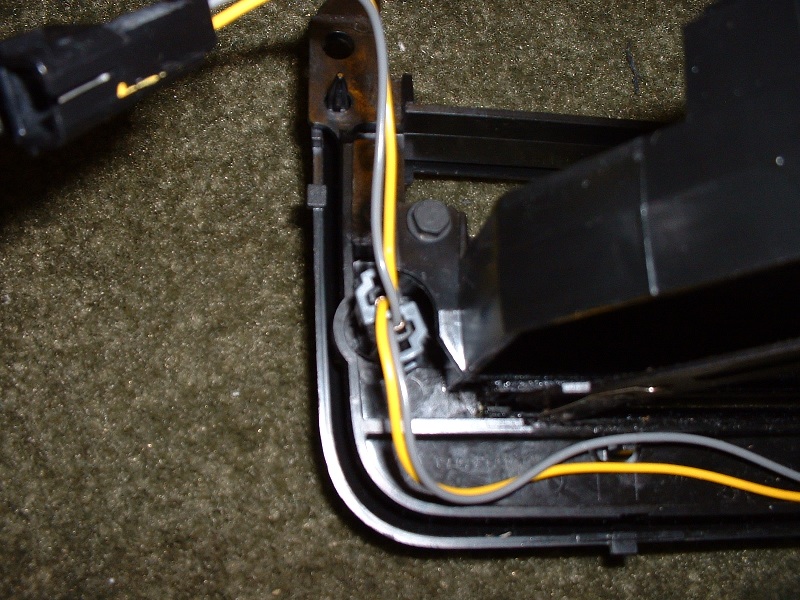
Step 1
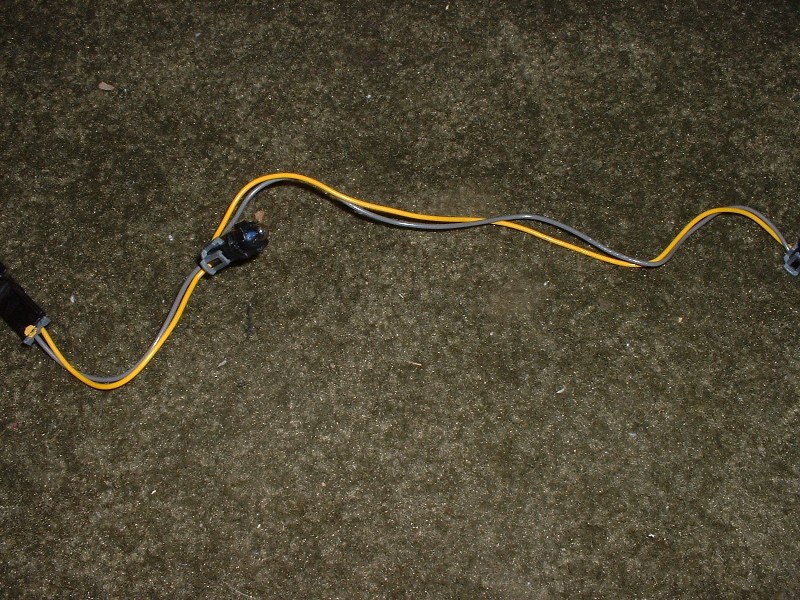
Remove the bulb sockets from the panel. Turn counter-clockways about a quarter turn, then remove.
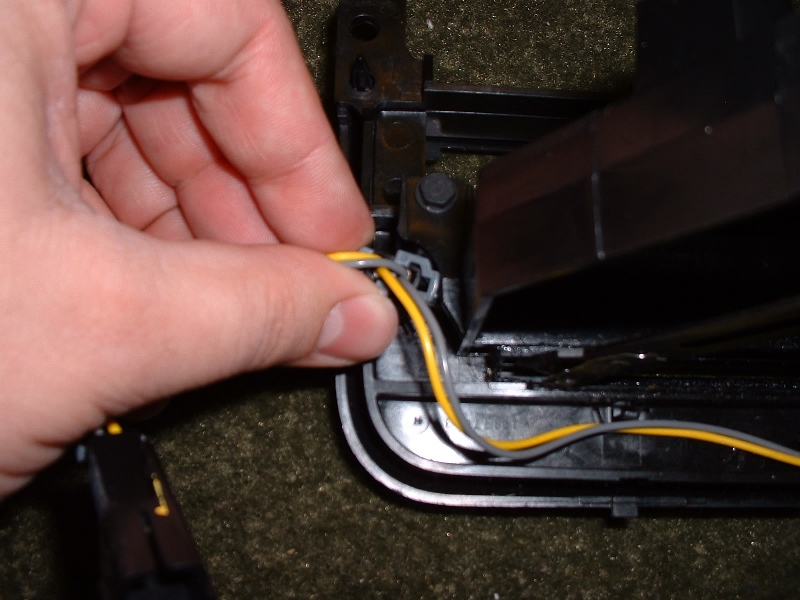
Step 2
Remove the wires from the panel. Just pop them free from the two clips along the bottom of the panel.
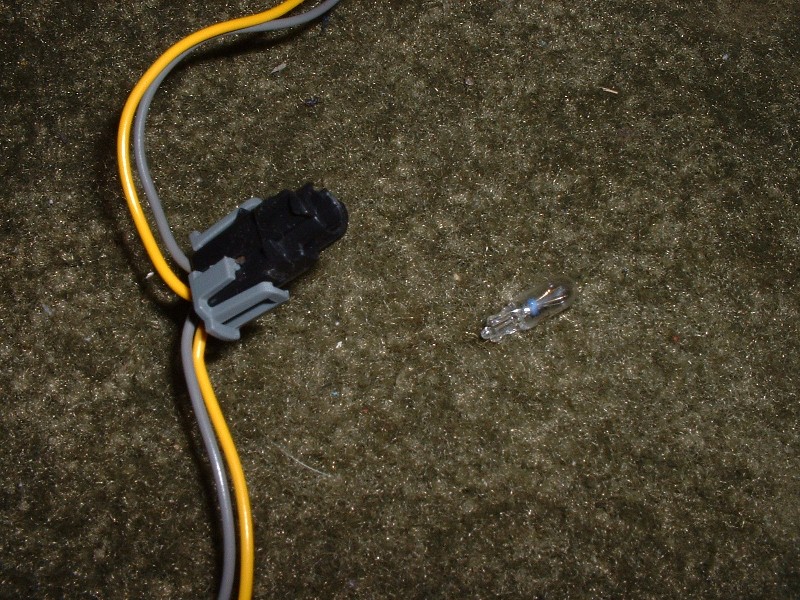
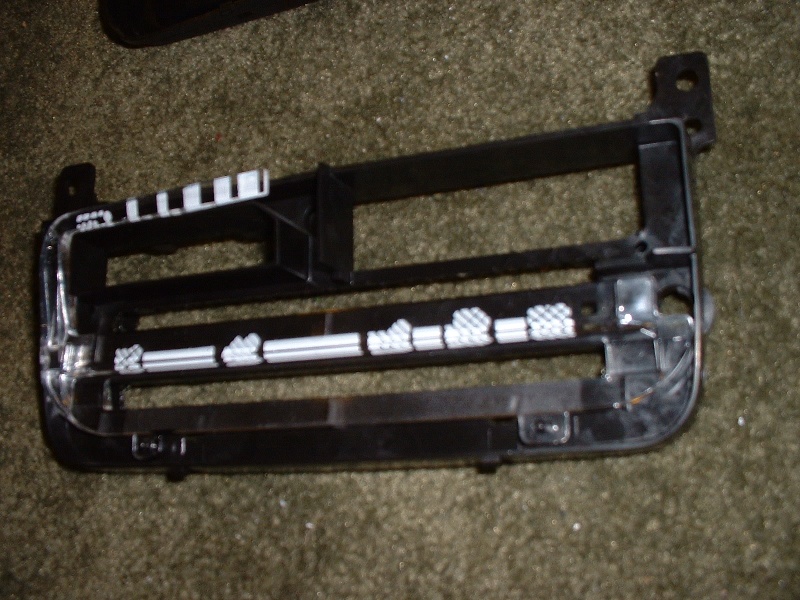
Step 3
Remove the bulbs. They’re tight, but they just pull straight out.
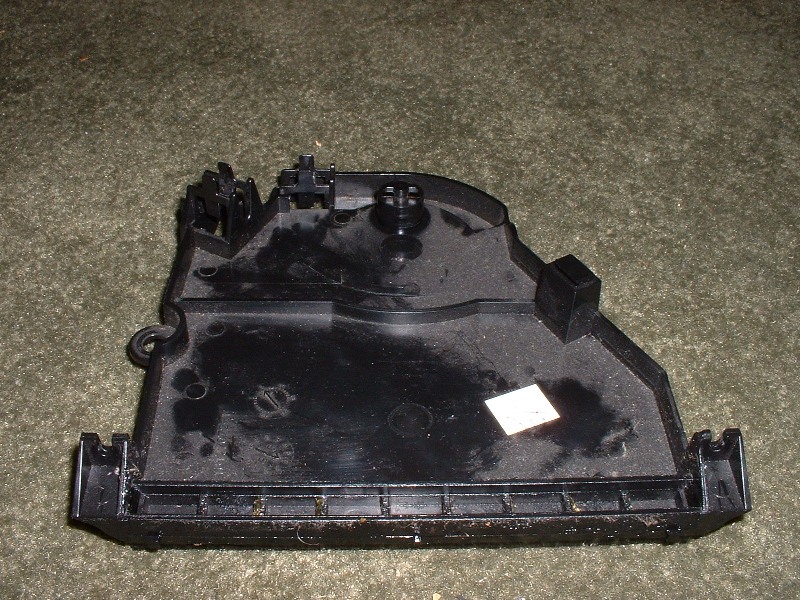
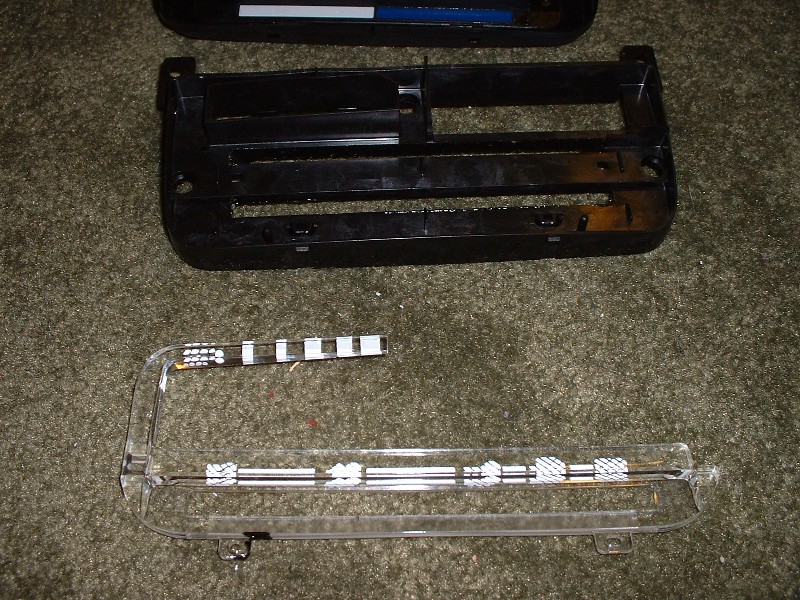
Dismantle Temperature & Vent Selector Sliders/Cable Controls
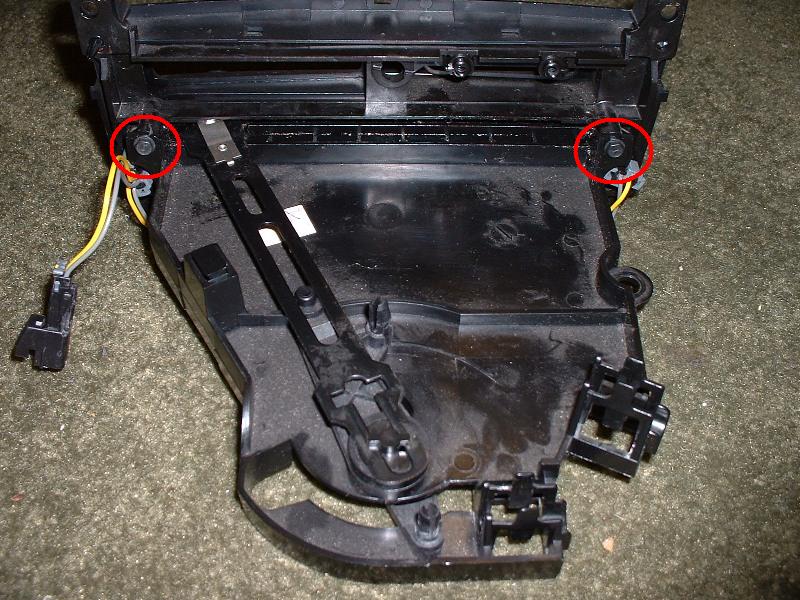
Step 1
Remove two screws. 1/4″ screws.
Step 2
Pull on control face to pop slider knobs loose. Shouldn’t take too much force, and it’s easier than trying to pull/pry on the knobs themselves. At this point the whole control face should come off.
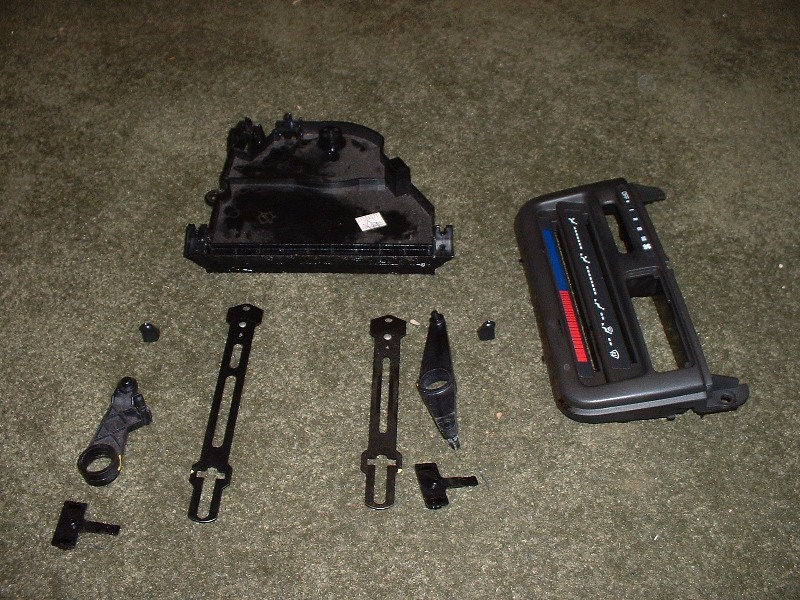
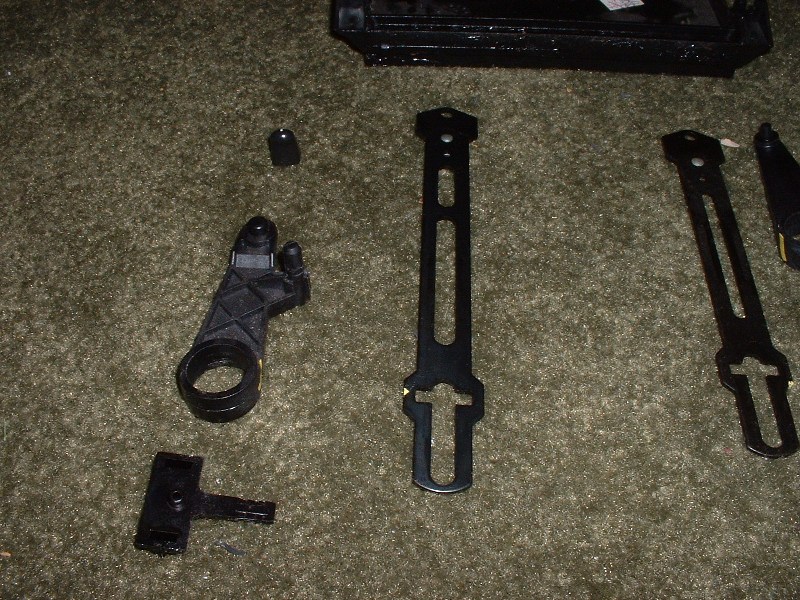
Step 3
Dismantle cable controls. The metal bars will free up if you line them up with the center of the slider motion, and back slightly (pay attention to the notch at the pivot point). With the bar off, the plastic piece underneath will come free (the one on the underside has to be rotated to one extreme position to line it up with an opening and remove). The piece the knob came off of will also lift off at this point, but will probably stick in place because of lubricant.
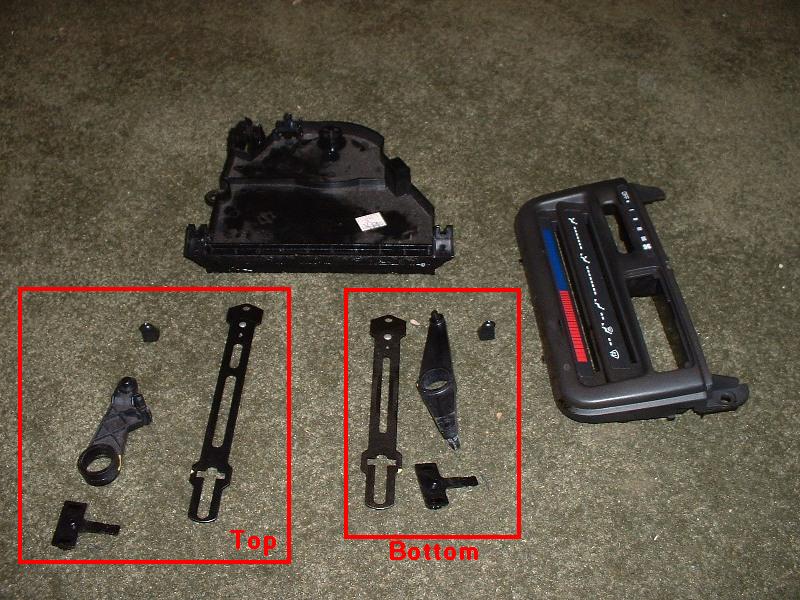
Reassemble Temperature & Vent Selector Sliders/Cable Controls
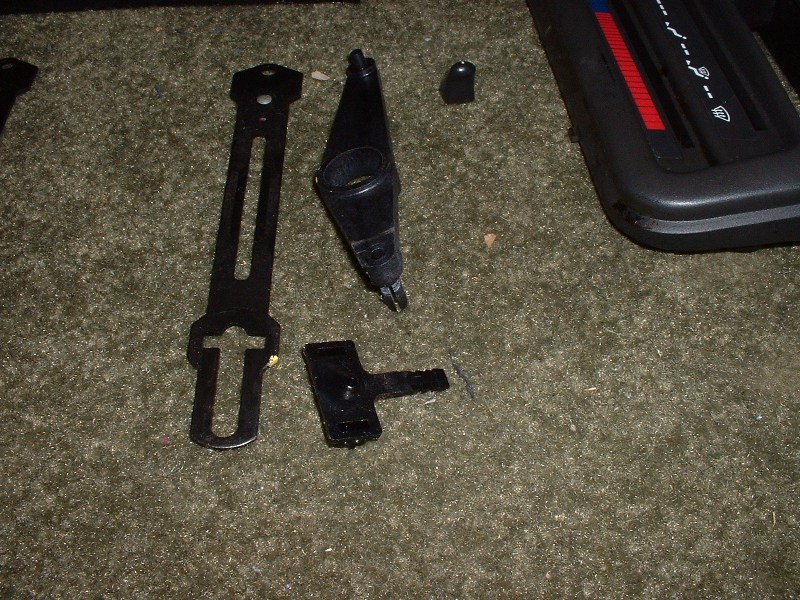
Step 1
Reassemble cable controls. For both the top and the bottom, place the plastic pivot piece and plastic slider on first, then the metal bar. The metal bar goes on with the slider end having the silver springy piece away from the slider. See picture below for which parts go on top and bottom.
Step 2
While holding the cable controls together, slide the controls back through the HVAC controls face. Reinstall the knobs for the sliders to hold everything together.
Step 3
Reinstall 2 screws. 1/4″ screws.
Reassemble Temperature & Vent Selector Sliders/Cable Controls
Step 1
Use a flathead screwdriver to pop 2 tabs on top free. Then pull the face back from the face front.