Having broken the tabs off my dome light base before learning how to properly remove it from the car, I wanted a new dome light. I picked up a used one from a salvage car, only to find that the internals were junk – the car had been in a flood. I now had two bad dome lights – one with a good base & bad internals, and one with good internals and a bad base. I figured I had nothing to lose in trying to combine them into one good one.
The pictures in this guide are a mix from tinkering on both lights.
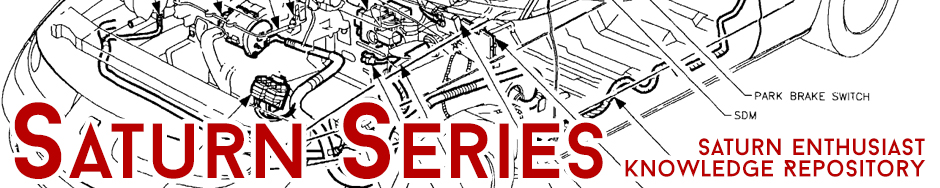
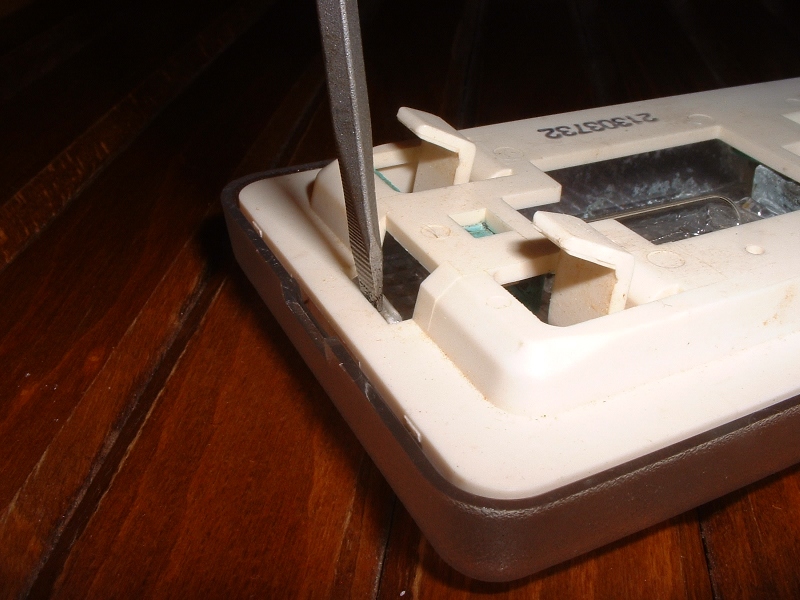
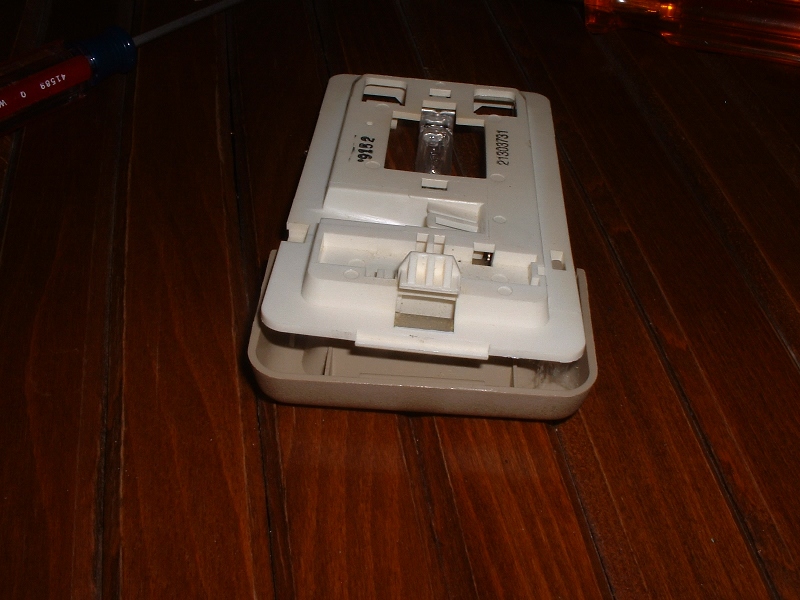
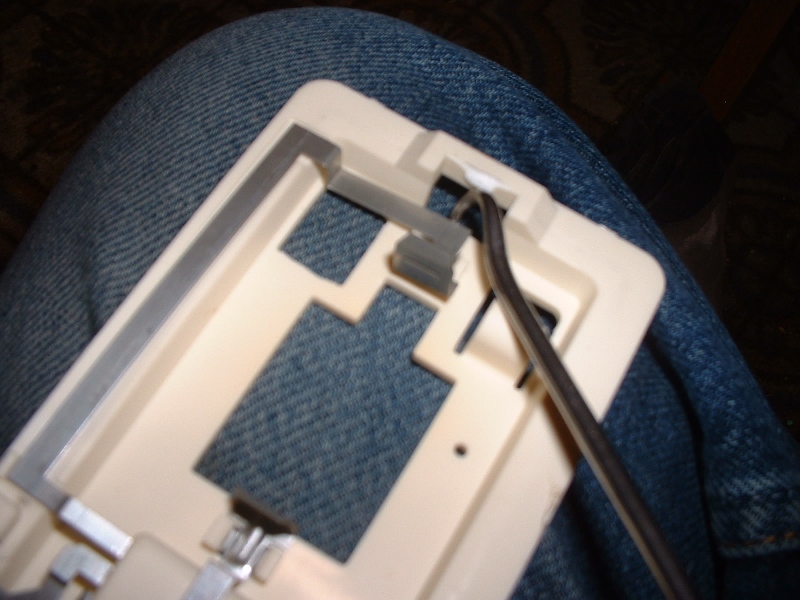
The lens is held on at 3 points. Pop the tab loose on the end of the light assembly with your small flathead screwdriver as pictured, then hinge the lens up, and it will come loose.
Remove Switch Cover
Tools
Two small flathead screwdrivers
Steps
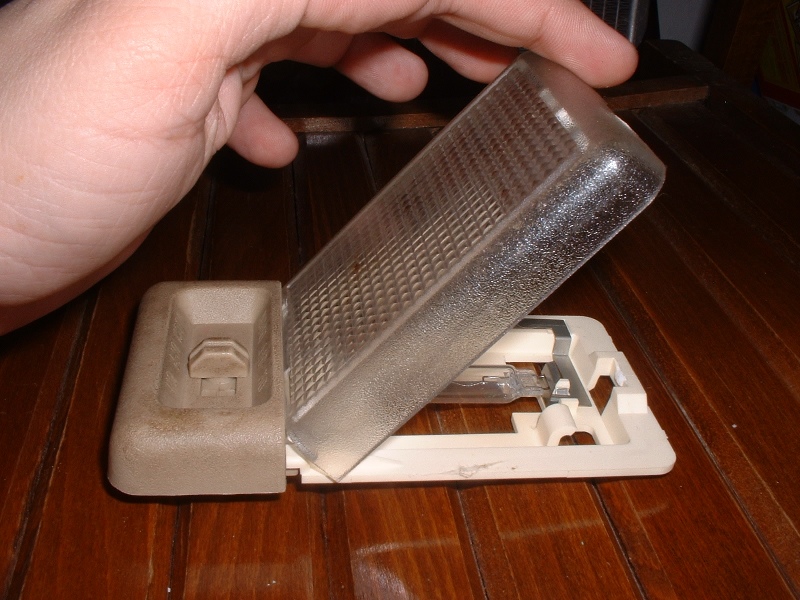
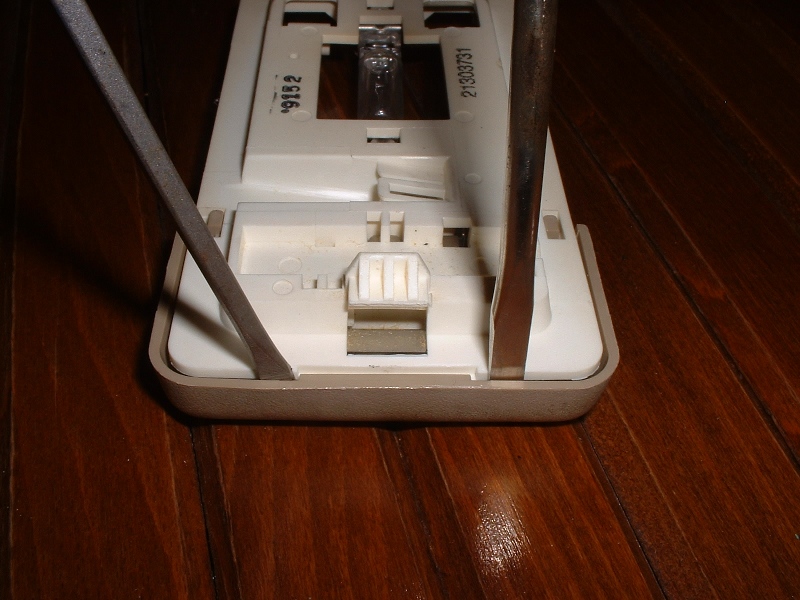
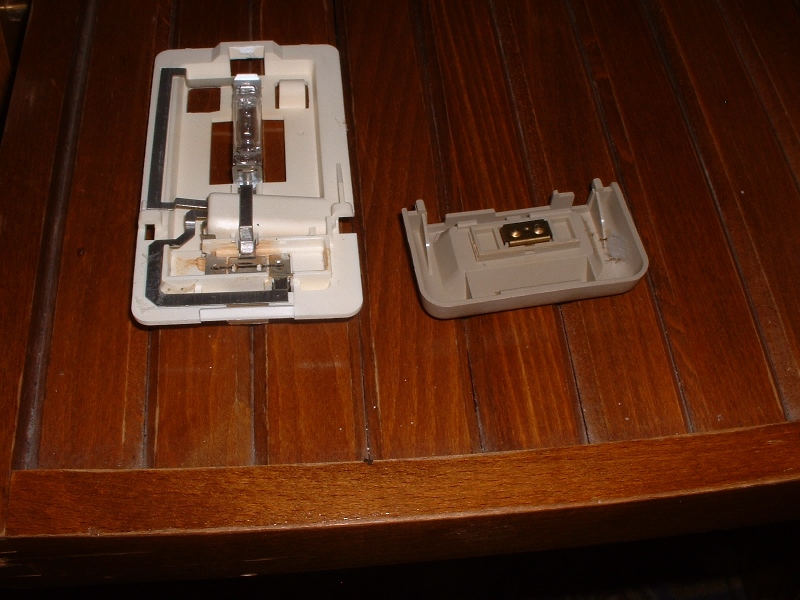
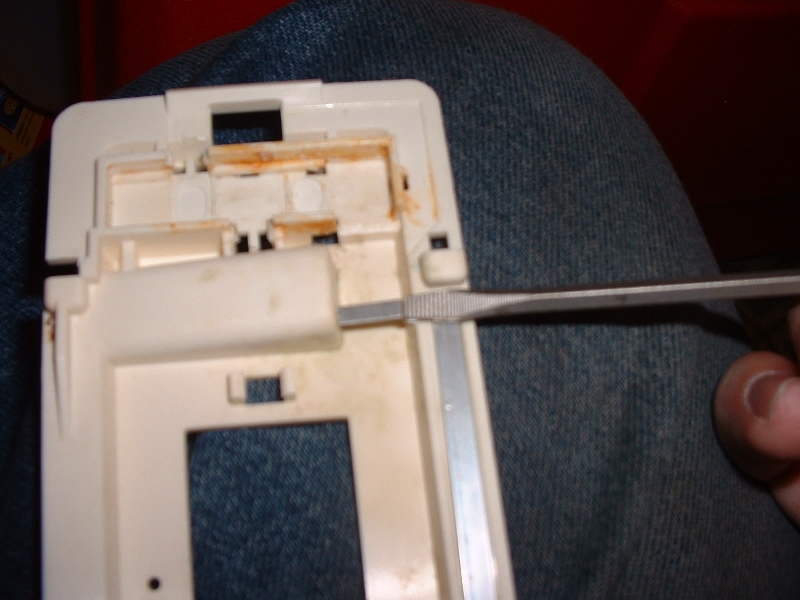
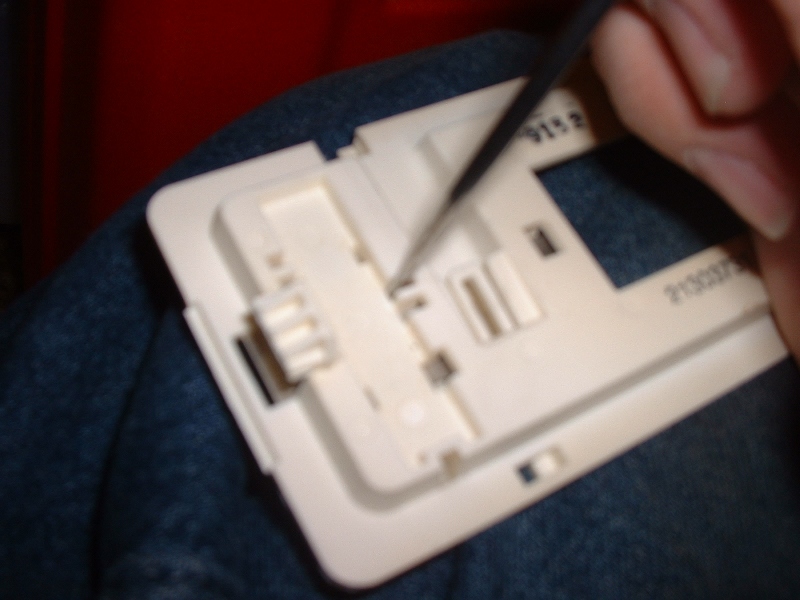
On the backside of the light assembly, insert the two small flathead screwdrivers on either side of the tab holding the switch cover on. Then twist the screwdrivers gently. The cover should pop right off.
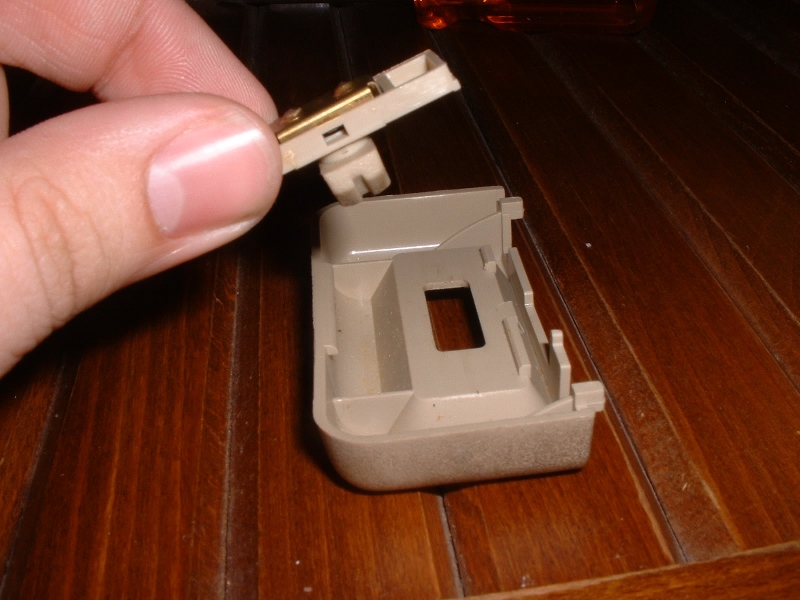
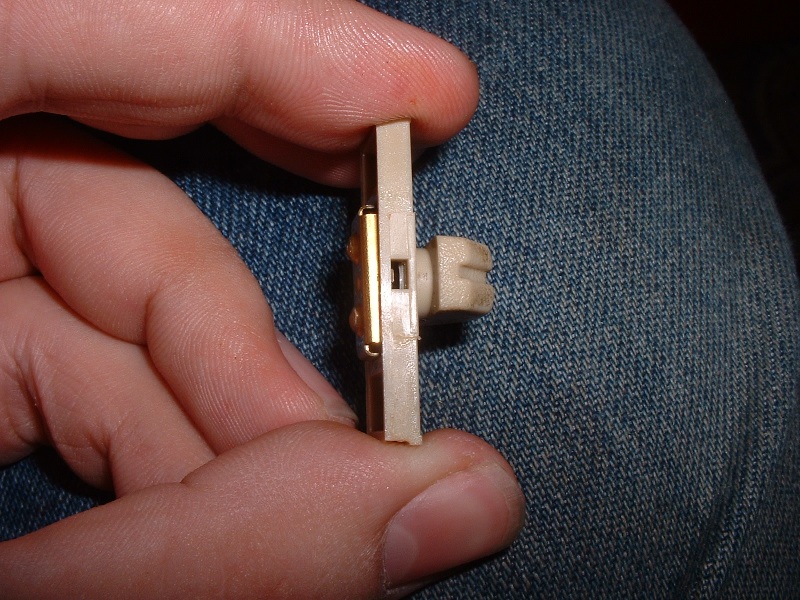
Remove Switch from Switch Cover
Steps
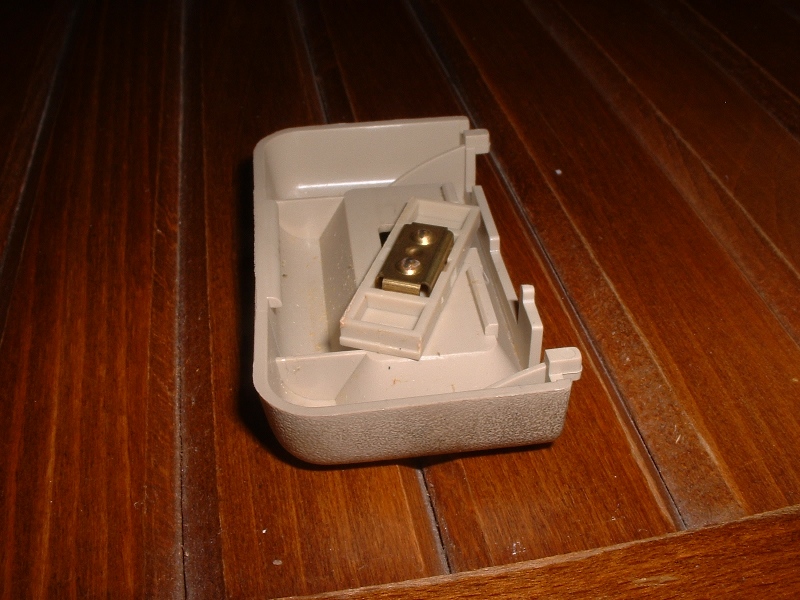
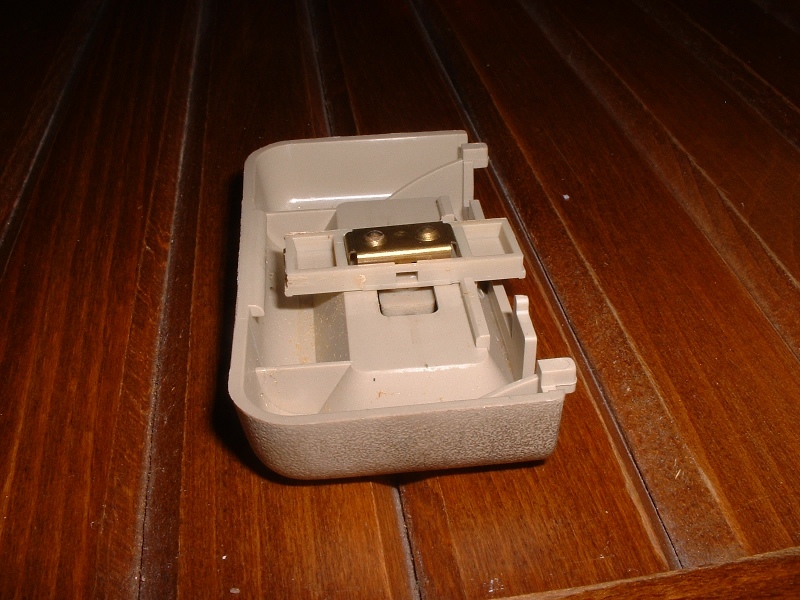
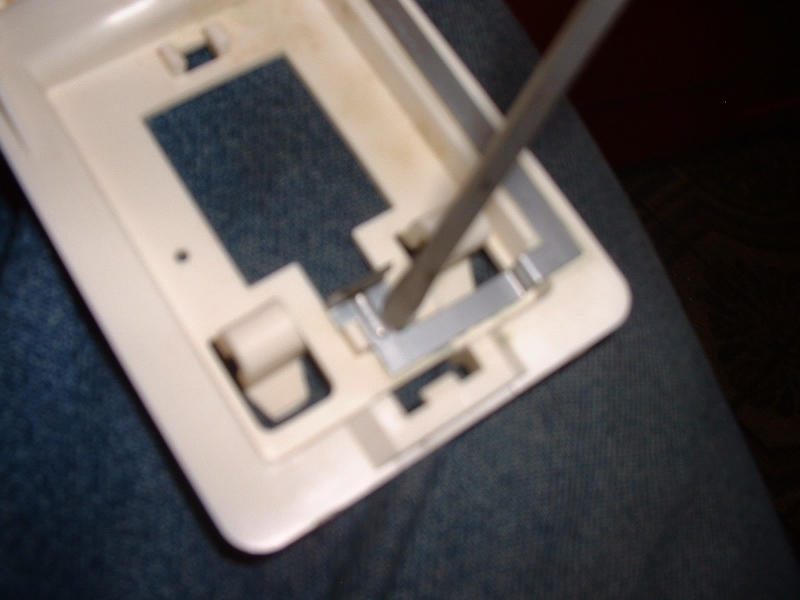
To remove the switch from the switch cover, it will need to turn 90 degrees so the knob will clear the hole. There is a raised ledge that holds the switch from twisting, but it has a gap in it that allows for removing the switch. See pictures below.
Remove Switch Internals
Tools
Welding picks (a.k.a. “dental tools”)
Steps
The switch is made up of 3 parts – the plastic switch, a metal plate, and a spring. The spring is held in place by the plate. The plate is held in place by two tabs – one on each side. To pop the plate free, use one of your picks (or some sort of small prying tool) to pry the tab inwards. Watch out for flying parts!
Remove Install Dome Light Internals
Tools
Small flathead screwdriver Welding picks (a.k.a. “dental tools”)
Steps
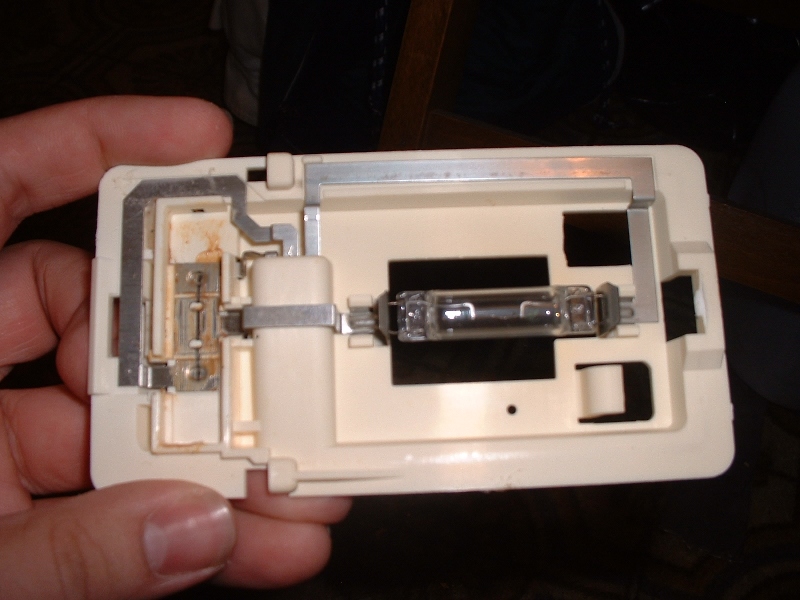
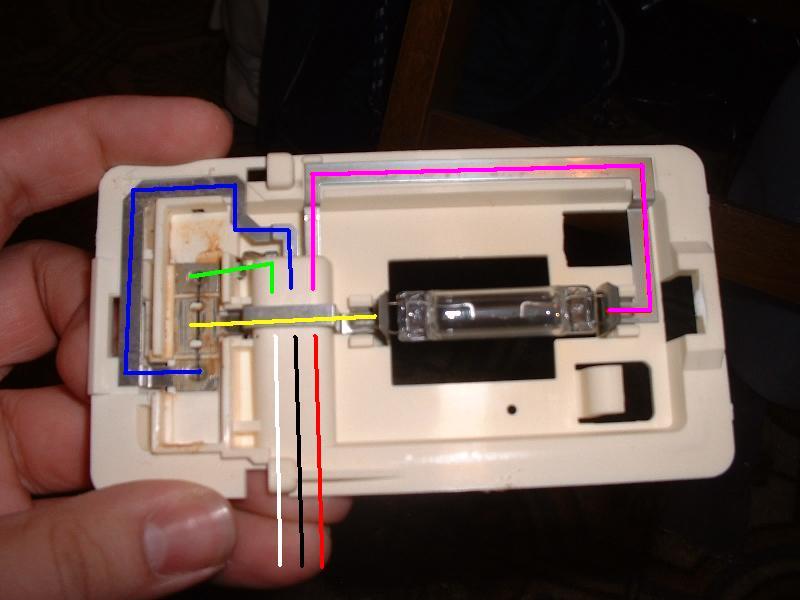
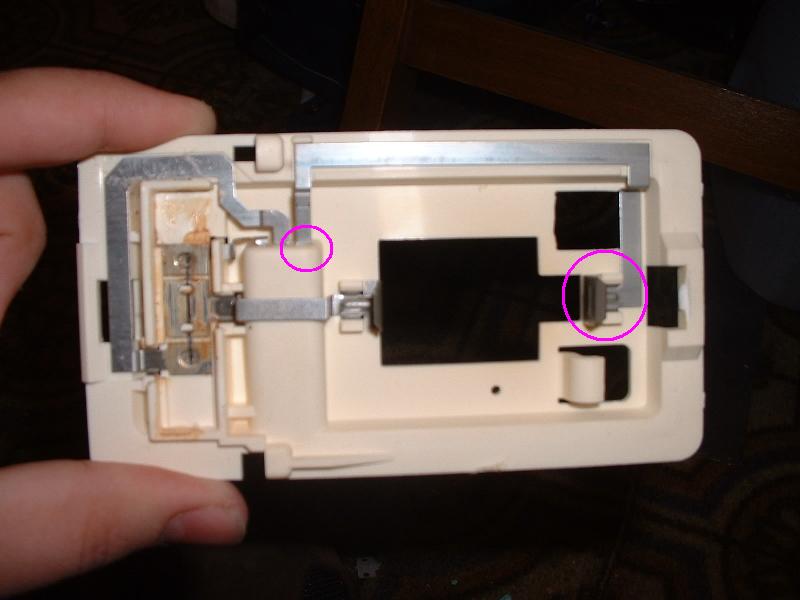
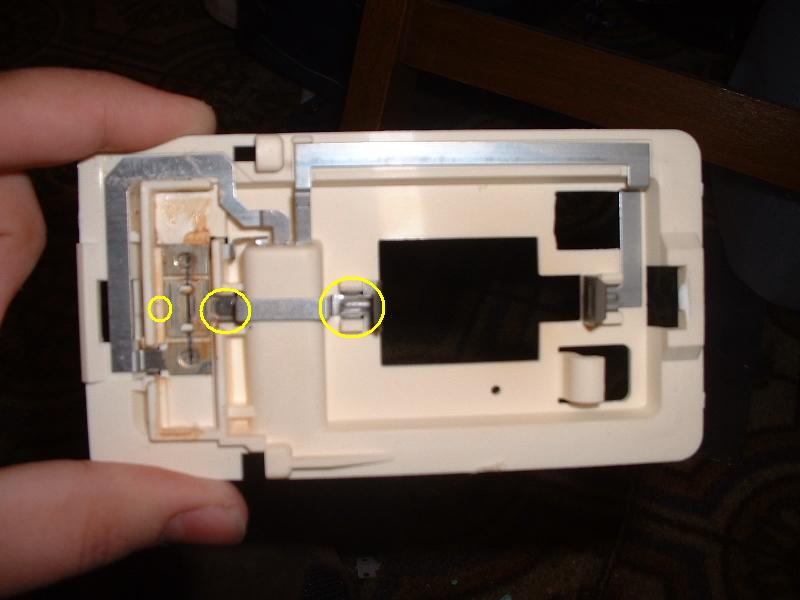
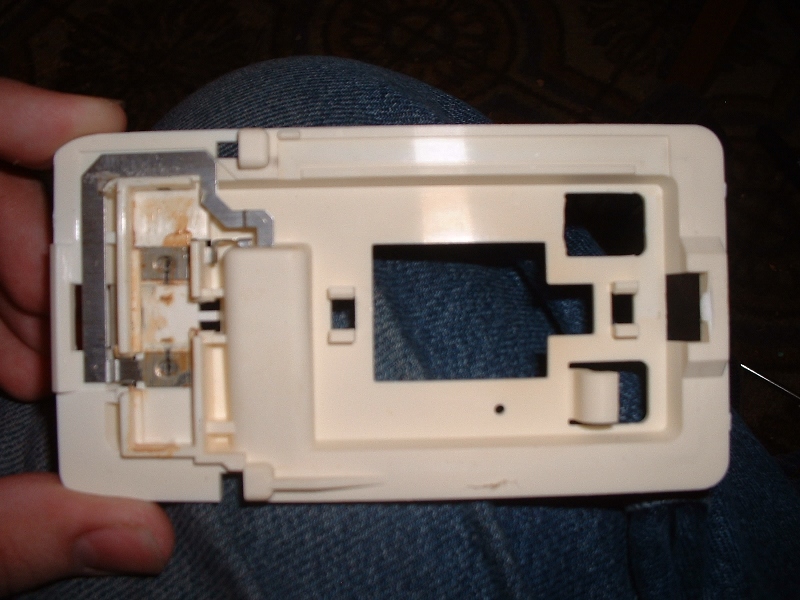
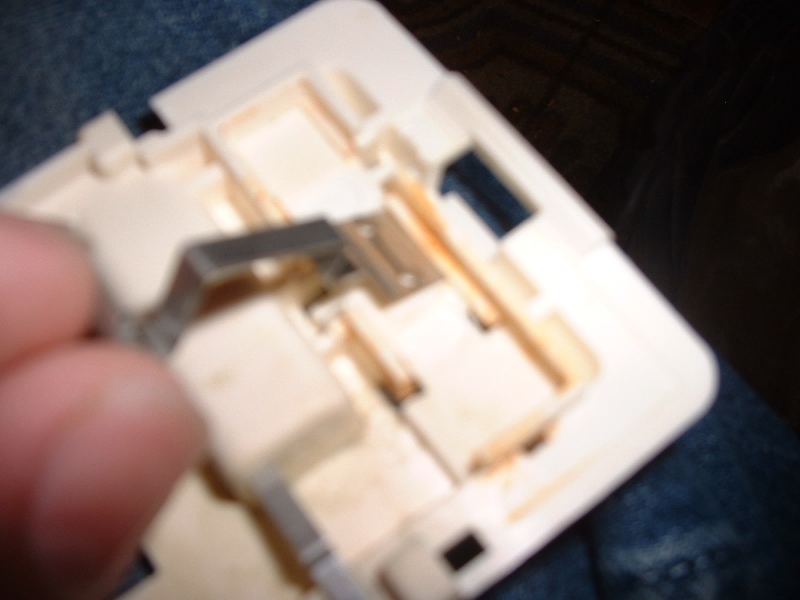
The dome light internals are made up of 4 shaped pieces of metal. They’re thin and easily bent, so be gentle with them. The 4 pieces are indicated by the different colored lines in the second picture below. Also, the 3 verticle lines indicate the 3 wires on the harness, and their colors – red, black, and white wires.
For reference:
Red wire = positive (always on, since dome light can be on with the car off)
Black wire = ground (constant, for the “on” switch position)
White wire = ground (switched, for the “door” position – not always grounded)
Pink metal = positive connector to bulb
Yellow metal = ground connector from bulb to switch
Green metal = ground connector – switch to white wire, for “door” switch position
Blue metal = ground connector from switch to black wire, for “on” switch position
The metal pieces are held in place by small tabs on the metal, which click into place with small tabs in the plastic. The welders picks will help get these free with minimal bending of the metal.
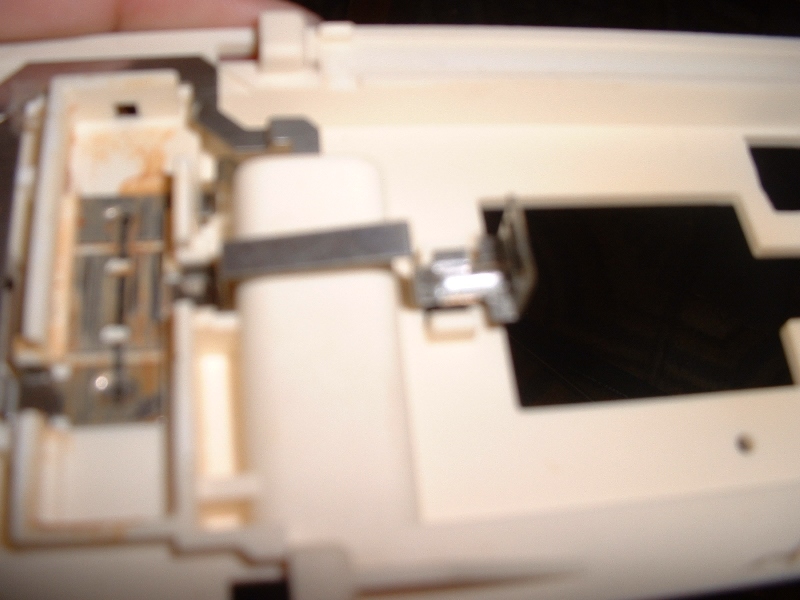
I apologize for the blurriness of the pictures for the rest of this guide – I didn’t take enough time to get good pictures.
Remove bulb:
The bulb is just wedged in, and should easily come out with a gentle pull.
Remove “pink” metal:
This piece is held in at two places – the wire connector end, and by tabs at the bulb end.
Start with the bulb end. I used a curved welders pick to get underneath the metal and pop it free. You may also be able to use a straight pick from underneath.
Once the bulb end is free, push the wire connector prong free with your flathead screwdriver. Once it’s out, the metal piece should be loose.
Install “pink” metal:
Start with the wiring prong end. Insert it into the hole, and push the metal in with the flathead screwdriver. There’s a small bend in the metal that is a good place to push on, as pictured:
Next, push the bulb end down into the plastic tabs with the flathead screwdriver. It should easily click into place.
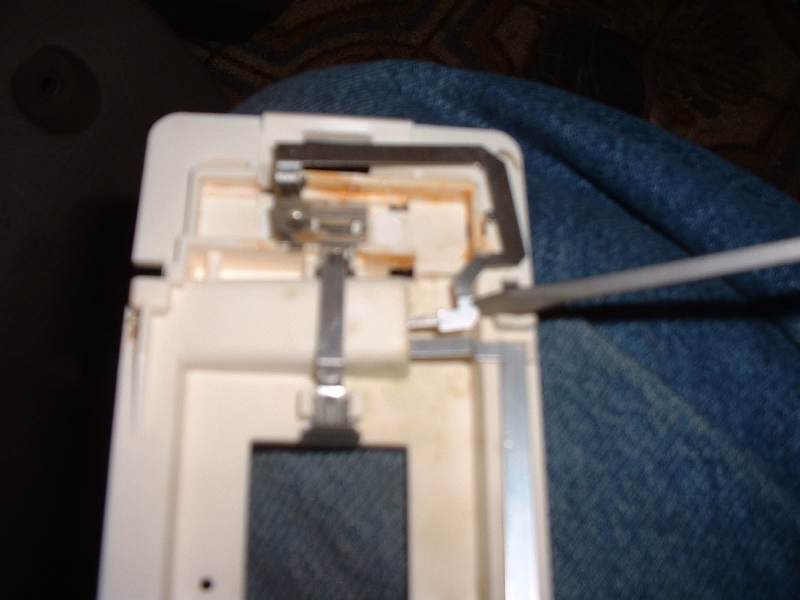
Remove “yellow” metal:
This piece is held in place by tabs on the bulb end, tabs in the middle near the switch, and a single tab on the switch end, which is inserted into a notch in the plastic. Start with the bulb end. As with the “pink” piece, you can pop the tabs free by getting the welders pick underneath the metal, or by going at it from behind, through holes in the plastic. Then do the same for the middle tabs. Once these are free, the piece should hinge upward, freeing the last tab from its notch.
Install “yellow” metal:
First, insert the tab on the switch end. Then, click the tabs into place by pressing downward with the flathead screwdriver.
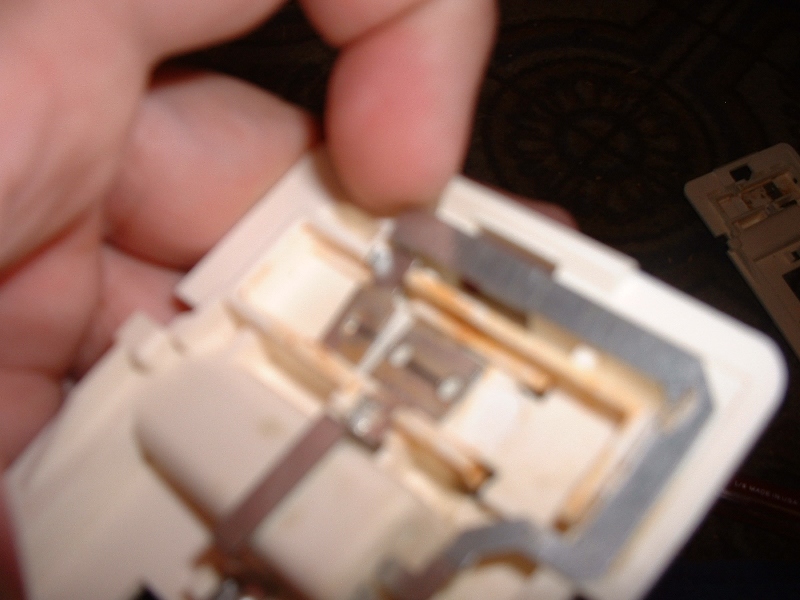
Remove “blue” metal:
This piece is held in place by a tab on the switch end, tabs in the middle near the switch end, and the wiring connector prong. Start with the middle tabs, which are most easily popped free using a straight welders pick from underneath. Next, pry the prong free. Last, the whole thing should wiggle out easily.
Install “blue” metal:
NOTE: if you’re swapping all the parts like I did – wait to install the “blue” piece until after you’ve done the “green” piece. The pictures do not reflect this advice – I learned the hard way and had to re-remove the “blue” piece.
Start by pushing the wiring harness prong into its hole. Next, lift on the corner near the switch to get enough angle to insert the tab on the end of the metal. Last, press downward with the flathead screwdriver to snap the tabs into place.
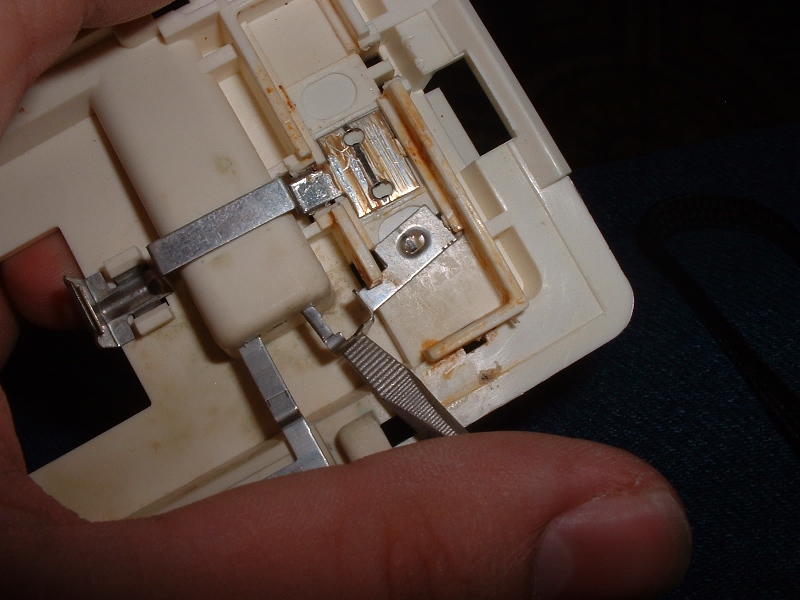
Remove “green” metal:
This piece is held in place by a tab on the switch end, and its wiring harness prong. Just use the flathead screwdriver to pry the prong loose, and the whole piece should come free.
Install “green” metal:
First, insert the tabbed end. Then swivel the piece to insert the wiring harness prong, and press it into place with the flathead screwdriver.