Sorry, this is just a placeholder post – we need someone to build this guide! Click the button above if you’d like to contact us about building & submitting this guide.
Sorry, this is just a placeholder post – we need someone to build this guide! Click the button above if you’d like to contact us about building & submitting this guide.
Sorry, this is just a placeholder post – we need someone to build this guide! Click the button above if you’d like to contact us about building & submitting this guide.
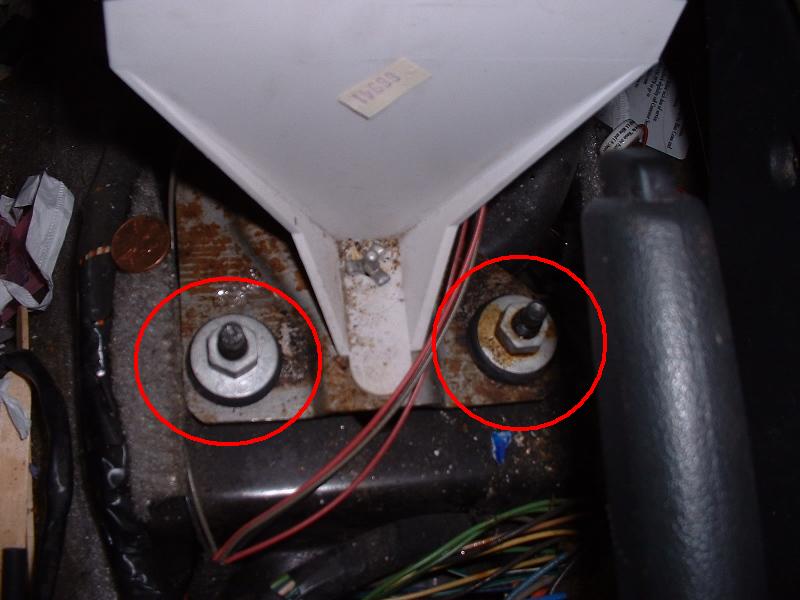
Remove 4 13mm nuts around shifter base. Two in front of the shifter, two in the back.
Step 5
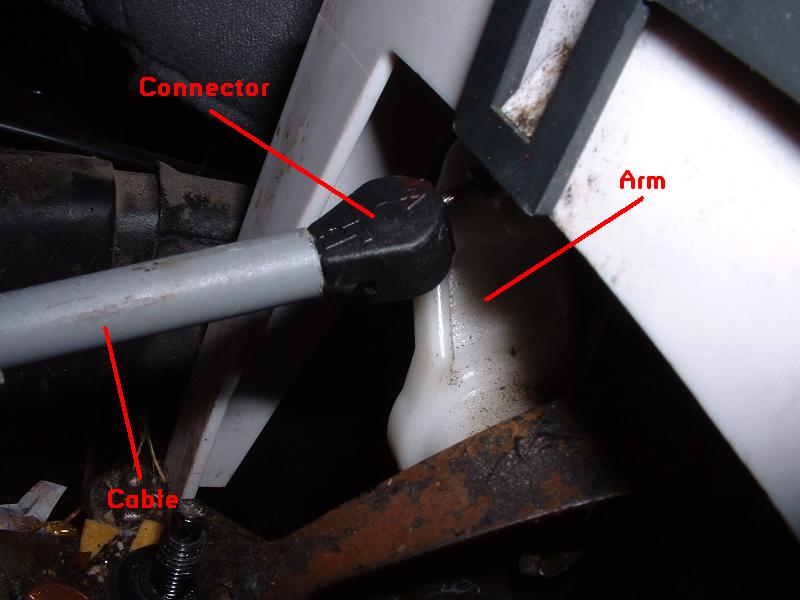
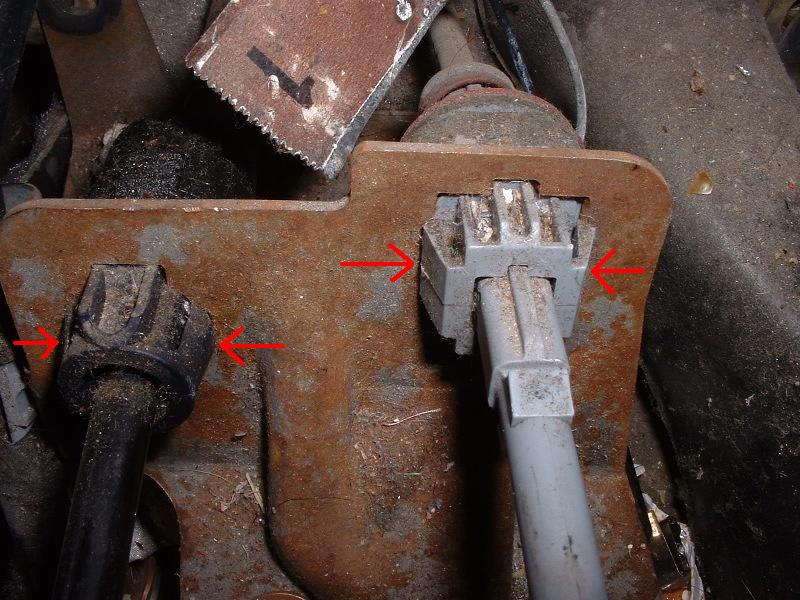
Unclip gear selector cable. This is the cable on the driver’s side of the assembly. Use a flathead screwdriver to get behind it and pry against it until it pops loose.
Step 6
Unclip lockout cable. This is the cable on the passenger side of the assembly. Use the flathead screwdriver to brace the white plastic arm the cable attaches to, then use pliers to push the black connector straight back (opposite direction of the cable) until it pops loose.
Step 7
Release cables from shifter base bracket. Use a flathead screwdriver and/or pliers to squeeze the tabs on either side of the bracket clips.
Step 8
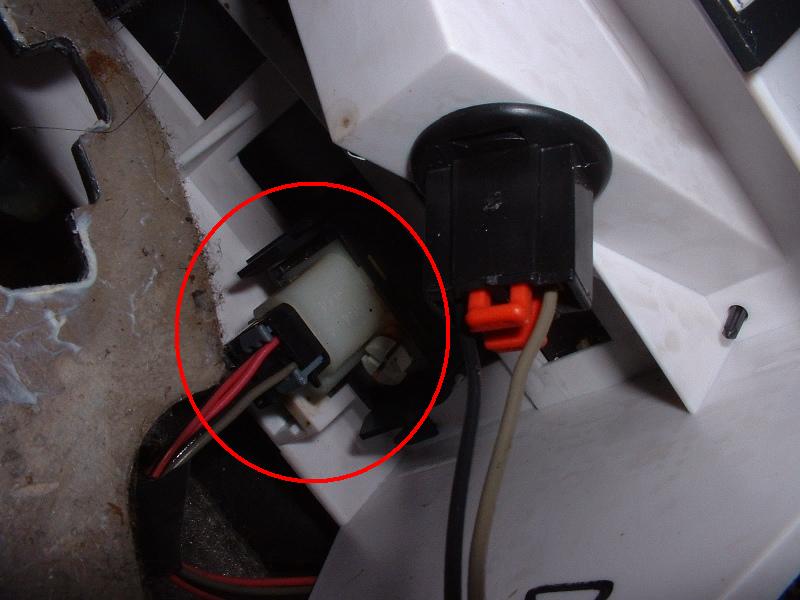
Undo wiring clip. Needlenose pliers work well.
Step 9
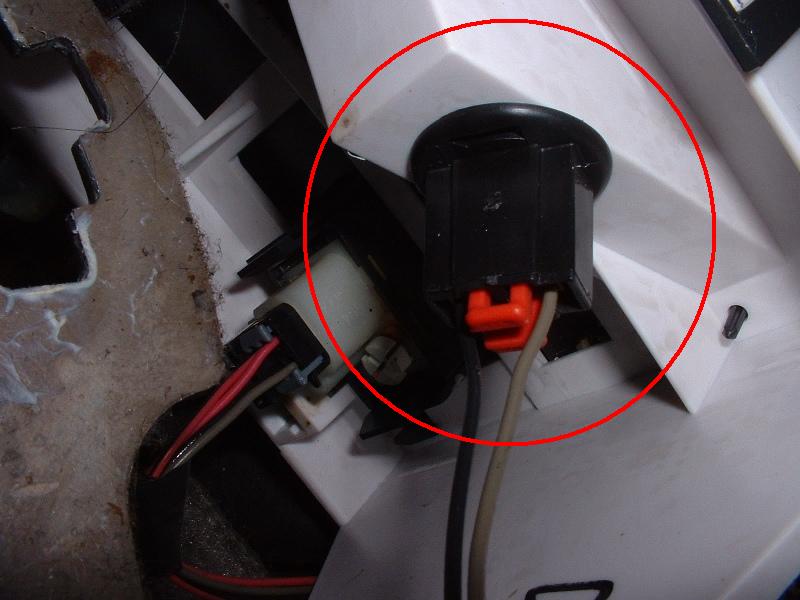
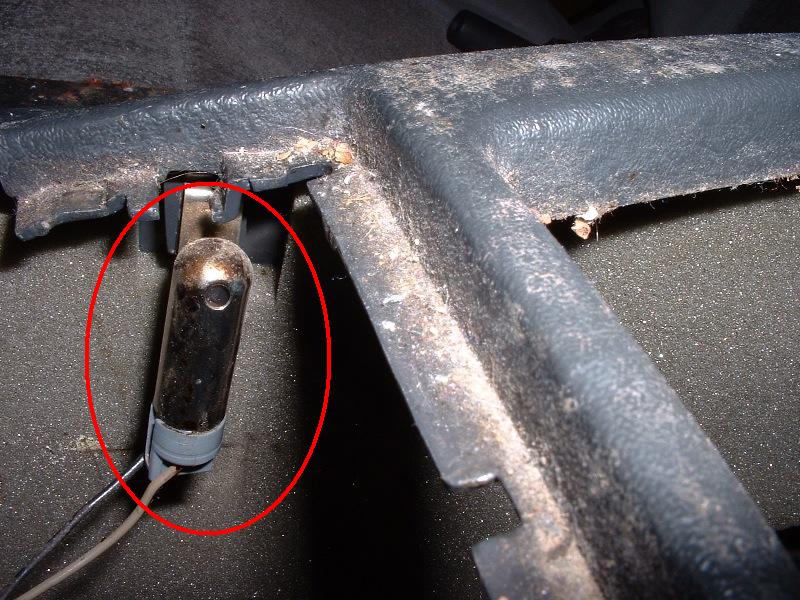
Remove Light Bulb from assembly. Just twist and gently pull out.
Step 10
Release wiring harness from underside of assembly. Use a flathead screwdriver to pop the clip loose.
The interior was pretty fully dismantled when I took these pics, just so you know and aren’t confused. Just pretend the console is there like normal.
Tools
Flathead screwdriver
Removal
Optional Prep
Put the car in “2”. This will give you more room to work. Pull the e-brake, turn your key in the ignition switch to “run” (don’t actually start the car, just turn it the 2 clicks), push the brake, and pull the handle all the way back.
Step 1
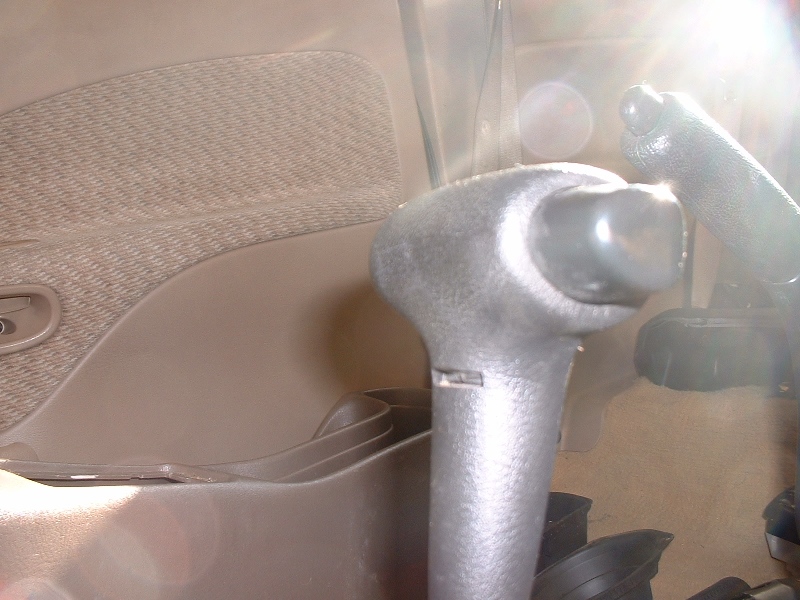
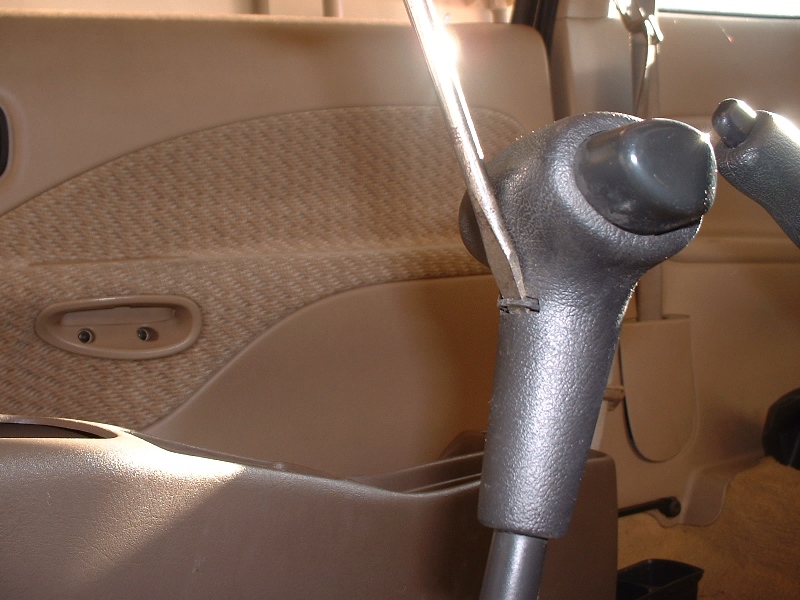
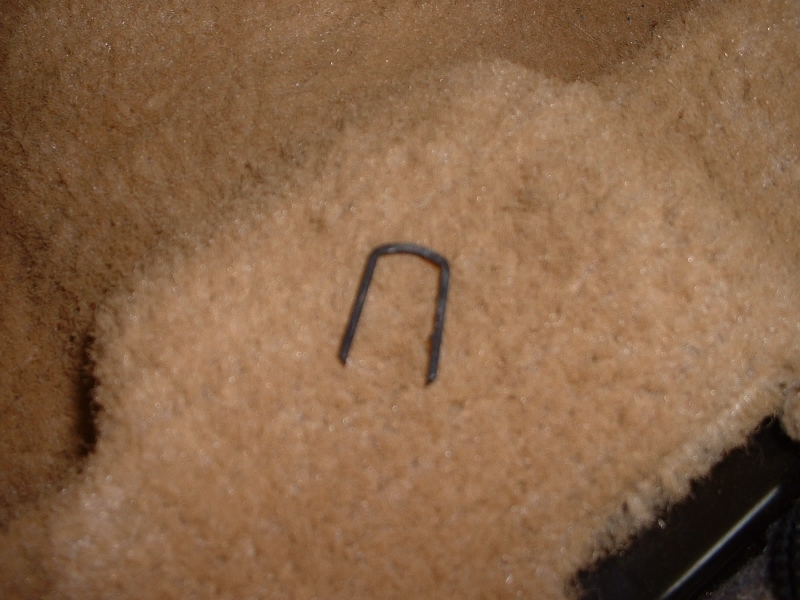
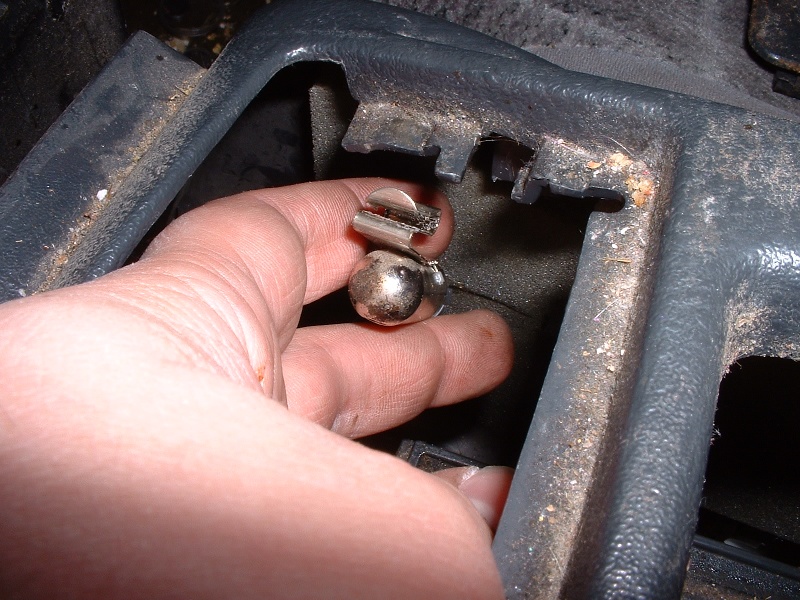
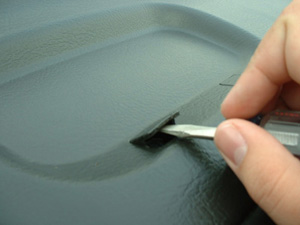
Remove the U-clip. You’ll find a slit on the backside (toward the front of the car, near the HVAC controls) of the handle. Pry inside of this slit with your flathead screwdriver. You’ll pry out a U-shaped clip.
Step 2
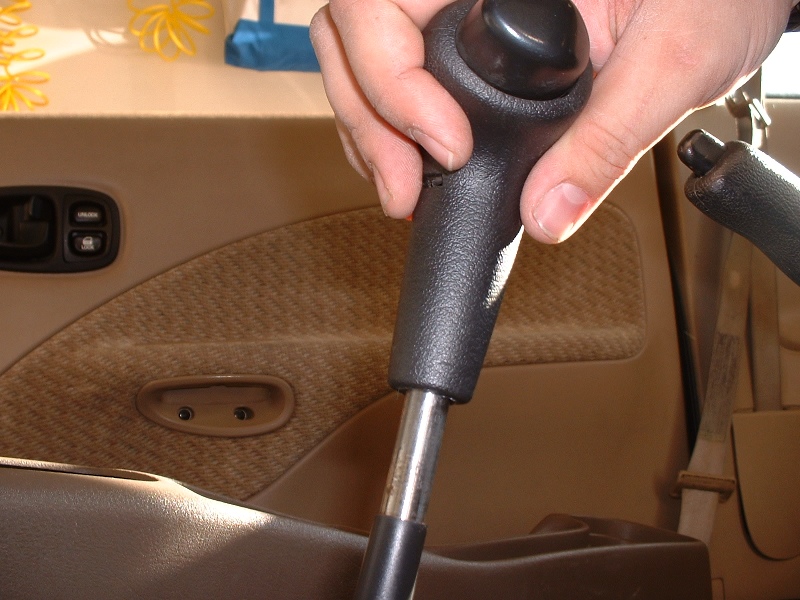
Remove the handle. It should slide straight up & off.
Installation
Installation is the reverse of removal. Slide the handle on, and put the clip back in. You may have to tap the clip back in with something, such as a hammer.
If no center armrest is installed, remove the 2 screws at the rear of the console. The same screws are used to hold down the console or to hold down the armrest – 2 phillips screws.
If you have manual windows, I think you can just leave the little tray in.
Step 3
Remove screws at the front of the console. To get at the screws, you’ll pop the little black piece from in front of the fuse box on the passenger side (just grab & pull from the top), and the same piece on the drivers side. There is one phillips screw on each side.
Step 4
Remove ash tray. It lifts right out
Step 5
Unclip ash tray light. This thing holds on tight, but should unclip when pushed downward.
Step 6
Remove the cover in the lower center part of the console. Lift from the e-brake handle end. 2 clips will pop loose.
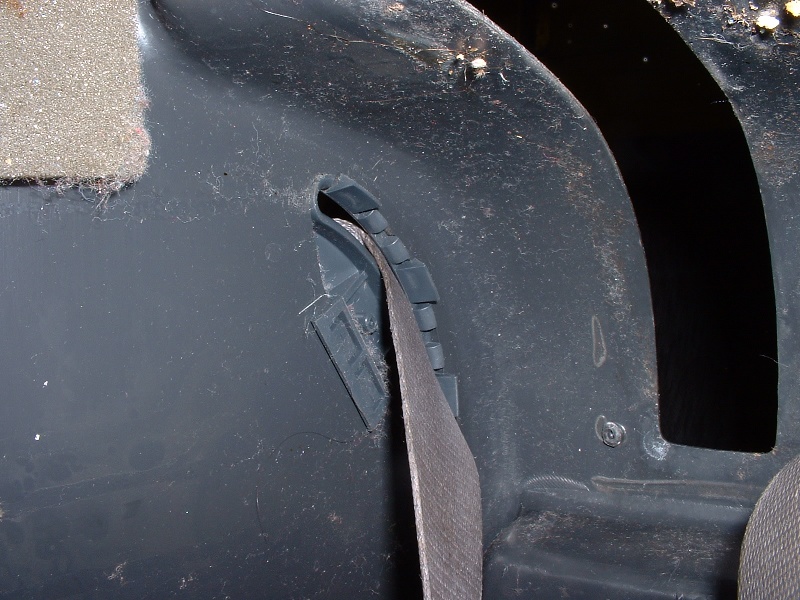
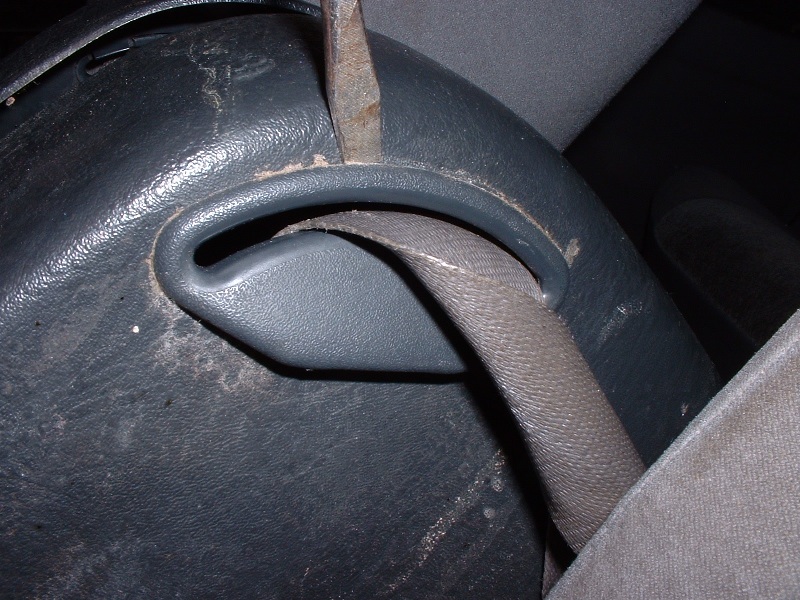
Pop the seatbelt guides loose. You can get these loose from the outside if you can get a screwdriver in behind the top of the guide, or you can lift the console up some to get underneath and push the guide out from inside the console.
Step 9
Snake the seatbelts and guides through their holes, and remove the console.
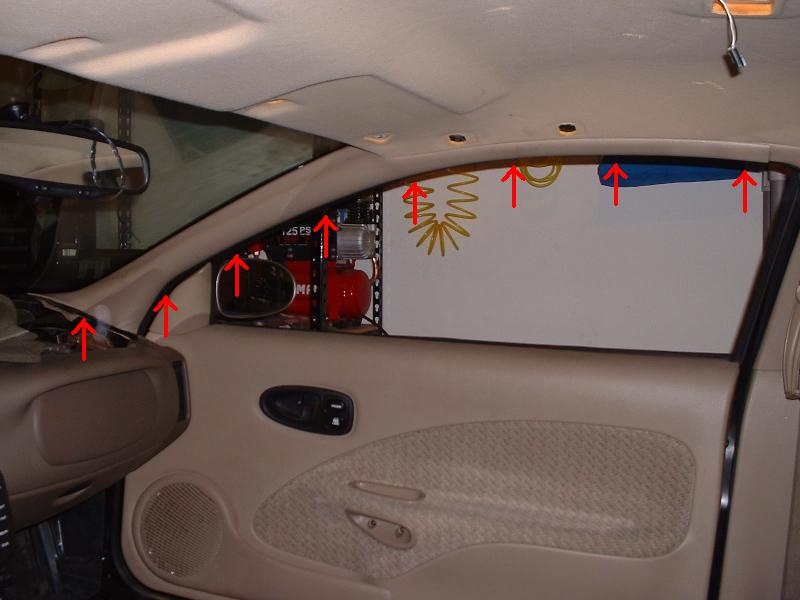
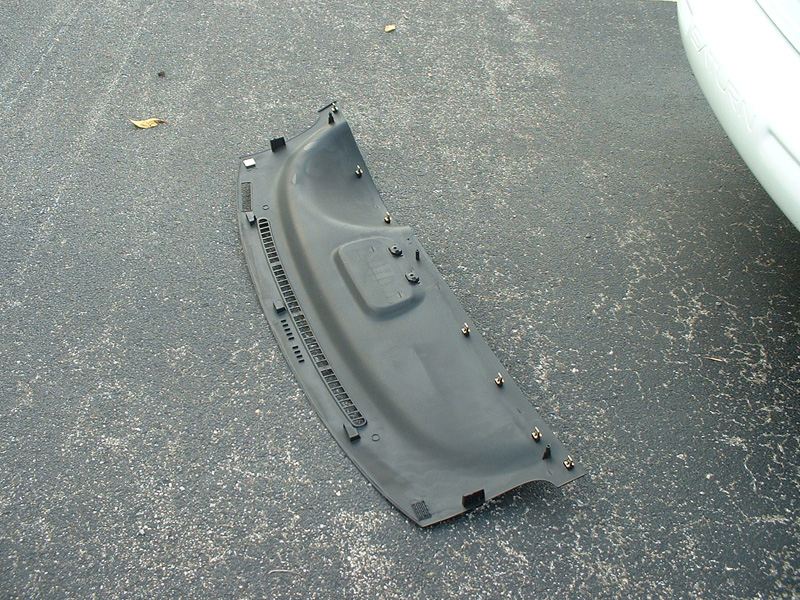
Pull trim outward. The trim is held on by metal clips. Start at the top or bottom, and work your way along the trim, carefully but firmly pulling the trim outward to dislodge the clips.
Installation
Installation is the reverse of removal – line the clips up & push to snap them back in, then re-install the dashboard cover.
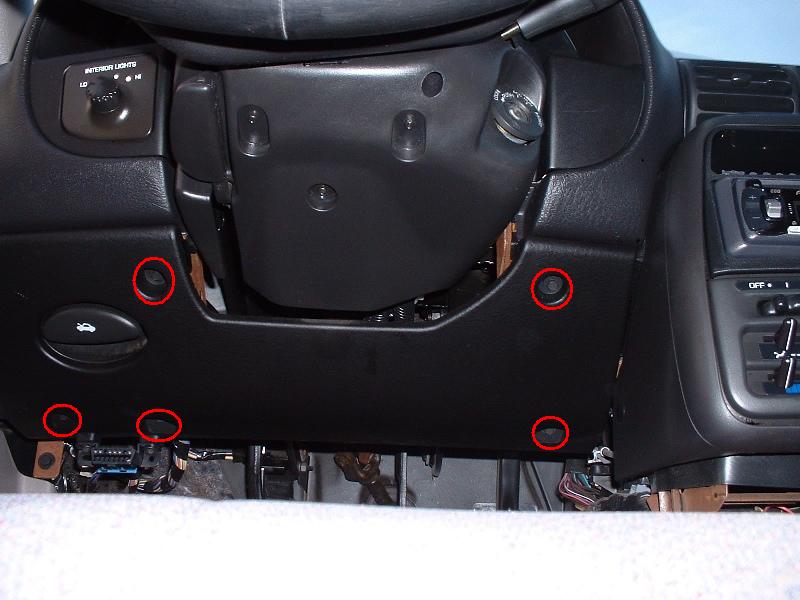
Remove OBDII connector. There are 2 screws holding it on – use your 7mm socket.
Step 2
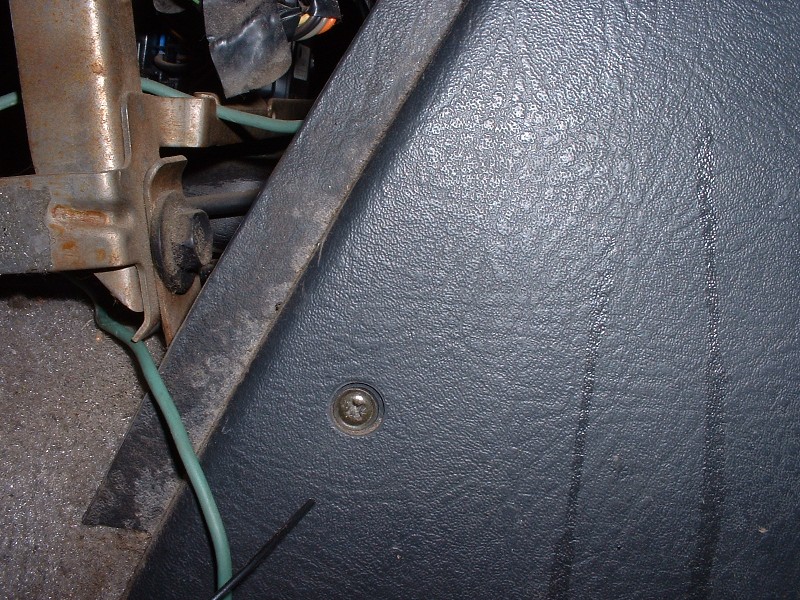
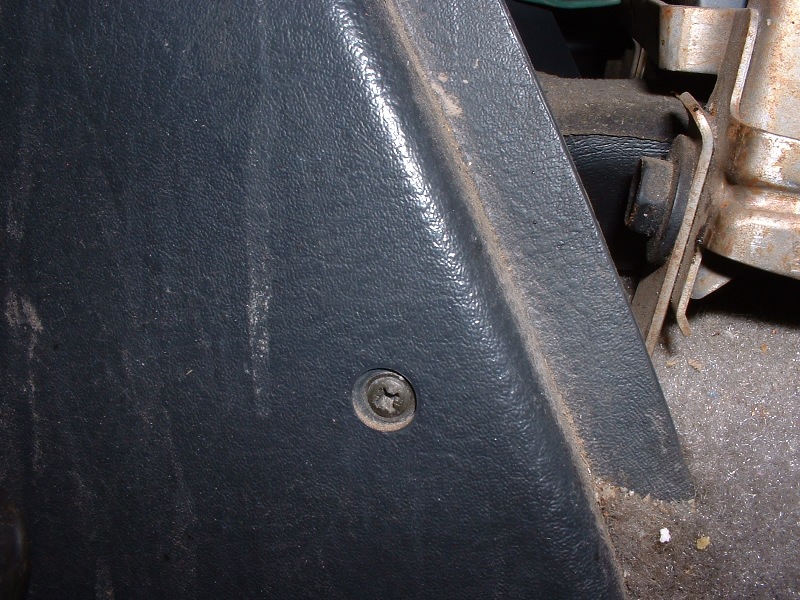
Remove 5 screws. These all also require the 7mm socket.
Step 3
Remove hood release handle. I haven’t actually removed this personally – I didn’t need to for what I was doing. It appears to just be a few more 7mm screws holding it on, though.
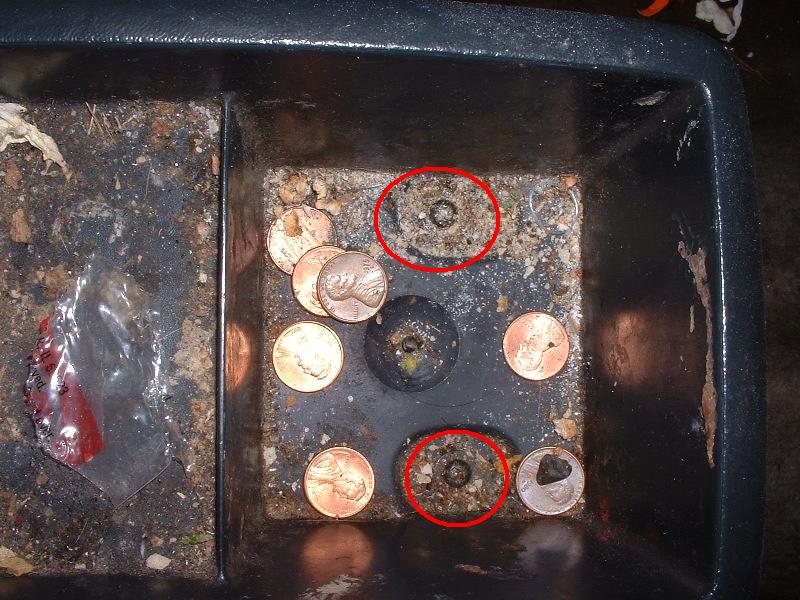
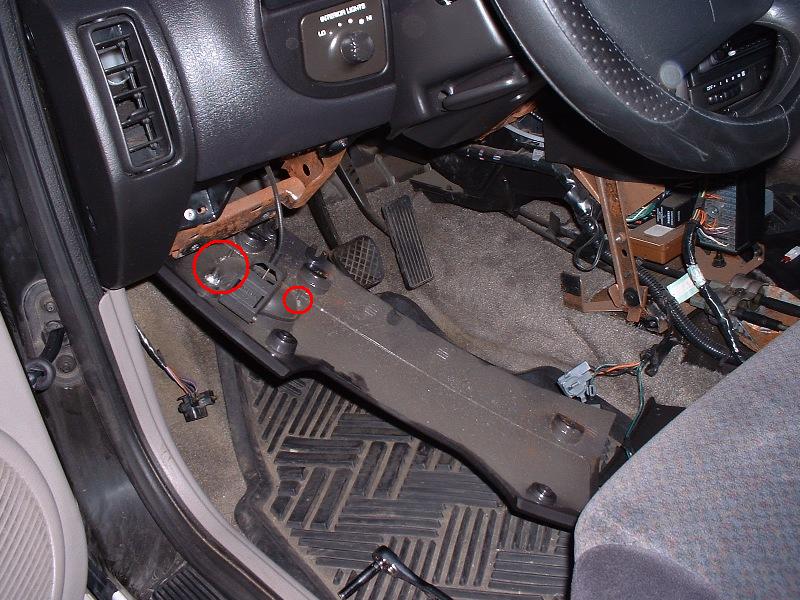
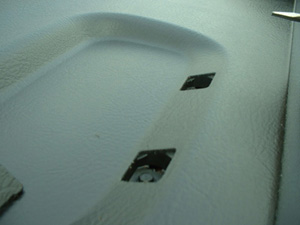
Remove the bolt covers. There are 2 bolts holding the dash down in the center of the dash. They are covered by small, square plastic pieces. Use the flat-head screwdriver, insert it in the groove, and gently pry in and up. The pieces should pop right out.
Step 2
Remove the bolts. (I will try to add the specific socket size you need later – it is metric) The bolts are normal thread, so loosen them counter-clockwise.
Step 3
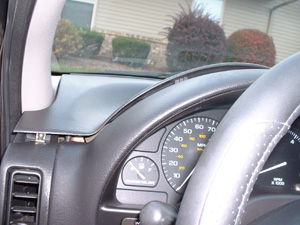
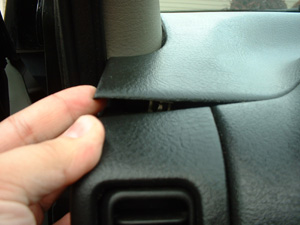
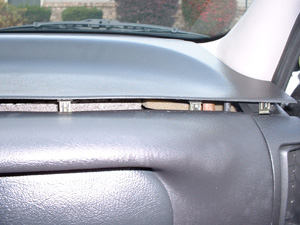
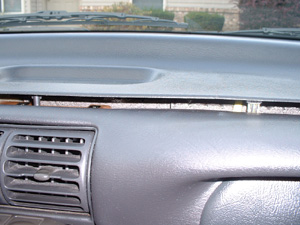
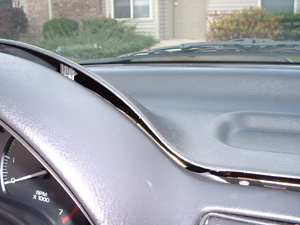
Unsnap the dash cover. The rest of the dash top is held down with metal snaps. Gently work your way along the dash top unsnapping the top. There are also a couple of pieces of velcro in the back of the dash, which will detach easily as you pull the dash out, after unsnapping the metal snaps.
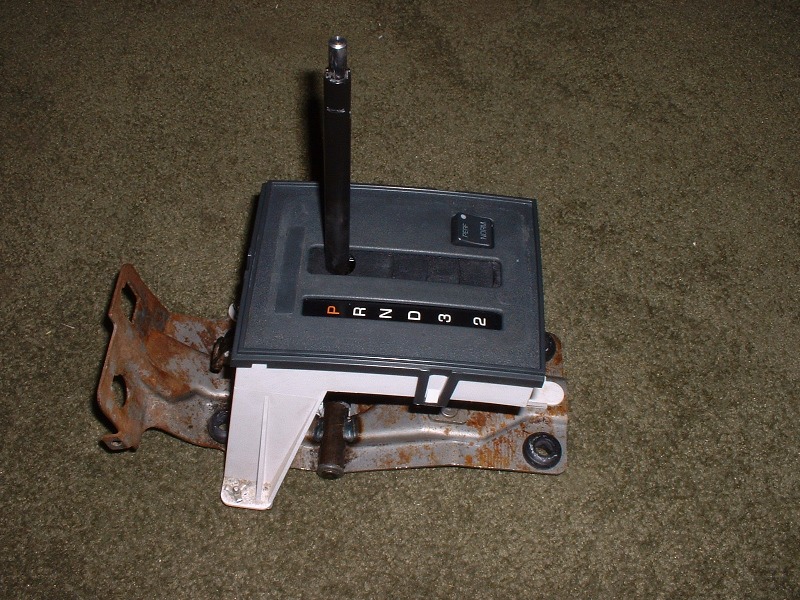
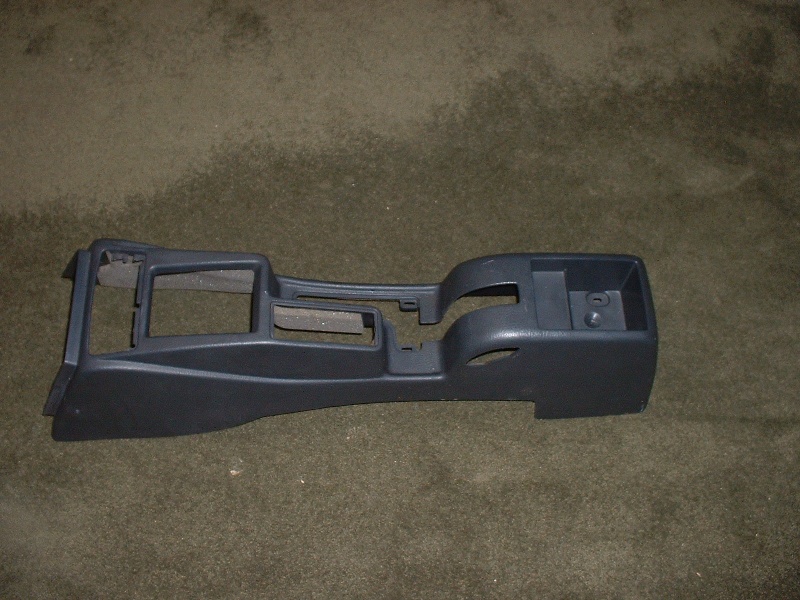
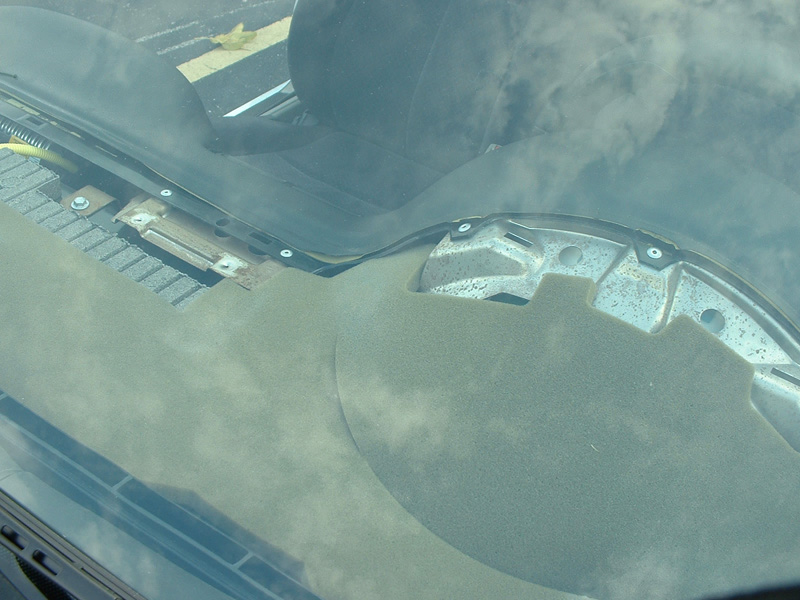
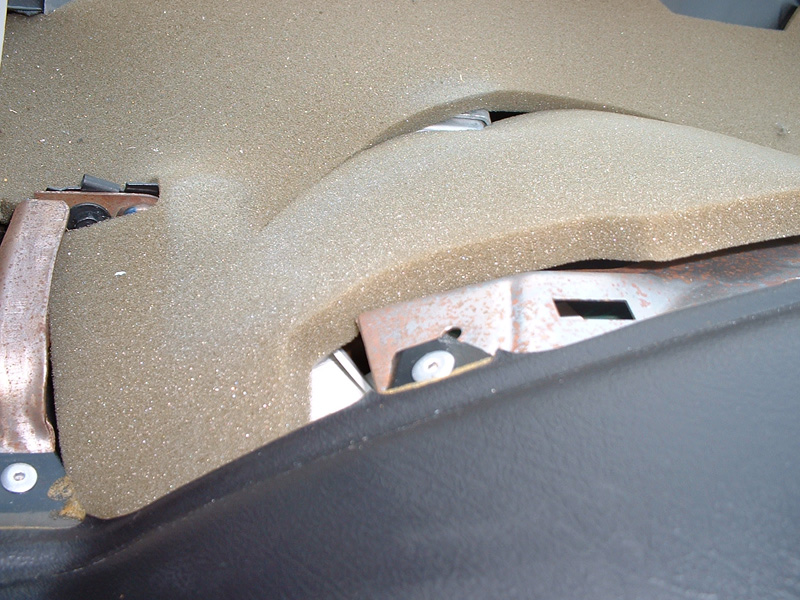
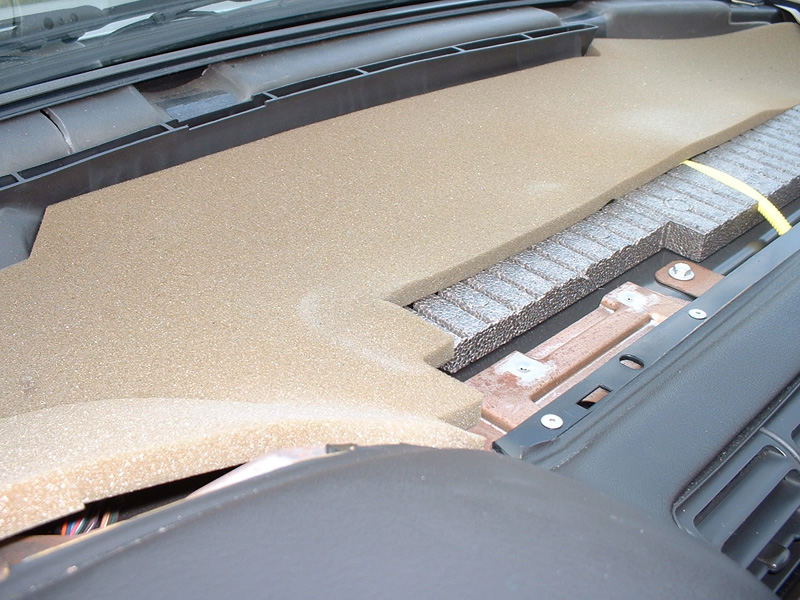
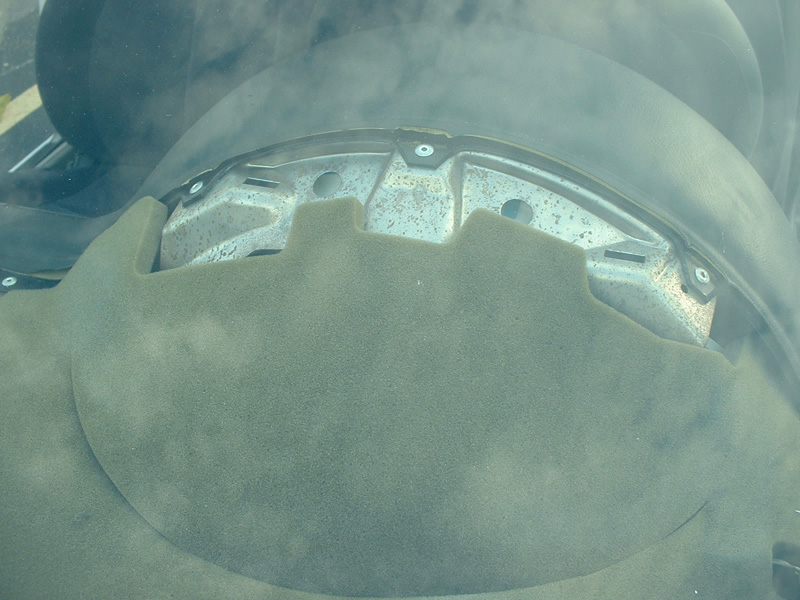
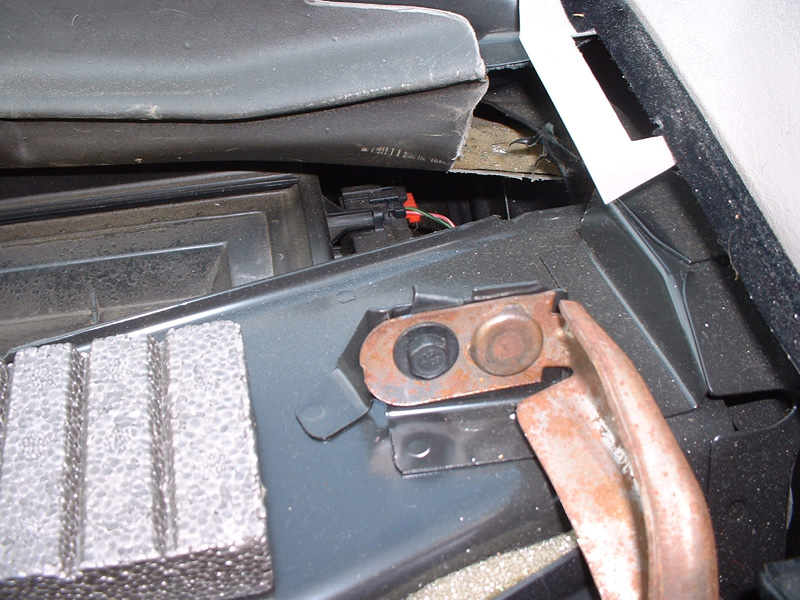
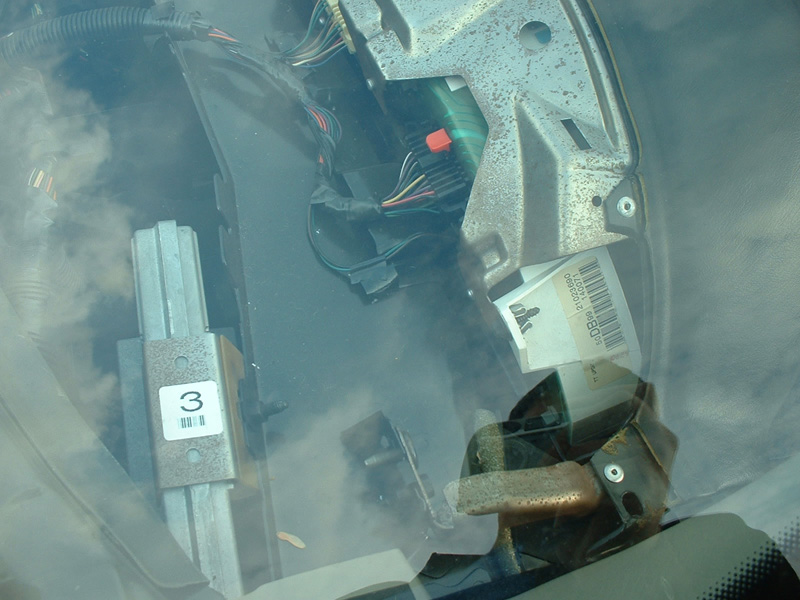
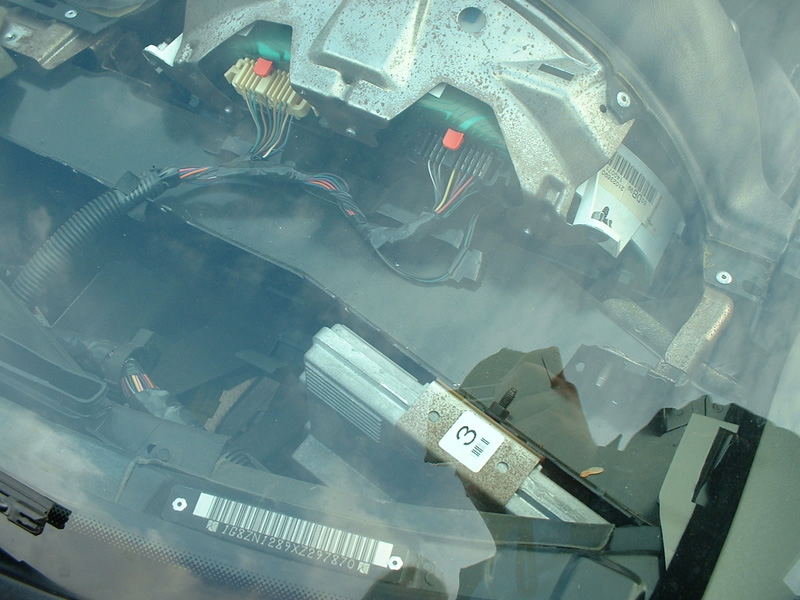
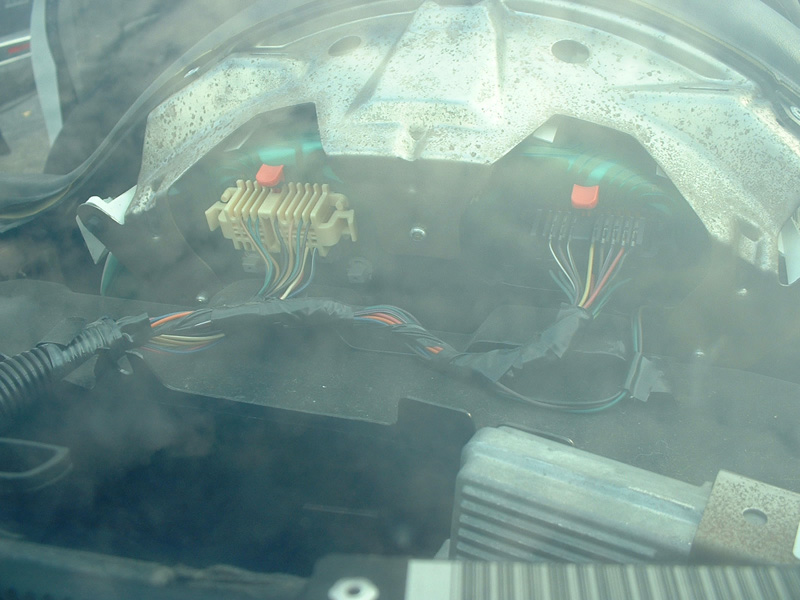
Some pictures of what you’ll find after disassembly.
Inside the center console is the airbag system’s inertia switch, which detects changes in the car’s motion. Hitting this box could result in the airbags going off. While you can just try to be careful when working under the center console, I recommend disabling the airbags whenever working near the switch.
Tools
Flat-head screwdriver or other prying tool
Ratchet
8mm socket
Disabling
Step 1
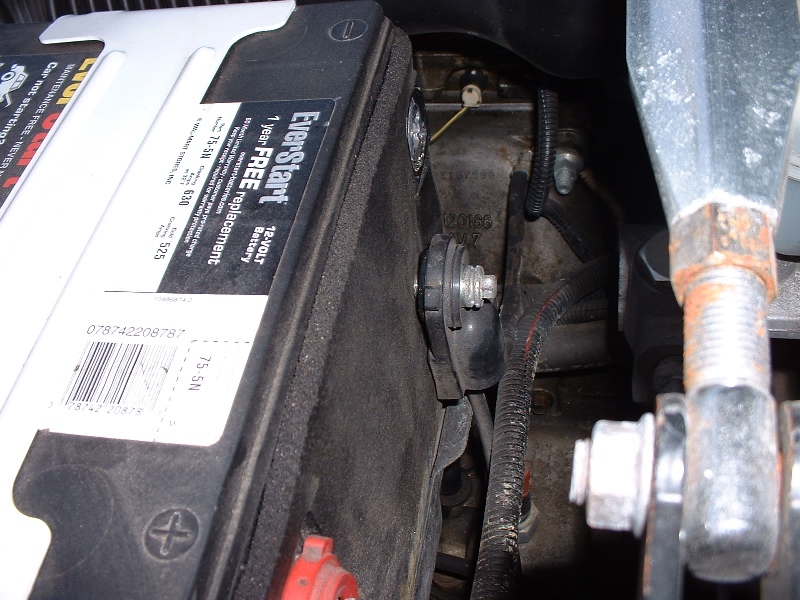
Disconnect the negative battery cable. It’s the black one. You’ll need the 8mm socket.
Step 2
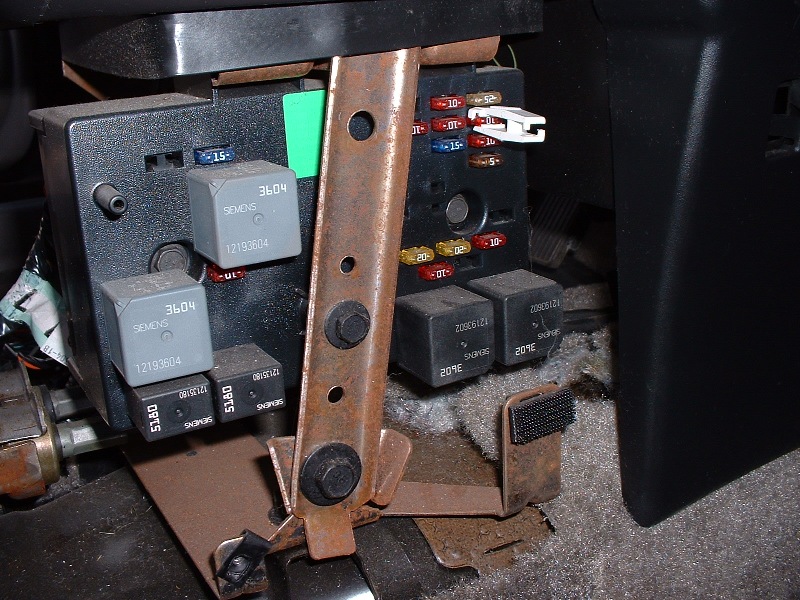
Remove the airbag fuse. It is located in the fuse box in the passenger side of the center console. The picture shows the fuse puller on the correct fuse for in my car, but I recommend checking the back of the cover panel for the correct fuse location. Despite what some may think, this alone will not disable the airbags – there are capacitors that store energy. Do not stop at this step.
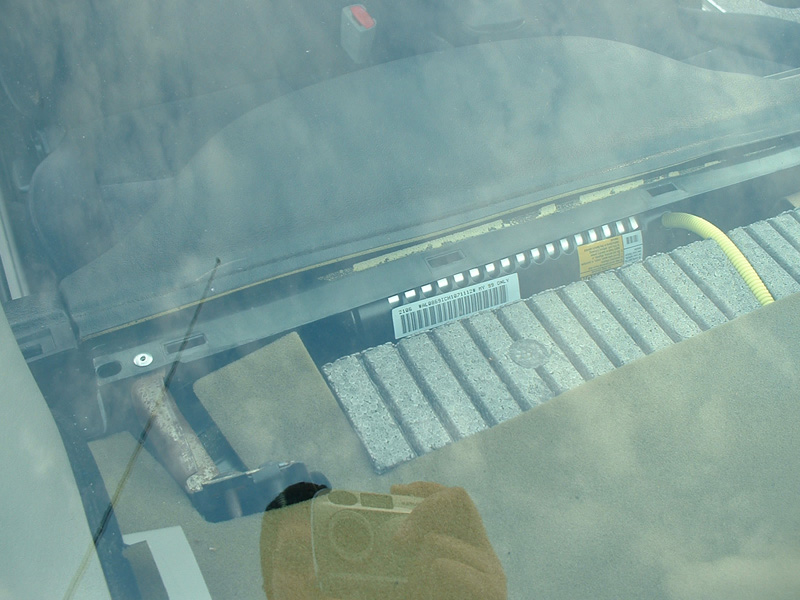
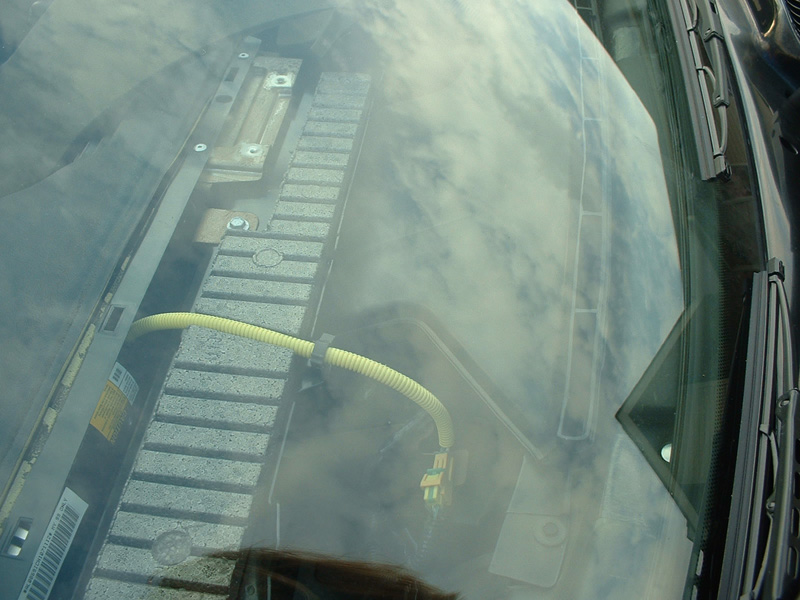
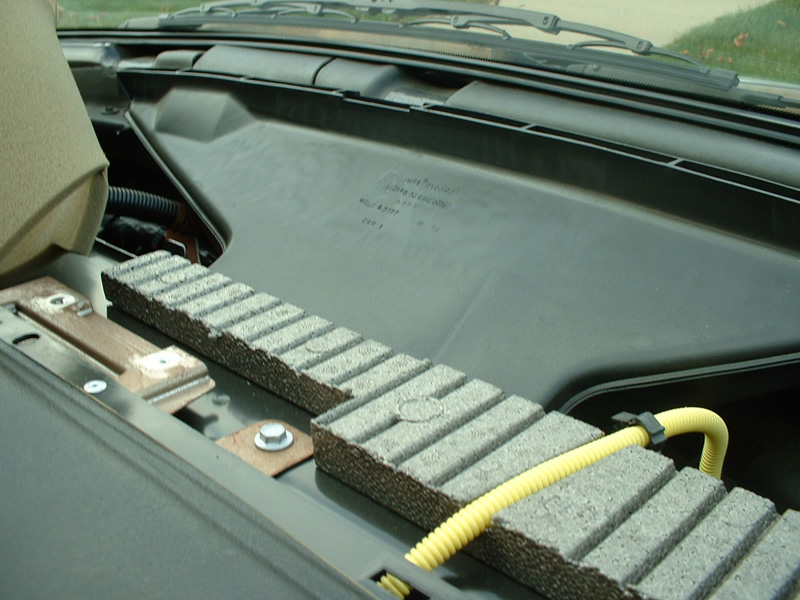
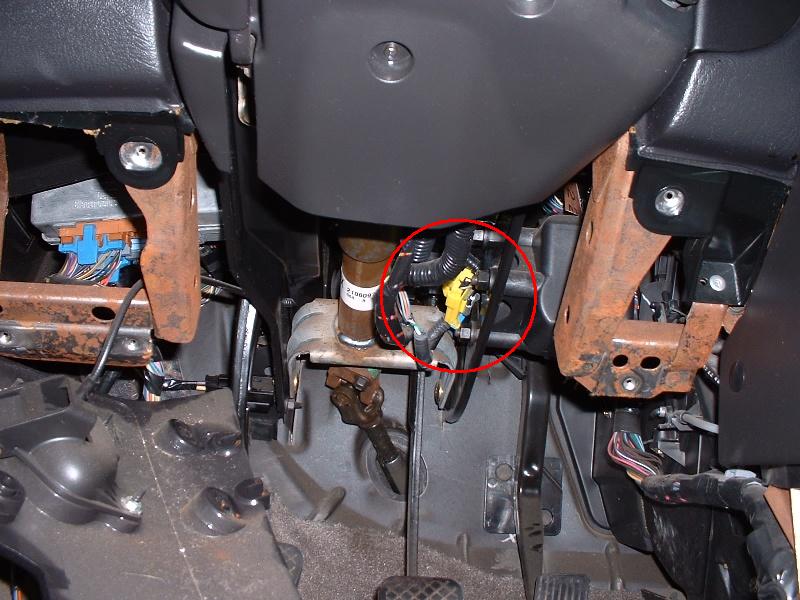
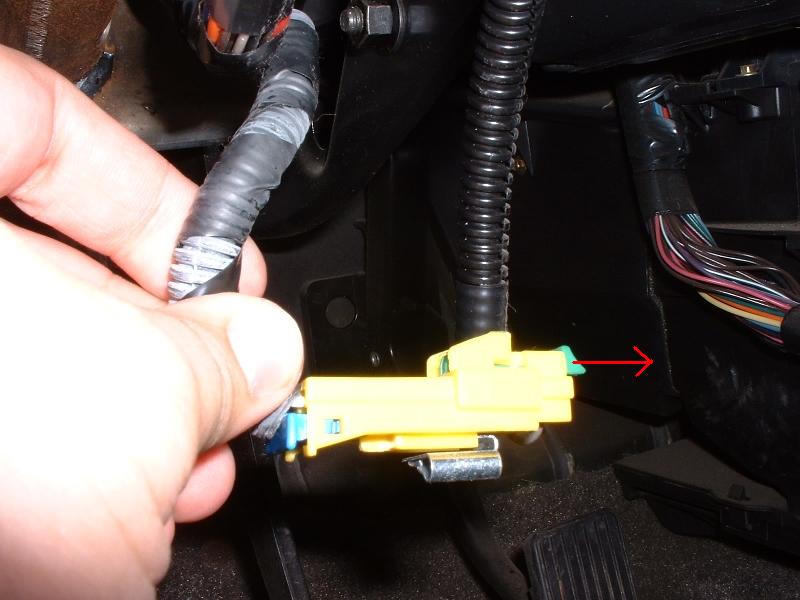
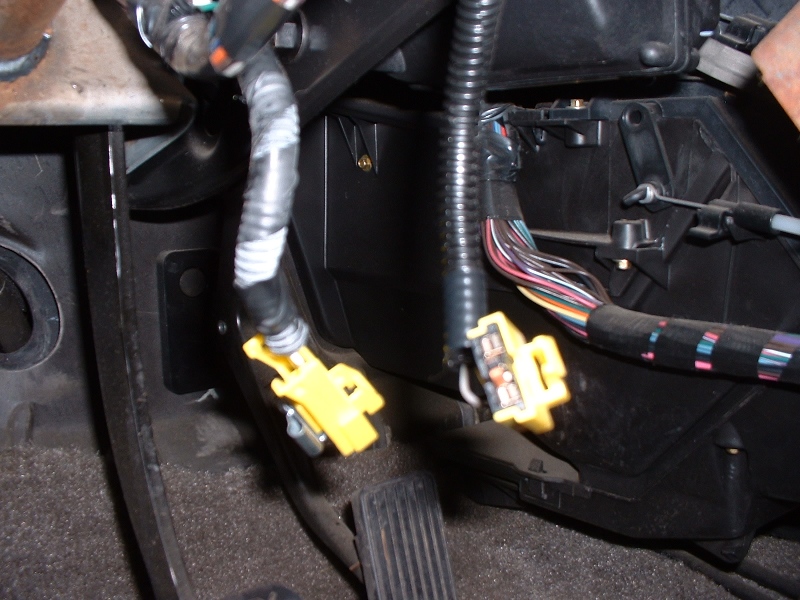
Disconnect the drivers side airbag. The harness is easy to spot because it’s bright yellow. It has a metal clip on it holding it in place – just wiggle the harness around and the clip will slide off of the metal it’s mounted to. Then use your flathead screwdriver to push the green locking pin out of the harness. With the pin out, you can push in the clip and undo the harness. Don’t worry about taking the blue pin out.
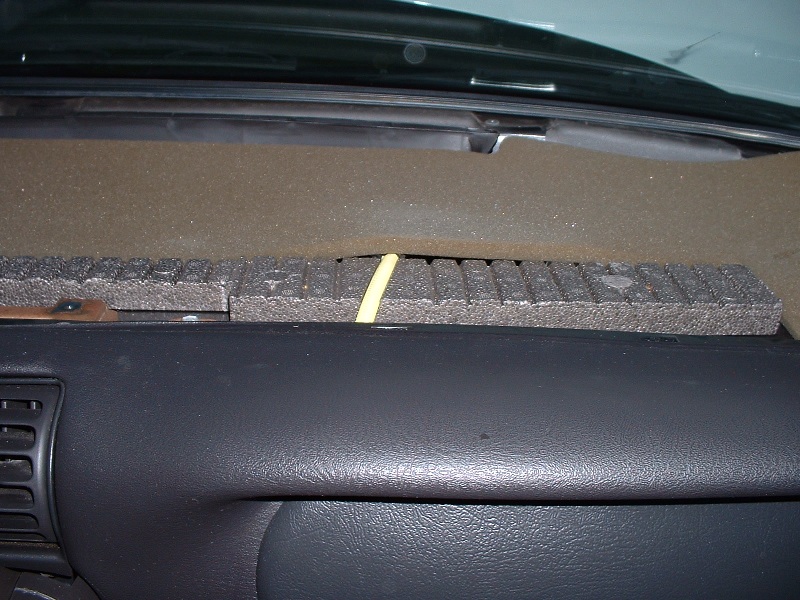
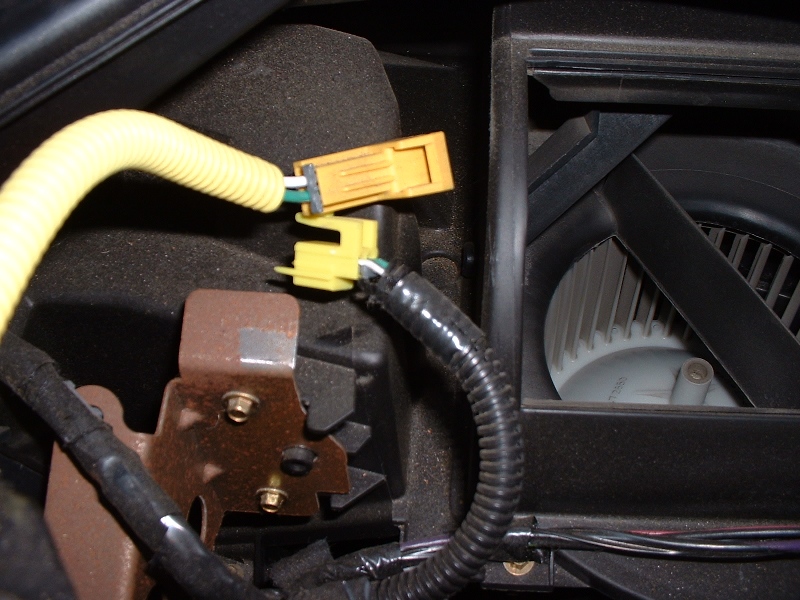
Disconnect the passenger side airbag. You’ll spot the yellow wire loom, which leads to the yellow wiring harness (just lift the foam out of the way). This one also has a metal clip, so wiggle it off of where it’s mounted, push the green locking pin out, push the clip in and disconnect the harness.