Tech Talk #2: Event Preparation

Date: May 14, 2007
Source: SBR SCCA Blog
Author: UFP Pyro
Source Link
Tech Talk #2: Event Preparation

Ladies and Gentlemen, we are under way! The South Bend Region kicked this years Solo season off with a bang once again! 106 entries with plenty of new faces, made our first event of the season spectacular. It was also my first event as tech chief. I gotta tell ya, I learned a whole lot more than I expected to that day, and I wish to pass that information along to you. They say hindsight is 20/20, but in Solo we need to be looking ahead, which is what this article is about, looking, and planning ahead. Things you can do before, during, and after an event.

Things you can do before coming to an event:

  • Check all of your engine’s fluids. We all know the importance of having proper fluid levels. Make sure they’re where they should be.
  • Clean the car up: Make it look presentable. Solo II events are not only a competition, but a car show of sorts. Clean her up and show her off a little because, chances are your car will be photographed, and possibly posted on the web. Everybody loves a shiny car. Remove anything and everything that doesn’t apply to autocross, or the journey to and from.
  • Do a quick inventory of the things you plan to bring with you. I can’t tell you how many times I’ve found my self at an event and have forgotten something. This is experience talking here. Get stuff together the day prior.
  • Do a quick inspection of the car’s ball joints and tie rod ends if possible. Solo II can put a lot of stress on these parts, and you really do NOT want them to break during competition.

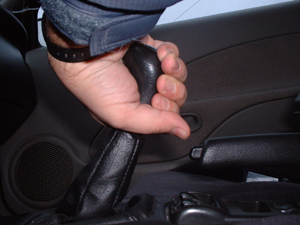
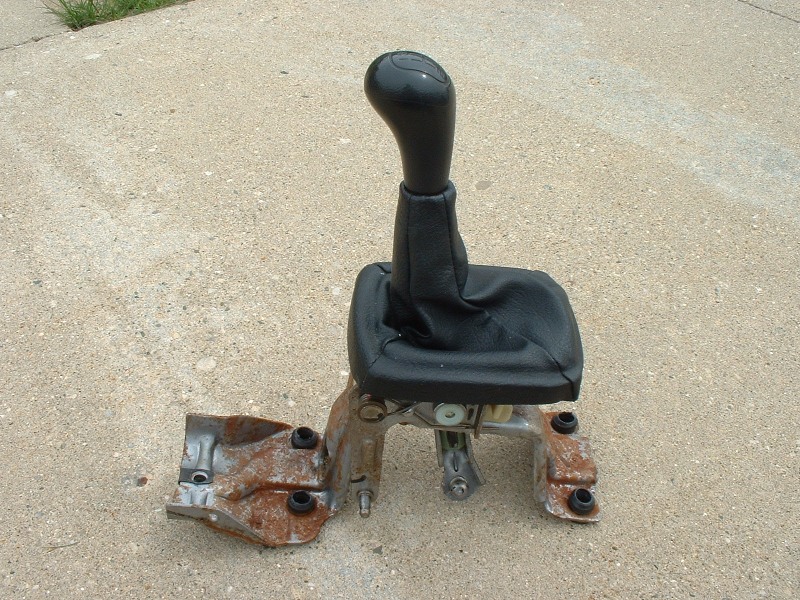
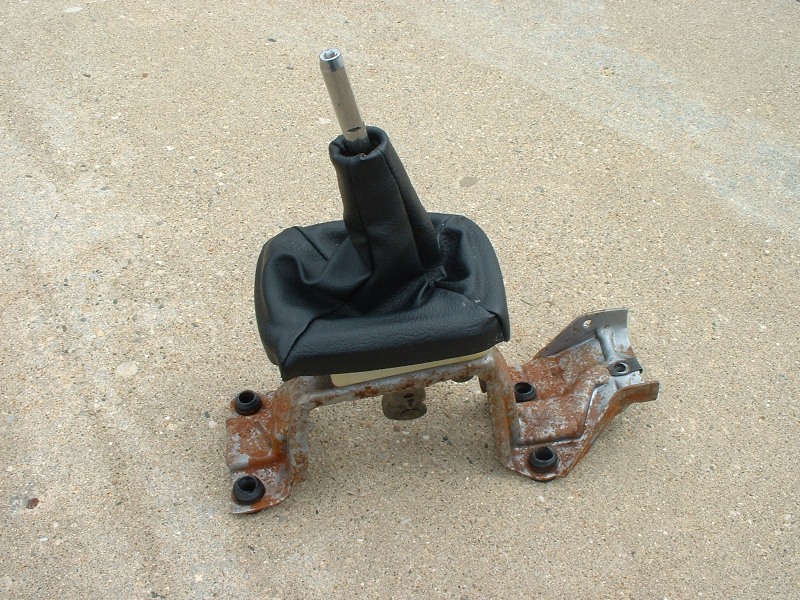
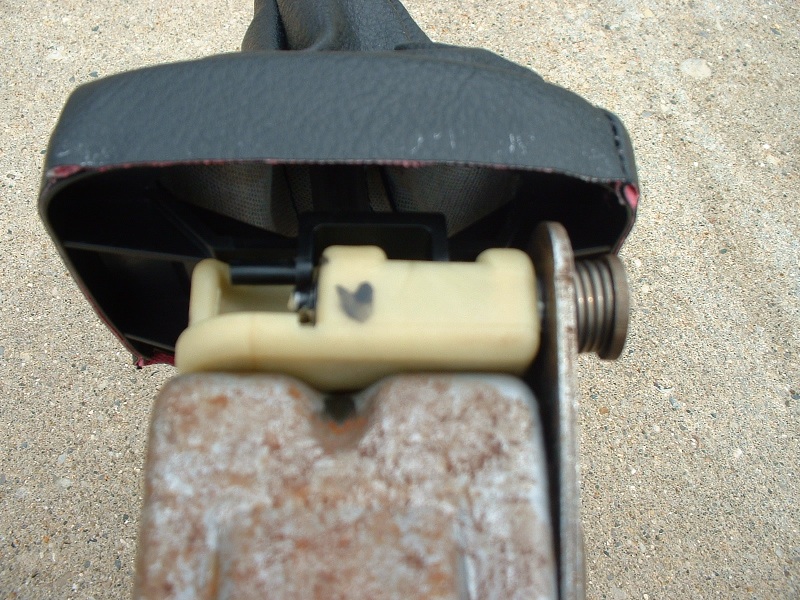
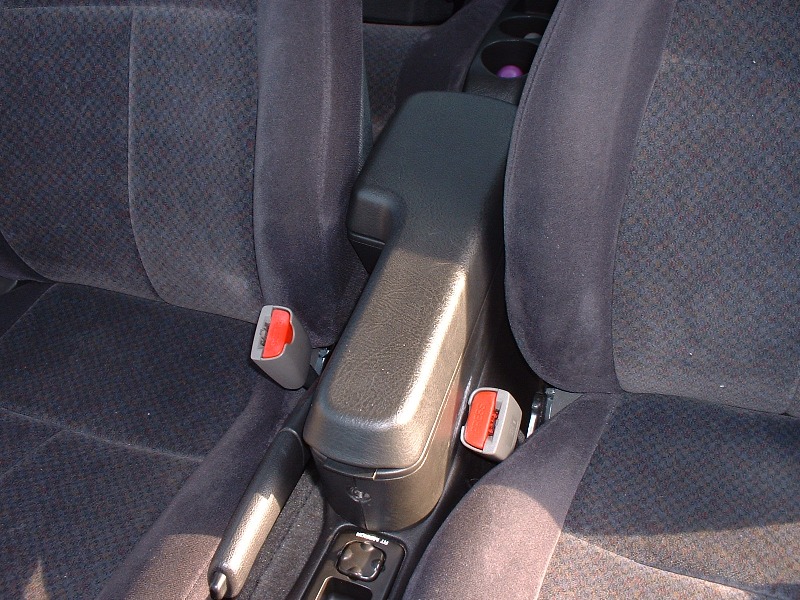
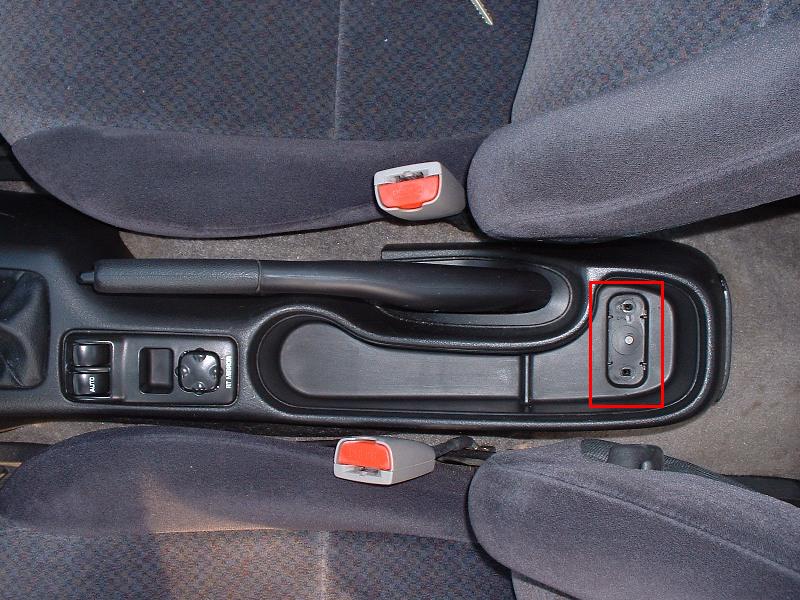
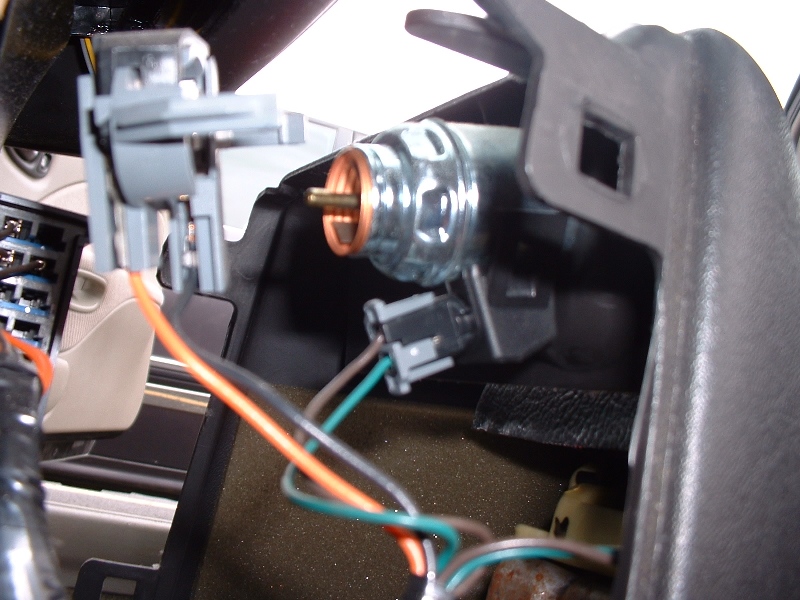
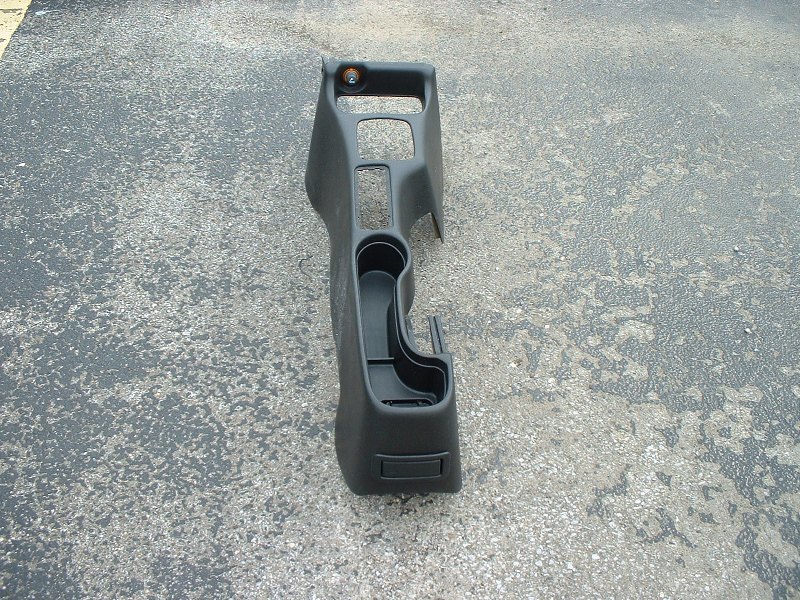
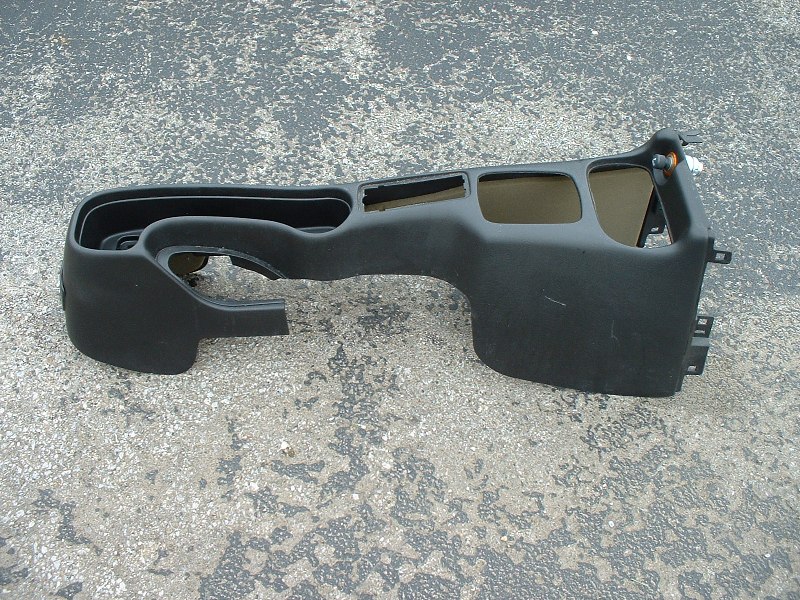
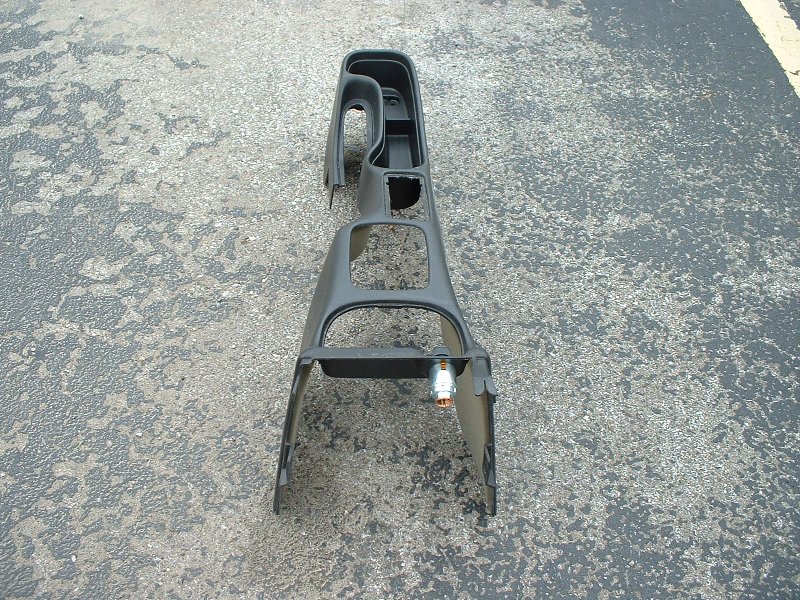
Example: This is a 1998 Eclipse GS-T that belongs to a friend of mine.

tommyride2

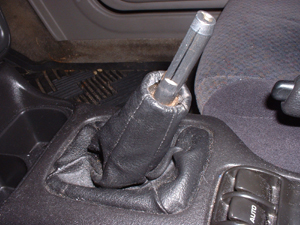
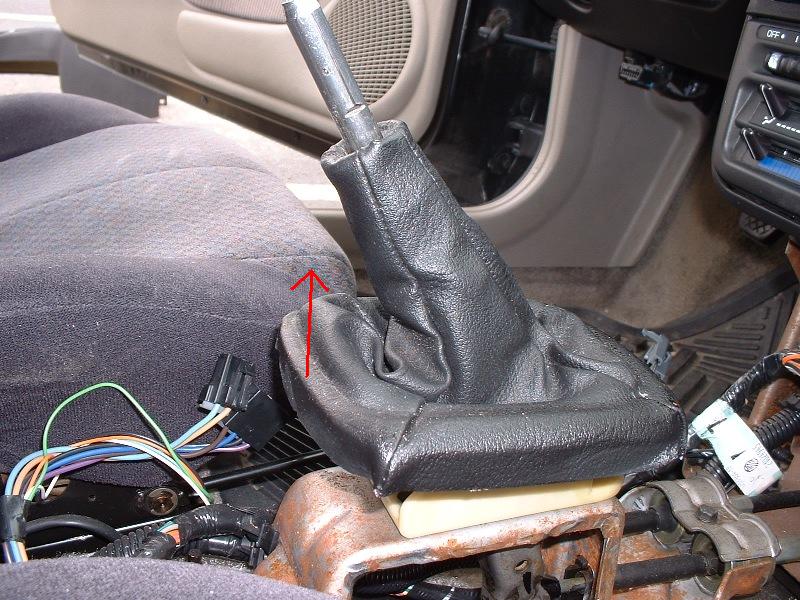
Here is the same car as it sits right now

ouch1ouch2

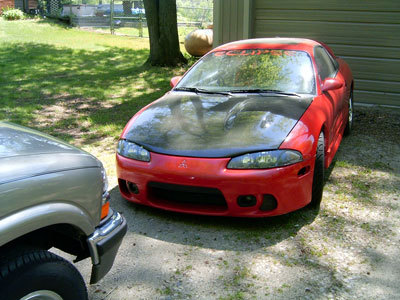
The passenger side ball joint broke while he was doing less than 10 mph. He was very fortunate that his speed was low, and he was only 150 yards from home, because when it broke he lost all steering capabilities. The lower control arm fell to the road, causing the suspension to drop, and bringing the wheel into the fender causing a lot of damage. The CV axle was also pulled right out of the transmission. There’s more damage than that, but you get the idea. A simple inspection of the ball joint would have revealed a serious problem.

How to inspect your ball joints and tie rod ends:

The best way I’ve found to do this is to get both front wheels up in the air. Jack the car up and place it securely on jack stands, and then place wheel chocks behind the rear wheels. With the car up and the steering locked, grab the top and bottom of the front tires and give them a firm jiggle. There should be no movement or “slop.” Grab the tires by the sides and do the same. From side to side, there may be a little movement, so watch the steering wheel as you do this if possible. If the steering wheel is not moving, but the front wheel is, or you hear a slight clunking sound, there may be a problem. A visual inspection of the ball joints and tie rod ends is also in order. Many vehicles have “serviceable” tie rods and ball joints; i.e., they need lubed. If you are unsure on how to properly lube these parts, or how to visually inspect them, please seek assistance. Nothing I can say here will remotely compare to a visual demonstration by a mechanic or competent “Do It Yourselfer”.

Once you arrive at an event:

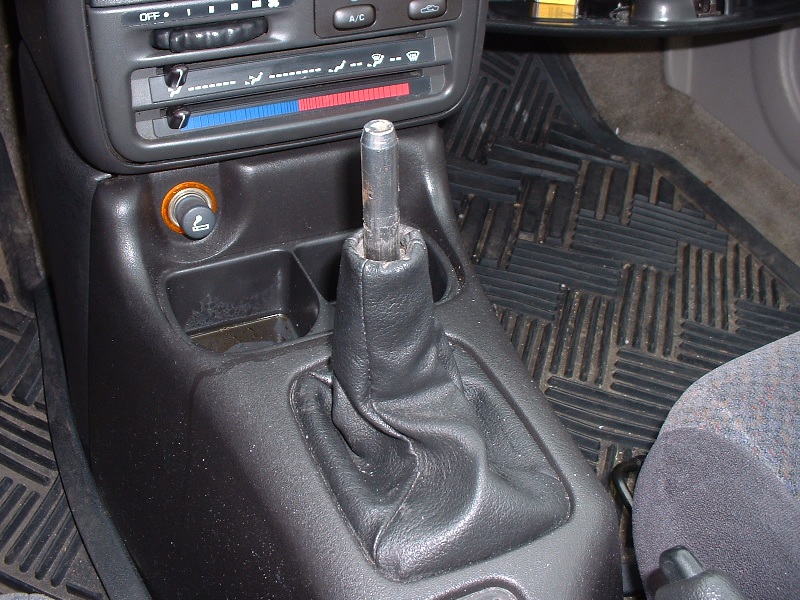
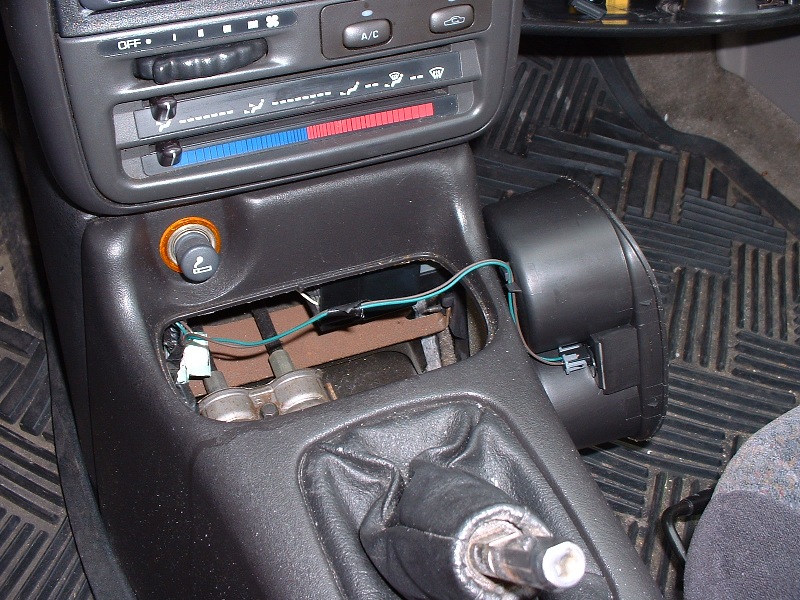
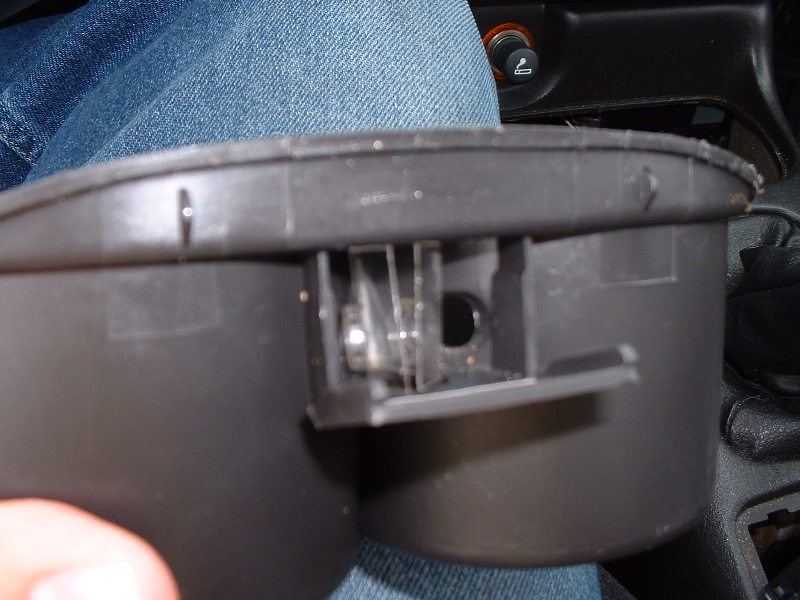
After you arrive, and find yourself a cozy little spot in the paddock, you have one of two options. Get registered, or go through tech. If you arrive before registration opens, then you have a little time to spare, but not as much as you might think. If you arrive after registration is open, go see them first. The sooner people get through registration the better. It just helps get the day going sooner for everybody. I will have tech inspection open before registration, but before you see me, there are some things to do. If you are going to change tires, now is the time. Make sure you torque the lug nuts after your tire change. I cannot stress this enough. Remove ALL loose objects from the vehicle. Floormats, cups, child seats……anything that can move around needs to come out. An innocent enough garage door opener can quickly turn into a U.F.O. (Unfriendly Flying Object) in autocross conditions. If you have an after-market stereo system with a sub enclosure, it needs to be removed also if the box and amplifier are not securely fastened. If you need to remove this item, I also ask that you remove the fuse for the main power, or “hot” wire for the amp. If your system is not equipped with a fusible link, then I require several layers of electrical tape be wrapped around the exposed part of the”hot” wires. If the car has hub caps, they gotta go also. We don’t want one coming off and injuring a course worker. After everything is removed, place it in a part of your paddock area that is out of the way so as not to be tripped or run over. Now is a good time to apply your numbers and class lettering so we know what to write on your tech sticker.

Going through Tech:

Here is a basic rundown of what to expect from a tech inspection.

  • We are going to check the tires. We’re going to visually inspect them for excessive wear or “cording”. We’re going to give each one a jolly good shaking to make sure there is no slop in the ball joints, and to help ensure they are on tight. We’re going to inspect the lug nuts also, and ask you if you torqued them, if they have been changed.
  • We’re going to check the interior of the vehicle. Anything that can come loose should be out of there.
  • We’re going to check the brake pedal to make sure it is firm and working.
  • We’re going to check the battery to ensure it is fastened securely. Bungee cords and zip ties are not the answer here folks.
  • We’re going to check the throttle return, where applicable. The “Fly By Wire” cars get to slide on this one.
  • We’re going to do a visual safety inspection of the overall vehicle. Vehicles with random body parts falling off, dangerous interior conditions, or engines spewing their life blood all over tech will be disqualified from competition, no exceptions.
  • Finally, we’ll be checking your helmet. A SNELL 1995 or newer is the rule. If I don’t see that sticker in your helmet, you may not use it, and will have to use a loaner helmet.

OK, you made it through registration, and tech. You’ve walked the course (several times I hope) and have attended the driver’s meeting. Now the real fun part. You make your first run!! Did you change tires this morning? After your first run you gotta re-torque those lug nuts. I know it sounds crazy, but those puppies have a way of working themselves off. This is a huge safety concern on so many levels and I CANNOT stress it enough. Even after the event is over, and you have your street tires back on, it’s still a good idea to stop shortly into your return trip home and check the lug nuts.

Well, I think I’ve covered all the bases for this particular article. Once again, if you feel I am in error, omitted something important, or wish to share your mega millions lotto winning with me, my e-mail is always available to you. I thank you for reading, and leave you with a suggested quote by the late Carroll Smith.

“I am fully aware that much of what I have to say in this book is subjective. I wish that my knowledge and wisdom were such that this were not so. Many readers are going to disagree with my interpretations, conclusions and recommendations. I offer no apology. In each case I will put forth my personal best shot on the subject at the time of writing. I reserve my right to change my thinking at any time. ”

Respectfully Submitted,
Adam Lewis
South Bend Region SCCA Chief Tech Inspector

(Note from the author: This article is intended as a helpful guide, and nothing more. Every precaution should be taken concerning safety when performing any of the above tasks. If you are unsure about performing any of the above tasks, it is advised you seek the assistance of a professional. The “Author”, “The South Bend Region SCCA” or the “SCCA” CANNOT be held liable for any person(s) injured while performing these tasks, or be held liable for any damage to any vehicle(s) directly or indirectly resulting from the advice in this article.)

Tech Talk #1: Preparing for the Competition Season

Date: Mar 24, 2007
Source: SBR SCCA Blog
Author: UFP Pyro
Source Link
Preparing for the Competition Season

This is the first in a series of articles by SBR Autocrosser Adam Lewis.

Tech Talk
by Adam Lewis

It’s almost that time of year again folks!! The weather is getting warmer, the birds are returning home, and the garage doors are virtually buckling with anticipation to release the 4-wheeled beasts they’ve kept captive these long winter months. That’s right, the 2007 South Bend Region is on the verge of kicking off another fantastic season of SCCA Solo competition!

I can almost see it now. One hundred plus autocross competitors converging on The Tire Rack, or Lakeshore High School, or Grissom, anxiously awaiting their turn to unleash havoc on some unsuspecting cones. I can almost smell the fuel rich exhaust of a “mod” car. I can almost feel the warmth radiating from the course. I can almost hear the screams of protest from tires, that never dreamed they would be pushed to their limits by a “stock” vehicle.

Almost, but not yet. We still have just over a month before the first car breaks the timing beam. Since you still have some time on your hands, you might as well bring your autocross machine out of it’s winter slumber. If it’s been sitting for a while, it’s a good idea to go over it now, to make sure everything is in working order. If you drove your vehicle this winter, it still would be to your benefit to go over some basic inspections. Following are a few things you can do when getting your car out of storage, or switching it from winter to summer “mode.”

First and foremost – Change the engine oil. If the car was stored try to do this before you even start it. While your car was sitting these past few months, all of the oil has made it’s way back into the oil pan. At the very least this means your piston rings, rod and main bearings, cam(s) and rocker arms are dry of most, if not all oil. Also, oil sitting undisturbed for a long period of time will separate. All of the good lubricating molecules in engine oil will “float” to the top, while the gunk will be at the bottom. It’s also possible for water condensation to form inside an undisturbed engine, which will sink to the bottom of the pan. There it will hang out with the gunk by the oil pump pick up, conspiring an evil plan to make its way through your engine first. While this probably won’t destroy your engine, it certainly isn’t good, and causes unnecessary wear and tear. Changing the oil before starting a stored vehicle eliminates these threats.

If for one reason or another, you are unable to perform this task, there is one other option. There is a product on the market by the name of “Engine Restore.” It can be purchased at Autozone, Advance Auto, Wal-Mart, Meijer and most other stores with an automotive section. It’s available in 4, 6, and 8 cylinder formulas. For this purpose, no matter what engine you have, you want the four cylinder version. First, check your oil. If the oil on the dipstick is a half inch or more above the full mark, do not perform this option, and seek assistance with the oil change. If your stick reads below, at, or slightly above full, you’re good to go. Take the engine restore, give it a hardy shaking, and pour about half of it into the oil fill. The purpose for this is to at least get some of the internal parts coated, and to stir up the oil in the pan. Engine restore also helps to break down sludge and other gunk that might have formed in your engine. After completing the rest of the steps below, you can move the car out into the open and let it idle for 5 to 10 minutes, then drive to your oil/lube shop of choice for an oil change.

Check your tires. If the car sat directly on the tires, they may have developed flat spots. If the tires you plan to compete on are stored off the car, it is still a good idea to check them. They may have more wear on the tread than you remember, or may display the early signs of dry rot. A clear indication of dry rot is tiny cracks on the sidewall of the tire. Also be sure to check your tire pressure before driving.

Check all other fluids. Are coolant levels correct? How about brake, transmission or clutch fluid?

A few final things to do before you fire it up: Push the brake pedal a couple times. You don’t have to mash on it, just make sure it has a firm feel to it. If your car is equipped with a manual transmission, and a hydraulic clutch, go ahead and pump it a couple times also. If your car is fuel injected or is otherwise equipped with an electric fuel pump, turn the key to the “ON” position. You should be able to hear that tiny little electric whine for a few seconds. That’s your fuel pump priming. Once it stops, turn the key off, and once more back to “ON.” Wait once more for the pump to stop, and then fire it up. This is only to ensure your fuel lines are properly primed, and shouldn’t be necessary on vehicles that are driven at least once or twice a week or more. While it’s running, check the brake pedal once more, and allow your new oil to circulate for a couple minutes.

Congratulations, you’ve brought your car out of hibernation! Go take it for a spin. Listen and feel for anything abnormal, and be sure to correct any issues that may have arisen.

I certainly hope you found at least some, if not all of the above helpful. If you feel I have made an error, omitted something relevant, please feel free to contact me. Also, if you have a question you would like answered in a future article of “Tech Talk” please let me know. While my automotive experience is a bit above average, I certainly am not a “guru” yet. However, I have a broad range of resources, so if I don’t know the answer, chances are I know where to find it.

Respectfuly Submited,
Adam Lewis
South Bend Region SCCA Chief Tech Inspector

(Note from the author: This article is intended as a helpful guide, and nothing more. Every precaution should be taken concerning safety when performing any of the above tasks. If you are unsure about performing any of the above tasks, it is advised you seek the assistance of a professional. The “Author”, “The South Bend Region SCCA” or the “SCCA” CANNOT be held liable for any person(s) injured while performing these tasks, or be held liable for any damage to any vehicle(s) directly or indirectly resulting from the advice in this article.)

So you want to make a Saturn S-Series fast?

Date: Nov 4, 2007
Source: SaturnSeries.net
Author: Jonathan Swain (PurdueGuy)
So you want to make a Saturn S-Series fast?

This article exists to help set some expectations for the new Saturn enthusiast who wants to go fast. Doing this with a Saturn is, well, different. People will probably tease you about it, and it won’t be easy or cheap, but if there is one thing the owner of a fast Saturn can enjoy, it’s the look of shock on the competition’s face when you leave them behind.

Still, rule #1 for the Saturn tuner is: have a sense of humor. You will probably never be the fastest, and even if you are, some people will still say “it’s just a Saturn.” Laugh and move on, you’ll be happier.

Why you should be proud to have an S-Series:

This is by far the most common Saturn being modified, basically because they are cheap and plentiful. That’s not to say there aren’t other things to love about them. For one, they’re very very light weight. As a general estimation, they weigh about 2,400 pounds without driver. Individuals who have gotten serious about weight reduction have gotten under 2,000 pounds. While the best stock S-Series motor only puts out 124 horsepower, it may surprise you just how potent that horsepower is in such a light car. A twin cam S-Series in good running condition with good driver will run a mid to upper 15 second quarter mile.

Another great characteristic of the S-Series is the suspension. With a rear independent suspension, and a rear swaybar in the DOHC models, the S-Series performs very respectably in autocross events. This is probably where the S-Series shines most, in fact.

While the cars can put out good power if built and boosted (pushing near, or maybe even over 400 horsepower in more extreme builds), controlling that much power can be a real issue in drag racing. The light weight of the car can actually work against the car, leaving the tires spinning. As I write this, the top drag speed in Sixthsphere.com’s “Top 5 and 10 list” is a high 11 second quarter mile run. Still, this is plenty fast enough to drop some jaws, and get plenty of comments about how surprised people are that a Saturn is fast.

These can definitely be fun street cars. Good torque makes them quick off the line, and they love the twisties. Even a stock twin cam can embarrass many Civics and other common tuner cars out there. Don’t get cocky, though – those other cars usually have a better aftermarket than you, and if the owner knows what they’re doing, you could get smoked. At any rate, these make fun daily drivers to get a little zippy with. Please take racing to the track, though. It’s safer and will mean more when you win.

Now, the whole “making it fast” part:

If you want to be fast, you will want a manual transmission. There are swap guides online that will show you how to do it step-by-step, with torque specs and pictures. For more info on transmission options, check out the guides on saturnseries.net. The automatic will take at least a second off of drag times, and want to shift at all the wrong times in autocross. Some people still prefer the automatic, and that’s fine, but there is no debating that the manual is faster.

Nitrous is the easiest and cheapest way to make your car fast. Depending on how you use it, it may not stay the cheapest, as you’ll have to keep refilling that bottle. Also keep in mind that it’s not street legal. There are a lot of misconceptions about nitrous, how it works, how it’s used, etc. Read and understand what you are doing before you buy the first part. While nitrous can be a safe and reliable source of extra power, there can be a relatively small margin of error. An improper tune, a misaimed fogger, poorly controlled spray – all these things create a serious risk to your car’s health.

Forced induction is the most potent way to make your car fast. The S-Series has been turbocharged and supercharged before, so this is not some unexplored wilderness. If you’re willing to spend the time (both reading and building) and money, you can build a reliable, powerful boosted S-Series.

Single Cam:

For those of you with a single cam S-Series, let me say a few words to you. Everyone will tell you to swap to the dual cam engine. Even among Saturn enthusiasts, there will be those that look down on you and probably make insulting comments. You have some choices: you can listen to them and do the swap, or you can roll your eyes at them and decide to see what you can do with that single cam. Before you decide, you need to know this – if you decide to be “different” and modify the single cam engine, you will not be the first. Many people have done this, spending gobs of money on nitrous and turbocharging. The result? They were just a little faster than a twin cam Saturn… stock. Thousands of dollars spent trying to make a single cam fast will result in it being simply less slow.

That said, if you want to make a fast S-Series, your choice engine is the twin cam. With a few bolt-ons, you will be as fast as a single cam with thousands invested. Those who came before you that decided to go against the grain and turbo their single cam? They eventually swapped, regretting they ever bothered with the single cam. If you don’t feel you are ready to do a twin cam swap, then either find some help, or wait. Choose mods that will still work after the swap. For a naturally aspirated setup, this could mean exhaust (except header, which will not swap), intake, tuning stuff, and suspension work.

You may also choose to stick with the single cam in spite of the above. If so, I wish you better luck than others have had in the past. You will need to decide to be thick-skinned, and be ready to ignore what other people say. Just be sure it’s what you really want, and not a bull-headed way of covering up a fear of doing an intimidating engine swap. The swap isn’t really that difficult, and there are plenty of people in the online Saturn enthusiast community willing to help you.

Those of you with other Saturn models, I’m sorry, I don’t know enough about your car to tell you a whole lot. I will try to find someone who can give you some advice and ask them to write a similar article for you.

Remove manual transmission shift knob, without hurting yourself! (All S-Series)

Author: Jonathan Swain (aka "PurdueGuy")

Relevant Models

All S-Series with manual transmission

Tools

(None)

Notes

There are 2 ways to remove the shift knob – cut it and remove the clip, or pull really hard. The pulling method is easy enough, and doesn’t damage the knob, so it is preferred, but many people have hurt themselves when the knob comes loose suddenly.

The steps below should prevent some pain in the pull method, but take some strength.

Removal

Step 1

Sit in the driver’s seat, and put the shifter in 2nd gear.

Step 2

Put your right hand around the front of the knob, as pictured. This somewhat awkward positioning will give you control of the knob as it comes off, keeping you from hitting yourself in the head, or breaking your dome light (as many have done before).

Step 3

Put your left hand over your right one, and pull hard.

Installation

Place the shift knob on the shaft with the flat part lined up, and push hard. It may be easier with a rubber mallet.

Remove / Install Shift Boot (1995-2002 S-Series)

Author: Jonathan Swain (aka "PurdueGuy")

Relevant Models

All 1995-2002 S-Series with manual transmission

Tools

  • Flathead screwdriver (For center console removal)
  • Phillips screwdriver (For center console removal)

Removal

Step 3

Pull up on the back of the plastic base. The boot is glued to a plastic base which is snapped onto the shifter assembly. Grab the end toward the rear of the car and pull straight up, and it should unsnap. Once unsnapped, the whole thing will slide off the top of the shifter shaft.

Installation

Installation is the reverse of removal.

The boot is keyed, so you cannot install it backward. Slide it around until the front 2 snap points catch, then snap the back in place.

Remove / Install Center Console Cupholders (1995-1999 S-Series)

Author: Jonathan Swain (aka "PurdueGuy")

Relevant Models

All 1995-1999 S-Series

Tools

(None)

Removal

Step 1

Pull up & back. The cupholders are just snapped into place. As you pull up, also pull back toward the shifter some. It won’t require a lot of force, but don’t be afraid to give it a good tug. Be careful not not to yank it way out, since there are wires attached. As you can see, my cupholders were nasty from a major drink spill and needed cleaned.

Step 2

Remove the light. The light should slide back & out. You may have to tilt the harness a bit to release it. There is a little door that you can pop open with a screwdriver if you need to get at the lenses, which are just thin plastic.

Installation

Installation is the reverse of removal.

Remove / Install Power Window Switch (1995-1999 S-Series)

Author: Jonathan Swain (aka "PurdueGuy")

Relevant Models

All 1995 – 1999 S-Series with power windows

Note

The pictures for this DIY guide show the 2-switch assembly for the SC models. The procedure is essentially identical for the SL & SW models, but there are 2 more switches in the assembly and a larger plugin on the bottom of the switch.

Tools

  • Rag (optional, but recommended)
  • Flathead screwdriver (stubby works great) or other prying tool

Removal

Optional Prep

Step 1

Pry the back end of the switch upward. Put your rag around the end of the prying tool (to prevent scratching), carefully wedge it under the edge of the back end of the switch, and pry upward. The prying needs done on the back end, because the front end is held with a tab, where as the back end is held in with spring clips.

Step 2

Unplug the wiring harnesses. There are 2 wiring harnesses for the window switches (they’re larger than pictured if you have an SL or SW). You should be able to use your prying tool, or even your fingers to dislodge the clip for each and unplug them.

Step 3

Remove the mirror switch. You can unhook the wiring harness from the mirror switch just like the ones for the window switches, or you can even more simply unclip the whole switch from the surrounding plate. Just squeeze on the tab on each side of the switch assembly.

Installation

Installation is the reverse of removal.

Remove / Install Center Armrest (1995-1999 S-Series)

Author: Jonathan Swain (aka "PurdueGuy")

Relevant Models

All 1995 – 1999 S-Series (with optional armrest)

Tools

  • Phillips screwdriver
  • Flathead screwdriver

Installation

Step 1

Remove screw hole cover. At the back of the center console, there is a plastic cover over 2 screw holes. The location is marked below, but the cover is not shown. Just pop the cover loose with the flat-head screwdriver.

Step 2

Set the armrest in the hole. Pretty straightforward.

Step 3

Screw it in. Put 2 screws in at the back of the inside of the armrest. Place the screw hole cover back in place.

Removal

Installation is the reverse of removal.

Remove / Install Center Console (1995-1999 S-Series)

1995-1999 Saturn S-Series Center Console

Author: Jonathan Swain (aka "PurdueGuy")

Relevant Models

All 1995 – 1999 S-Series

Tools

  • Flathead screwdriver or other prying tool
  • Phillips screwdriver

Removal

Step 1

If a center armrest is not installed, remove 2 screws at the rear of the console. The same screws are used to hold down the console or to hold down the armrest – 2 phillips screws. You may have to pop a small plastic plate loose with your flathead screwdriver to get to the screws.

Step 2

If you have manual windows, you can just leave the little tray in.

Step 3

Remove screws at the front of the console. To get at the screws, you’ll pop the little black piece from in front of the fuse box on the passenger side (just grab & pull from the end toward the front of the car), and the same piece on the drivers side. There is one phillips screw on each side.

Step 5

Disconnect cigarette lighter. You should be able to slide the console out a bit for better access by now. There is a power plug on the back, and a light on the bottom of the cigarette lighter. Each just clips on, so use your prying tool to pop them loose (or you may be able to do it with your fingers).

Step 6

Remove the console. It should be loose and free of all wires now

Installation

Installation is the reverse of removal.