Sorry, this is just a placeholder post – we need someone to build this guide! Click the button above if you’d like to contact us about building & submitting this guide.
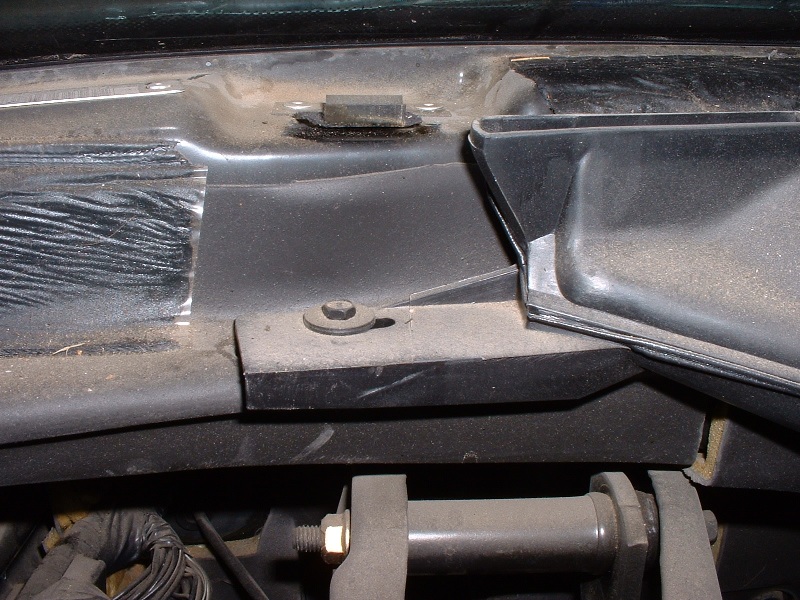
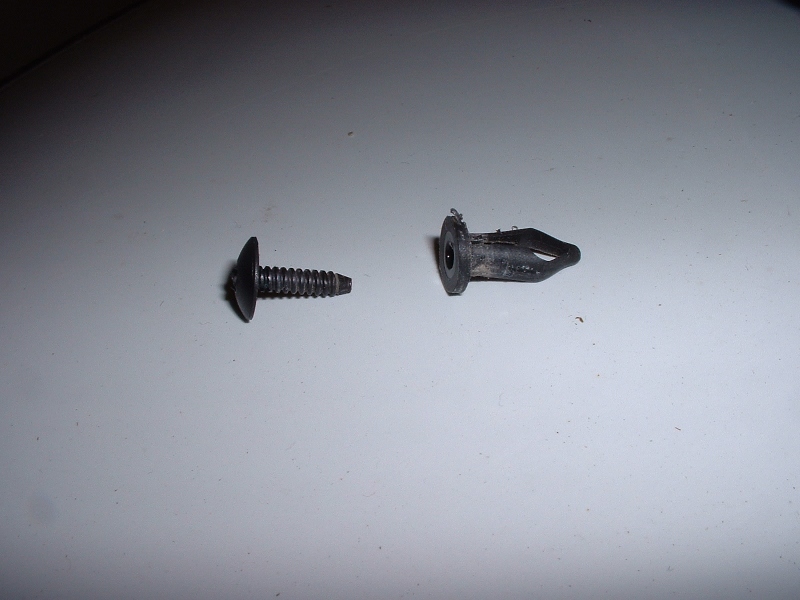
Remove the retainer pin at the bottom of the C-pillar. This is a two-piece retainer. Remove the top part of the pin first, then the lower. The top part of the clip looks like a philips screw, but it is not – it will just spin & spin. A prying tool like the one shown below is very helpful, though a small flathead screwdriver could work, too.
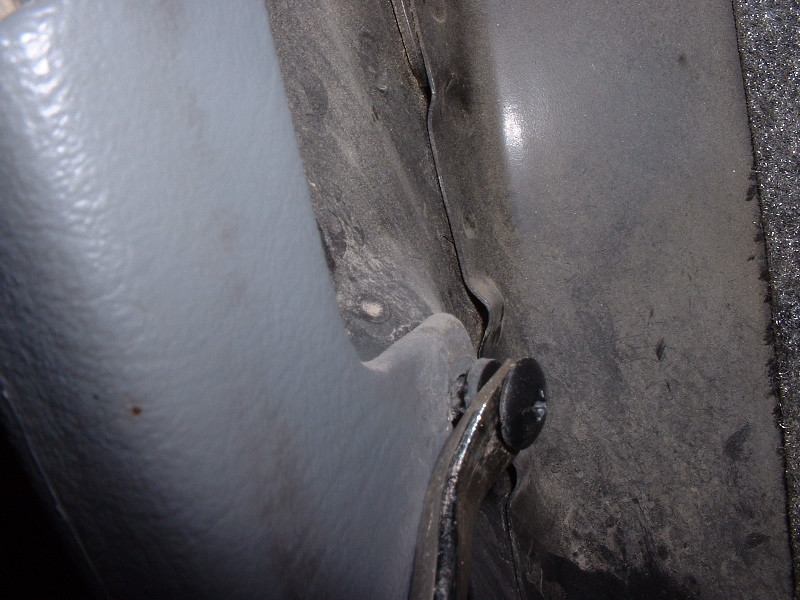
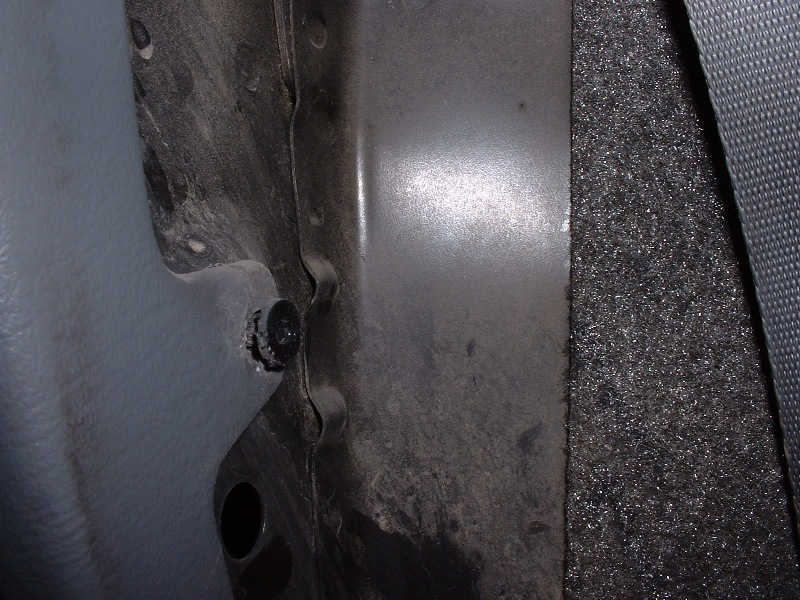
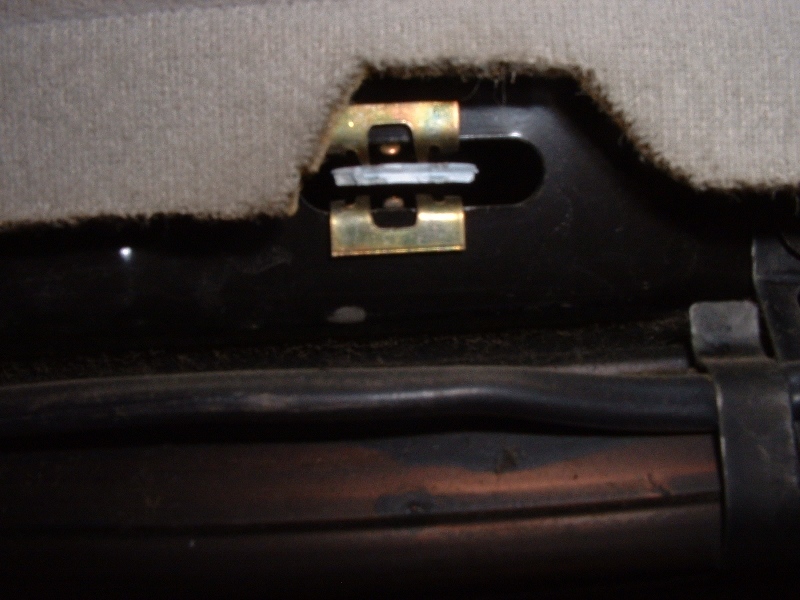
Get the prying tool in between the two parts of the head of the retainer, as shown below. 2nd picture shows the inner pin removed.
Step 5
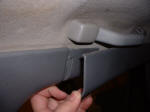
Unclip trim carefully. You will likely break off some clips, unfortunately. To minimize this, use a small prying tool and pry the trim outward as near to the clips as possible. Sadly, some clips will likely still break.
Remove the 2 retainer pins at the top of the trim by the seatback. These are two-piece retainers. Remove the top part of the pin first, then the lower. The top part of the clip looks like a philips screw, but it is not – it will just spin & spin. A prying tool like the one shown below is very helpful, though a small flathead screwdriver could work, too.
Get the prying tool in between the two parts of the head of the retainer, as shown below. 2nd picture shows the inner pin removed.
Step 3
Unclip trim carefully. You will likely break off some clips, unfortunately. To minimize this, use a small prying tool and pry the trim outward as near to the clips as possible. Sadly, some clips will likely still break.
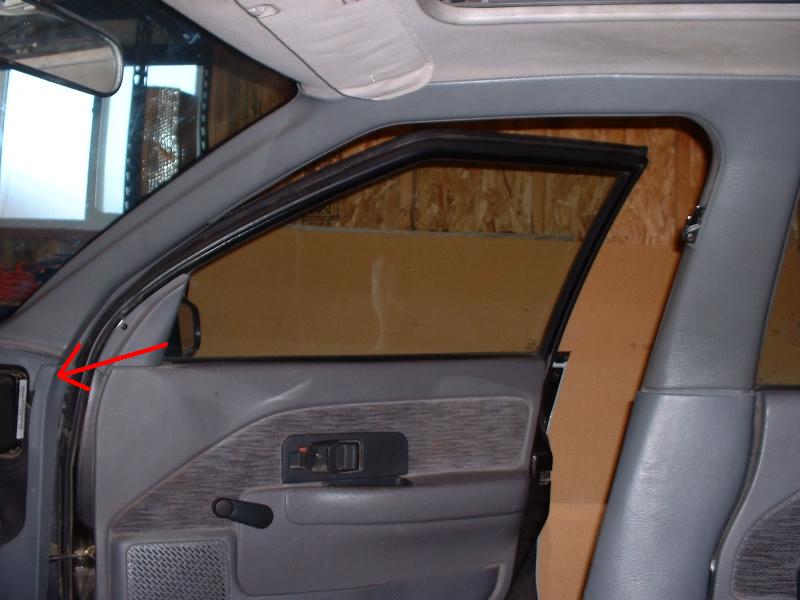
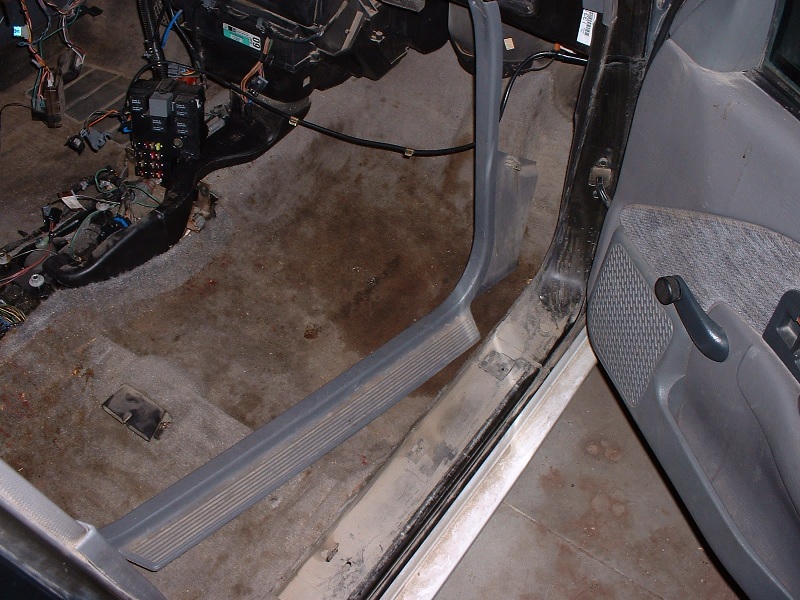
Loosen or remove overlapping trim. Three pieces of trim – the front door upper trim, the front door lower trim, and the rear door lower trim – overlap with this one, and they need to be loosened or removed.
Sorry, this is just a placeholder post – we need someone to build this guide! Click the button above if you’d like to contact us about building & submitting this guide.
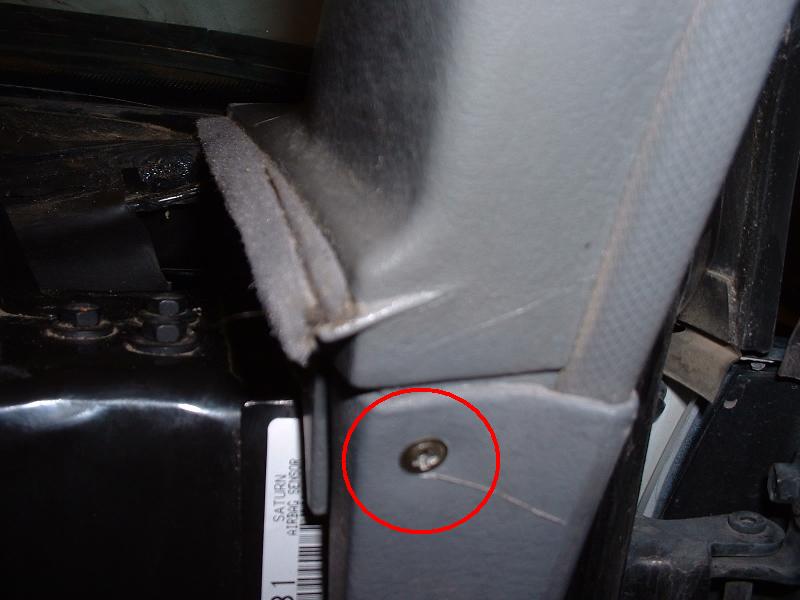
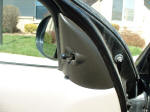
Remove phillips screw at the base of the A-pillar.
Step 3
Loosen or remove overlapping trim. Two pieces of trim – the front door lower trim, and the rear door upper trim – overlap with this one, and they need to be loosened or removed.
Step 4
Unclip trim carefully. You will likely break off some clips, unfortunately. To minimize this, use a small prying tool and pry the trim outward as near to the clips as possible. Sadly, some clips will likely still break.
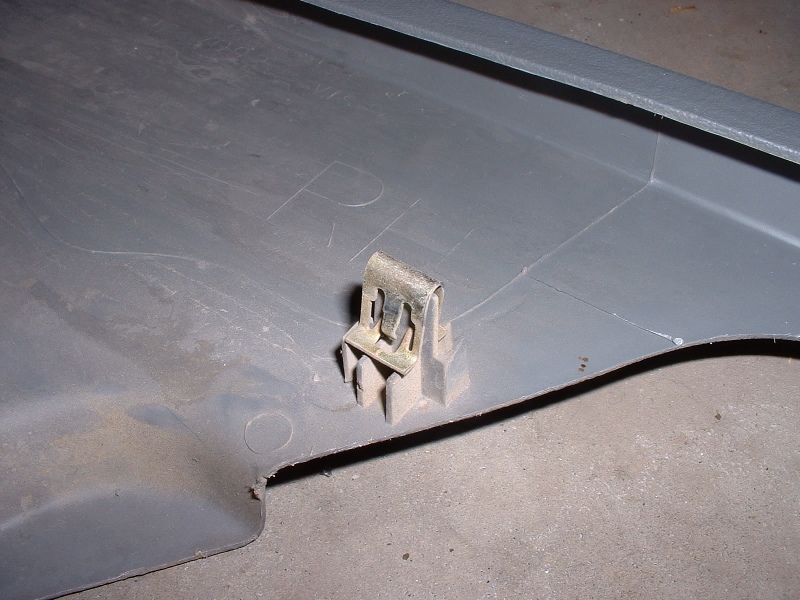
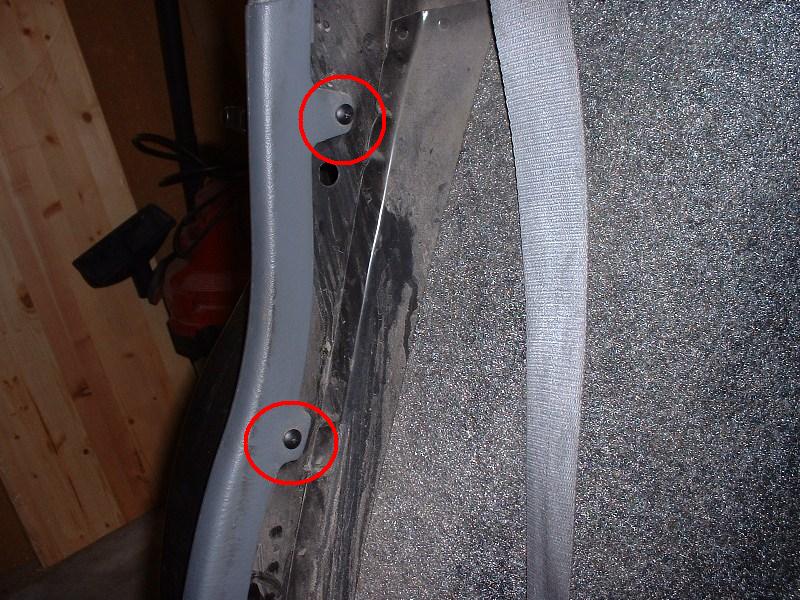
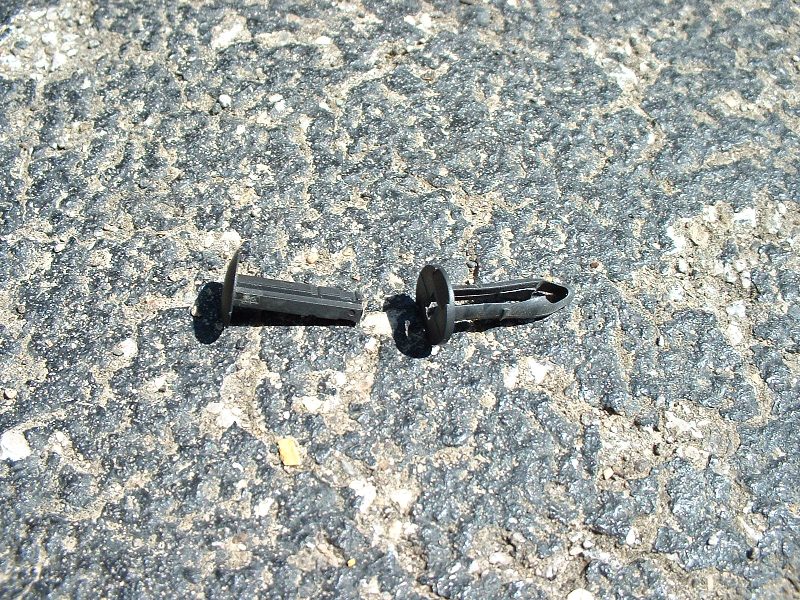
Good clip
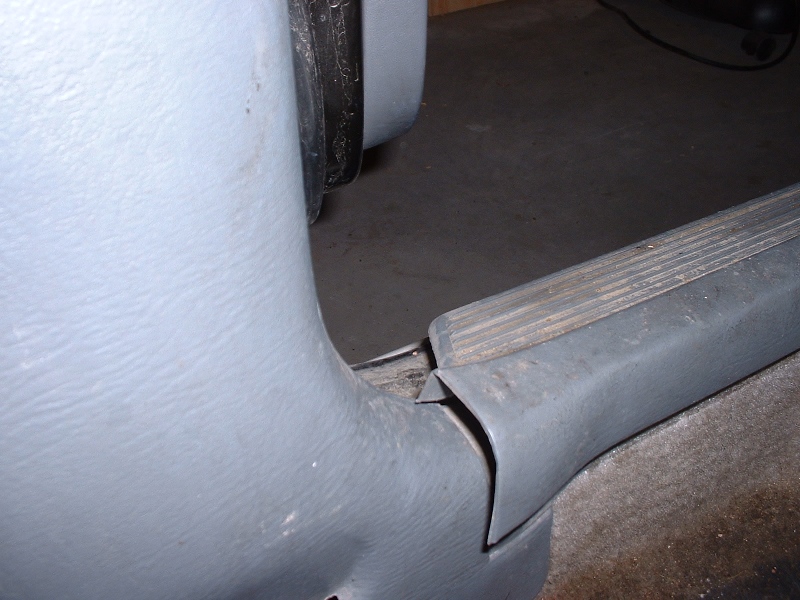
Broken clip
Broken clip left in the car
Installation
Installation is the reverse of removal. Line the clips up and snap them in, then reconnect the overlapping trim, and replace the philips screw.
Unclip trim carefully. You will likely break off some clips, unfortunately. To minimize this, use a small prying tool and pry the trim outward as near to the clips as possible. Sadly, some clips will likely still break.
Good clip:
Broken clip:
Broken clip left in the car:
Installation
Installation is the reverse of removal. Line the clips up and snap them in.
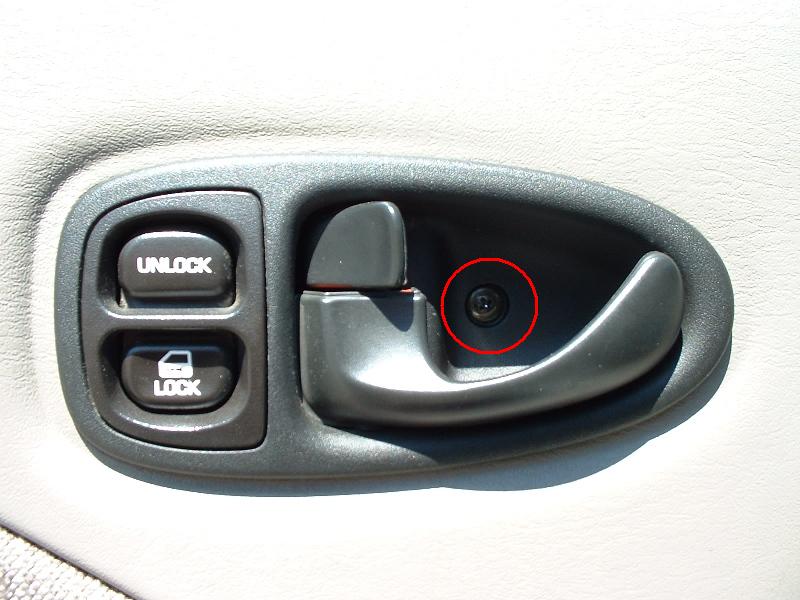
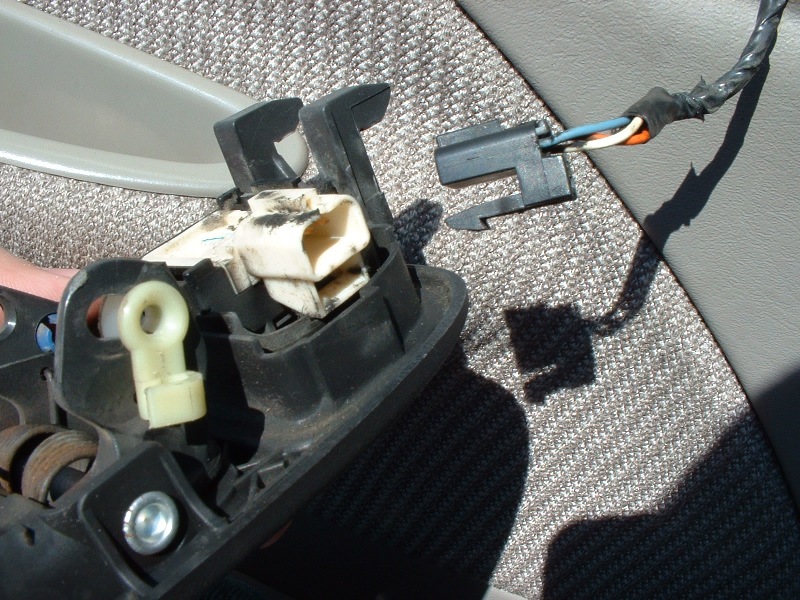
Slide the handle assembly forward and out. It won’t come all the way out yet.
Step 3
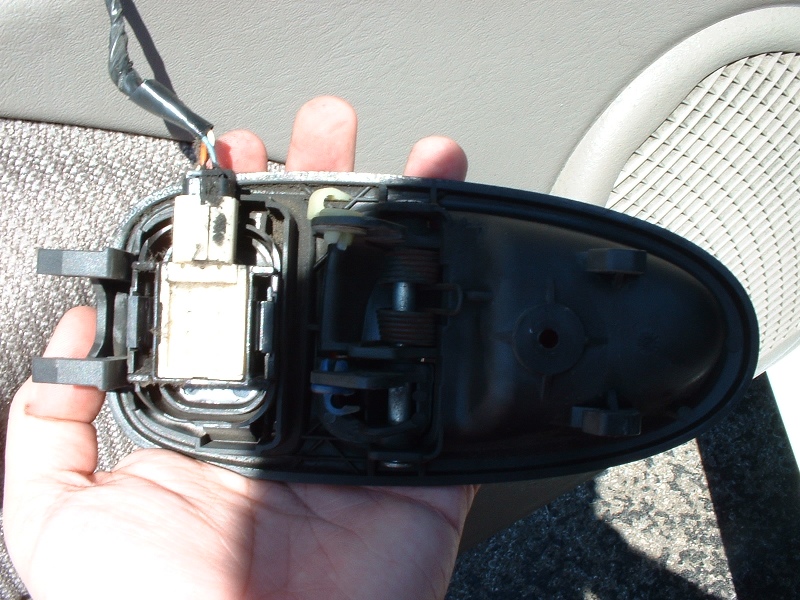
Detach the handle from the lock and latch rods. A plastic clip on each rod has to be unclipped, then the rod can lift out of the hole.
Step 4
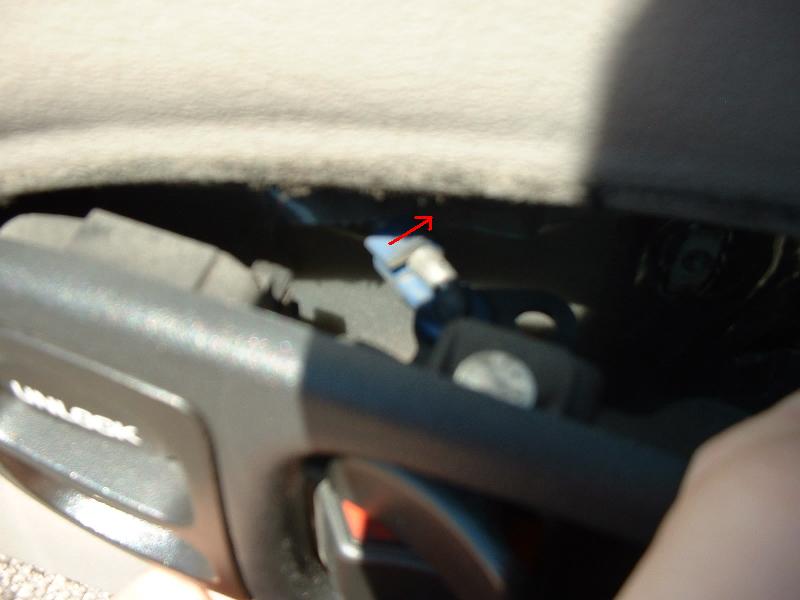
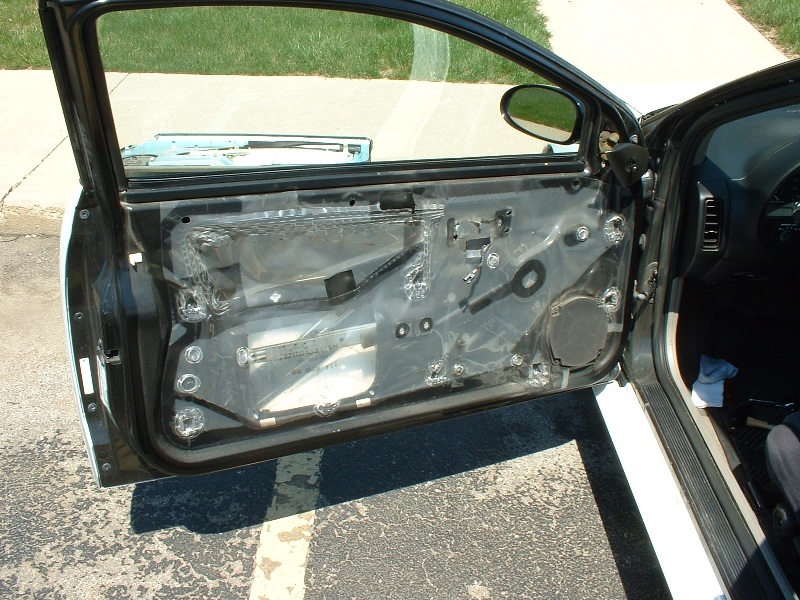
Remove power lock wiring harness (if equipped). With the 2 rods detached, you can pull the assembly out & get access to the harness. Use the flat-head screwdriver to pry the clip on the harness loose, then remove the harness.
#2 or 5/64 hex tool (only needed for manual control rod trim piece)
(recommended): a rag
Removal
Step 1
Pry off triangular trim piece. Use a flat-head screwdriver to pry it off. I recommend putting a rag around the end of the screwdriver to prevent scratching.
Step 2
Removing the manual adjustment stick:The manual control stick is held in place with a set screw. Loosen the screw just a bit with the #2 or 5/64 hex tool, and the whole control should come loose.
Installation
If the piece has the manual control stick, put the stick through the hole, and line it up. The piece is keyed, and will only fit completely in the hole one way. Then line up the clips and snap the piece in place.
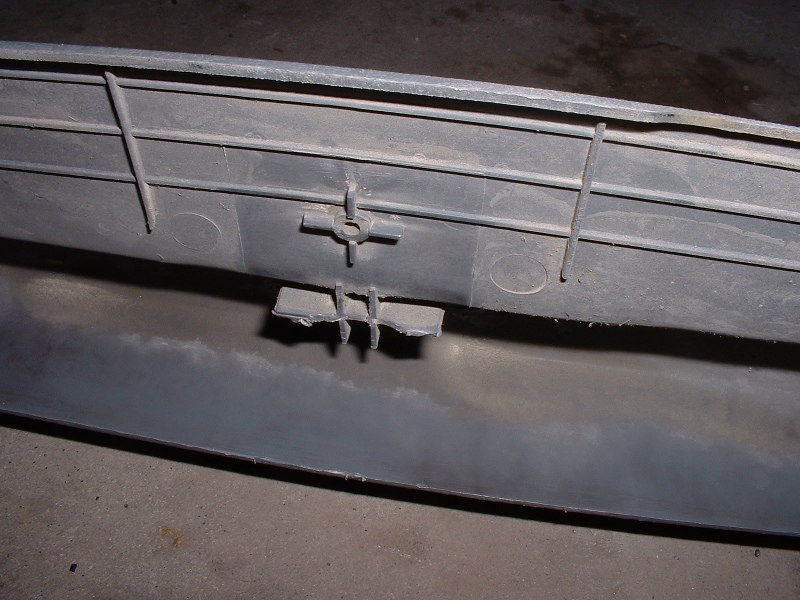
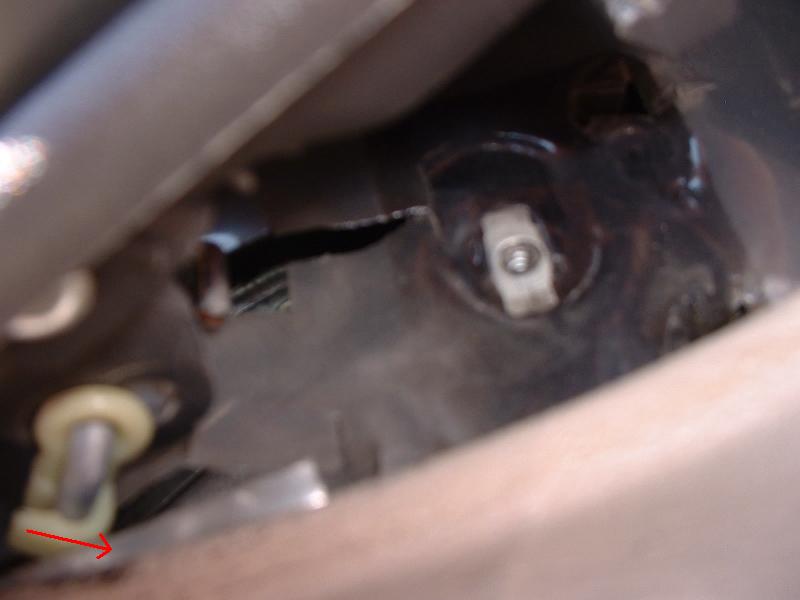
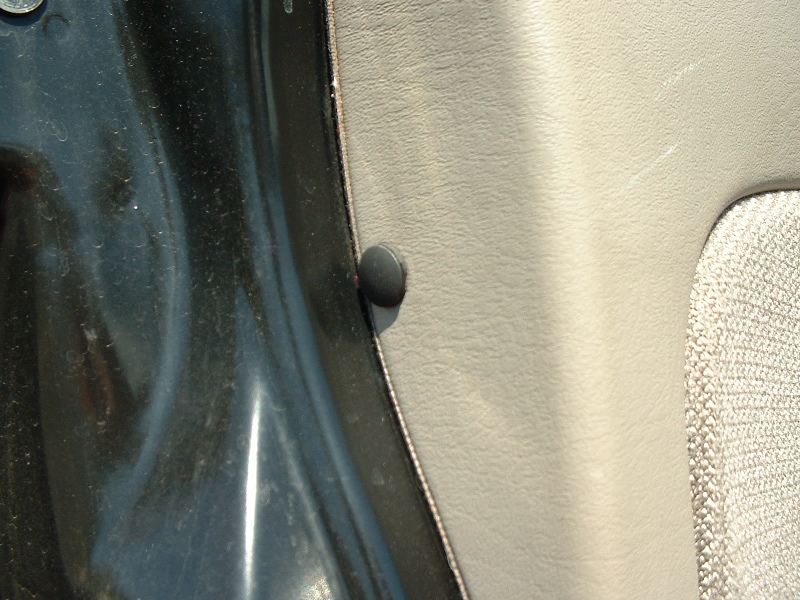
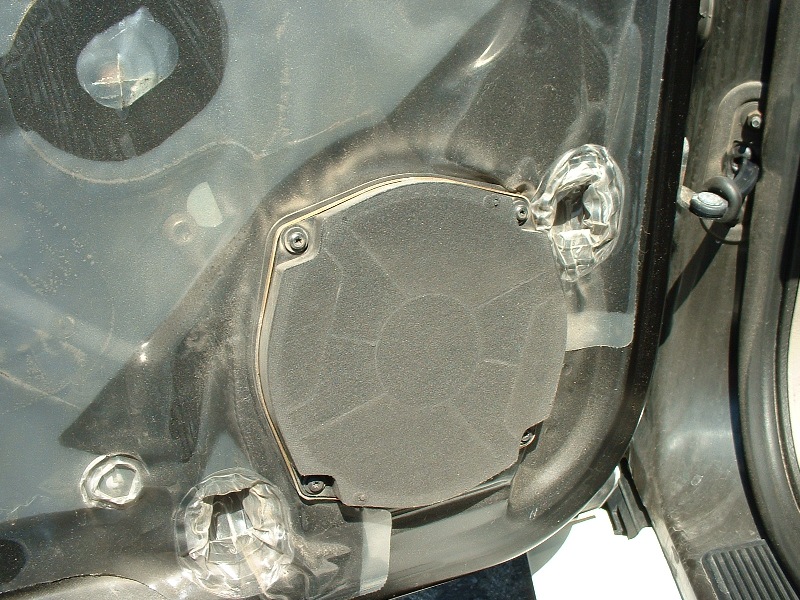
Remove 2-piece peg on the outer end of the door. Using the flathead screwdriver, pry the outer part of the head out to remove the inner peg. Once that peg is out, remove the outer part of the peg.
Step 6
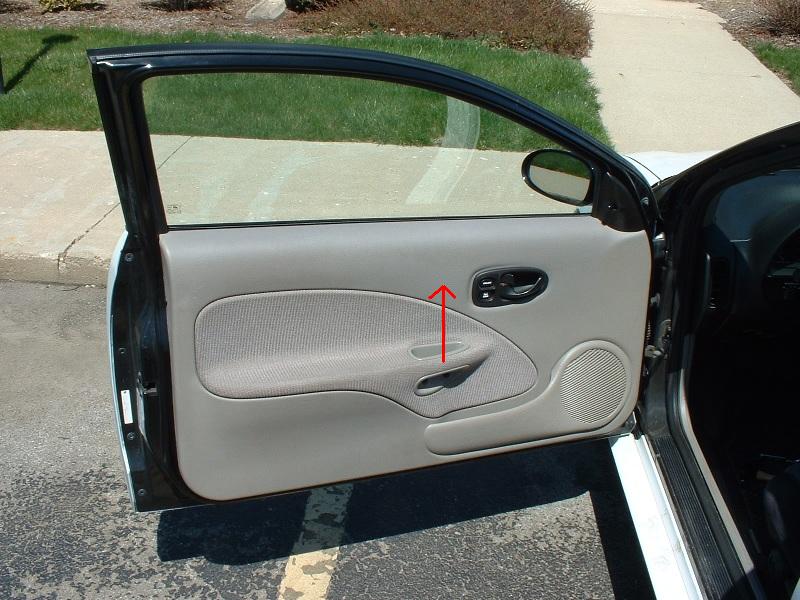
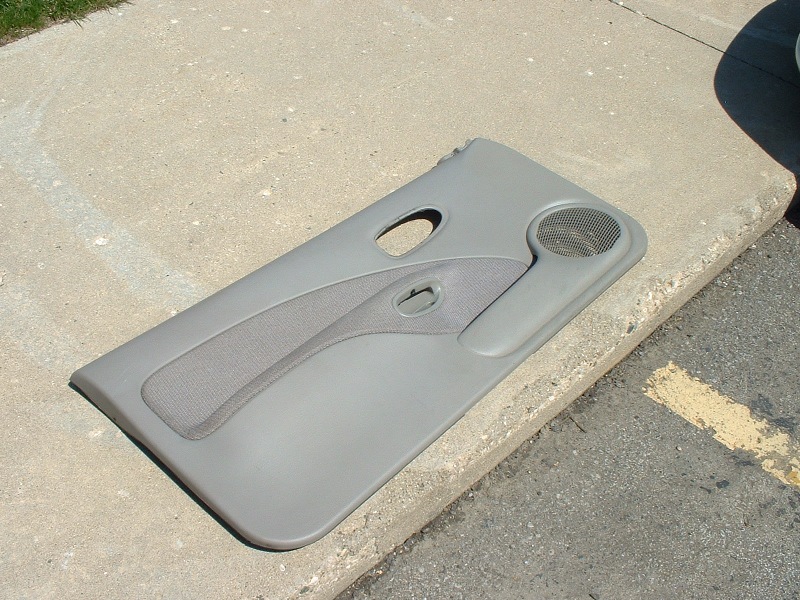
Lift the panel and remove it. It should just come right off.
Installation
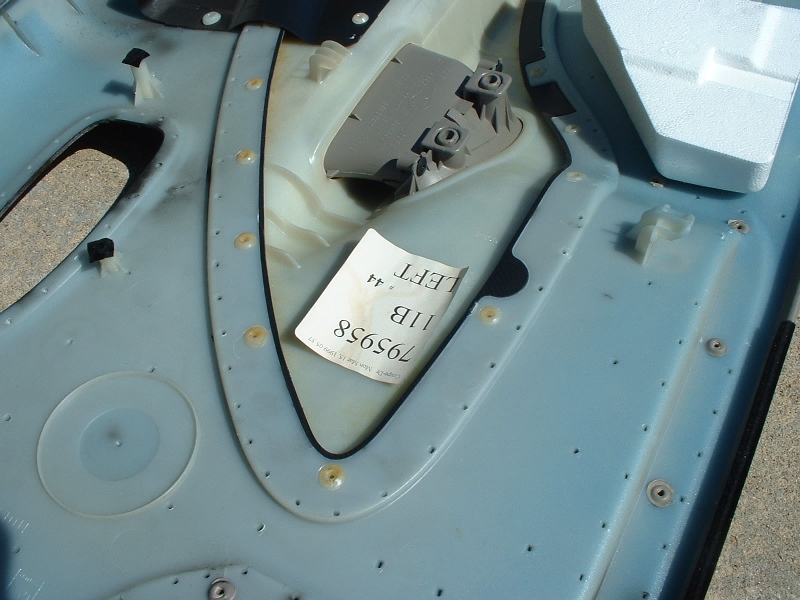
Installation is pretty much the reverse of removal. When hanging the door panel on the door, there are a set of hooks that will have to settle in place. It should just fall into place – if it doesn’t lift it completely off and try again. You won’t be able to make small adjustments to get it to fit. Once the panel is on, I recommend starting by putting the 2 handle screws in, just to make sure the panel stays put. Then just reattach everything else.