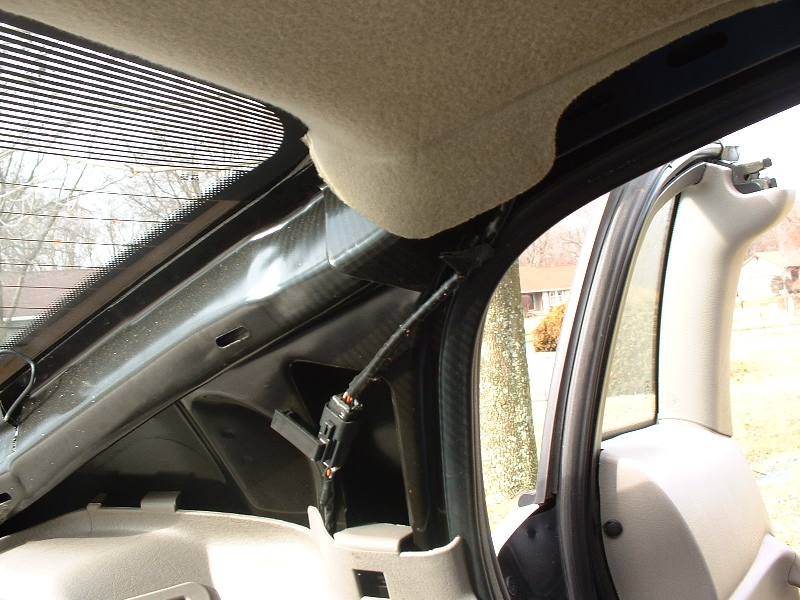
Starting at the upper end of the trim, pull outward, progressing down the C-pillar until the trim is free.
Installation
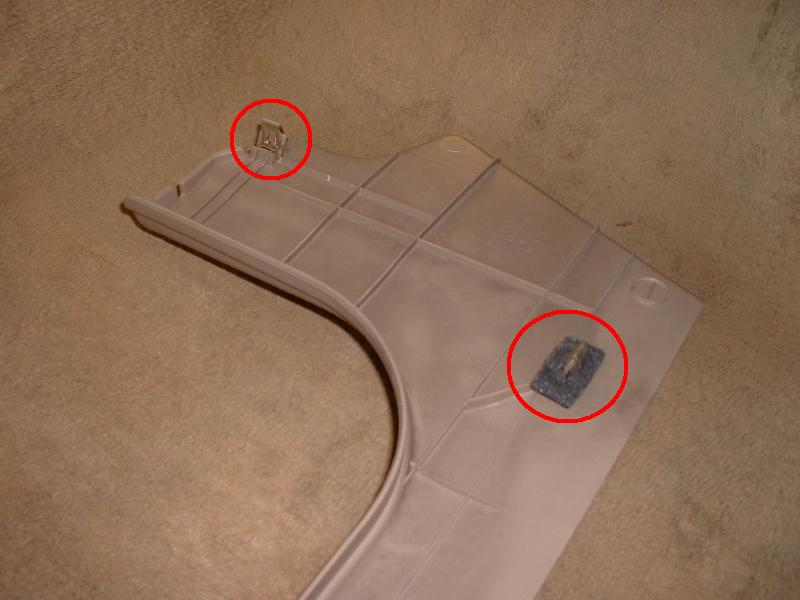
Line the clips up with the holes, and push it inward to click it back into place. There is also a tab at the bottom of the trim that hooks into the trim piece below it.
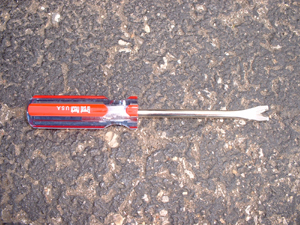
Nail remover or other prying device – preferably one that can go somewhat around the peg
Removal
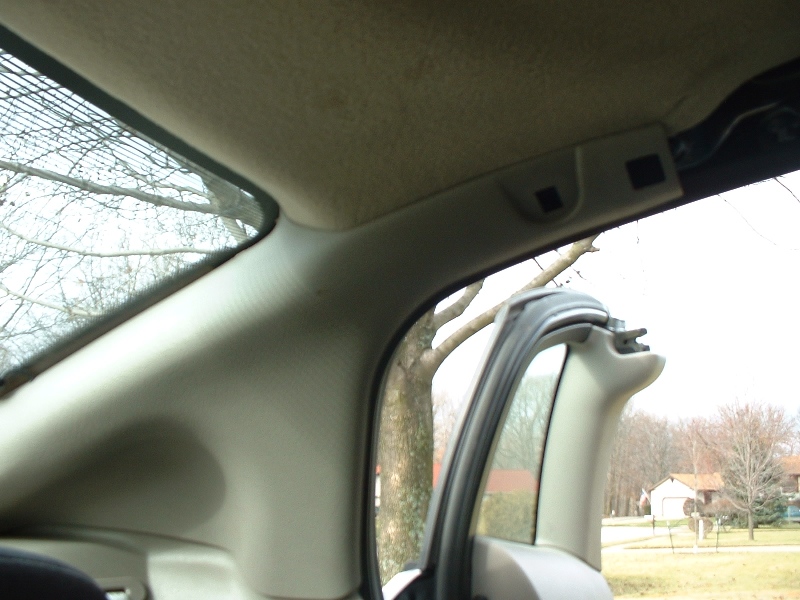
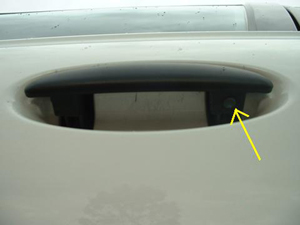
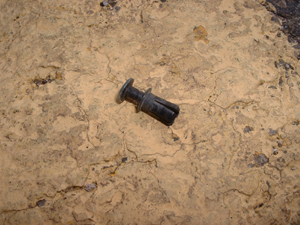
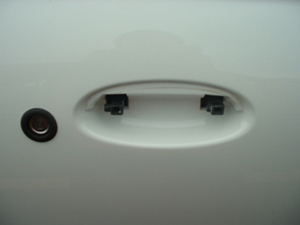
The door handle is held in with a 2-piece pin that has to be pulled. Once the pin is out, the handle will slide off easily. A nail remover like the one below is about the perfect tool. Using something that will only pry on one side of the pin will be difficult, as the pin is very soft plastic, and the head will likely flex out of the way instead of coming out, and you may even break the head off the pin.
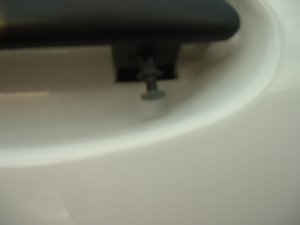
There is one pin to pull per handle, as pictured below. Just carefully pry downward on the head. Once the pin is out far enough, the other part of the 2-piece can be pulled out. Once the pin is out, the handle will come off easily.
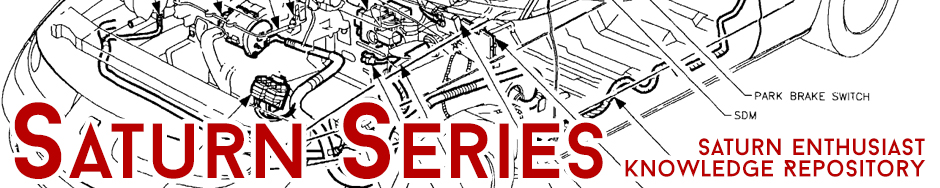
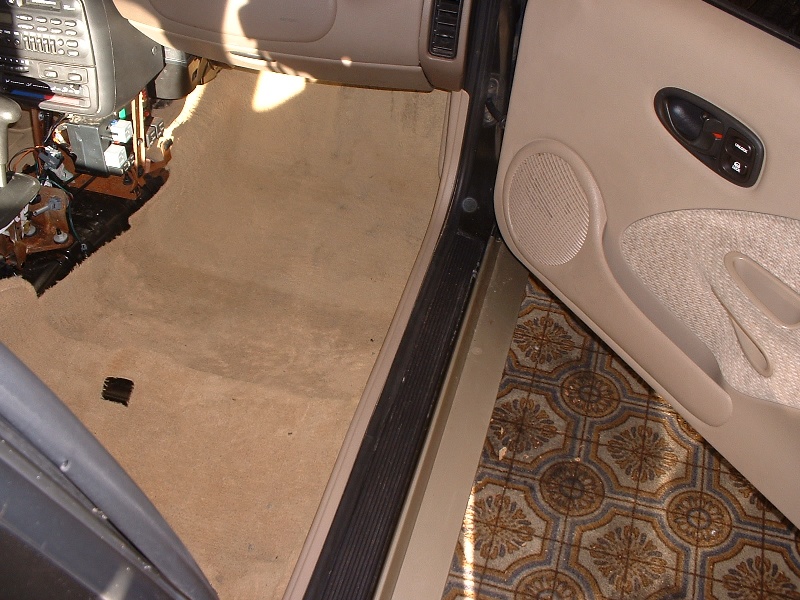
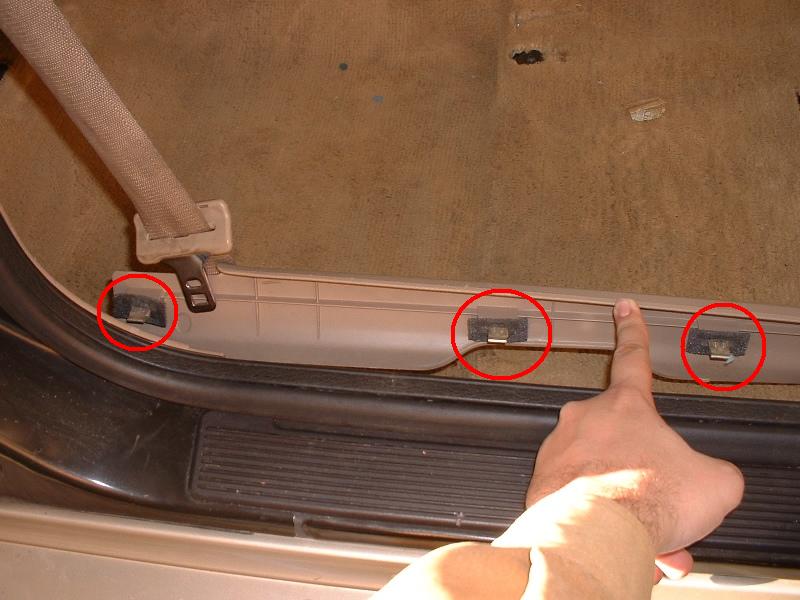
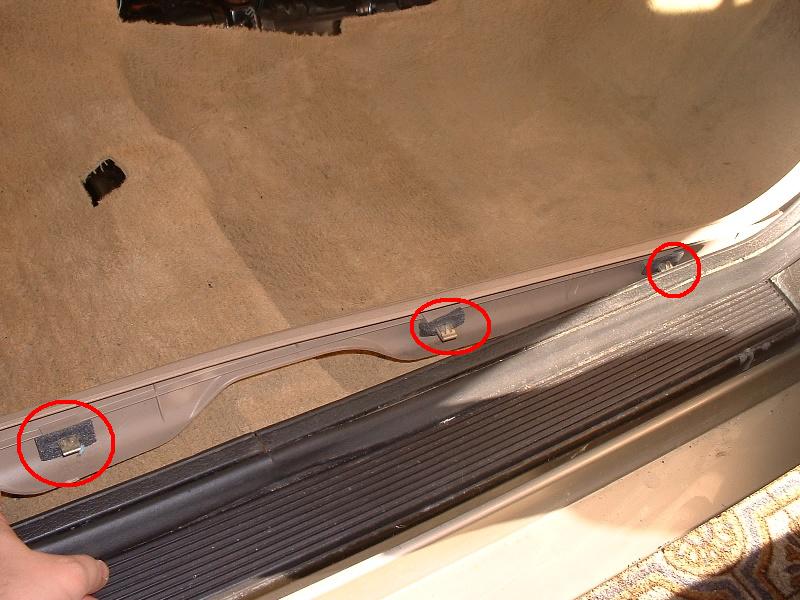
This is a very easy job – the trim just pulls out. Start at one end and work your way to the other, popping the metal clips loose from the body of the car (clips shown below).
Sorry, this is just a placeholder post – we need someone to build this guide! Click the button above if you’d like to contact us about building & submitting this guide.
Sorry, this is just a placeholder post – we need someone to build this guide! Click the button above if you’d like to contact us about building & submitting this guide.
Sorry, this is just a placeholder post – we need someone to build this guide! Click the button above if you’d like to contact us about building & submitting this guide.
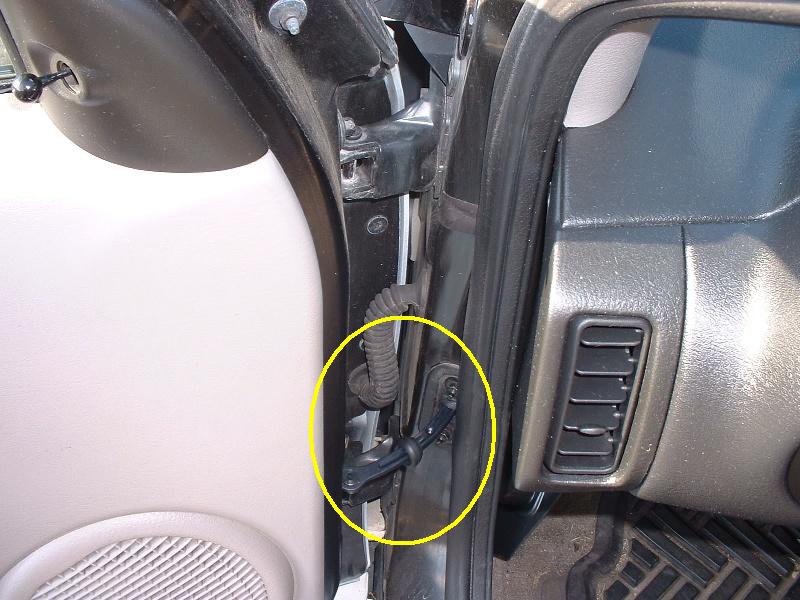
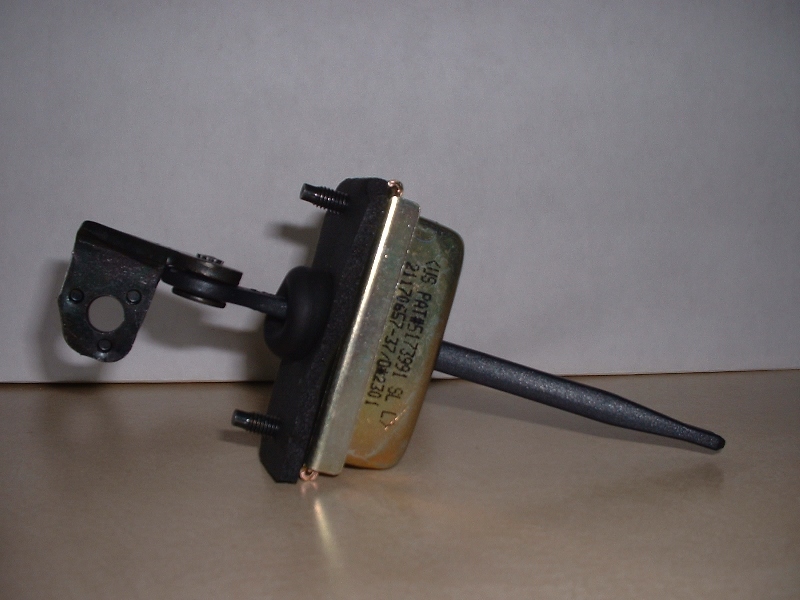
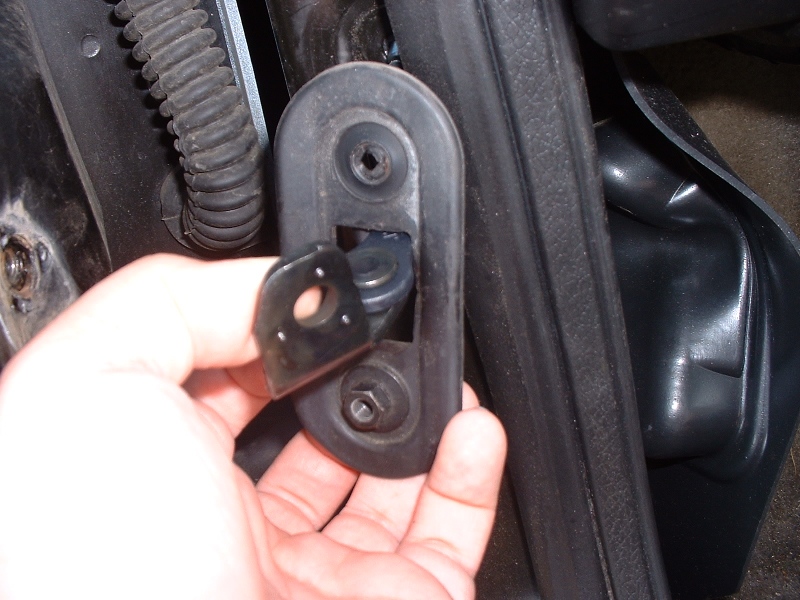
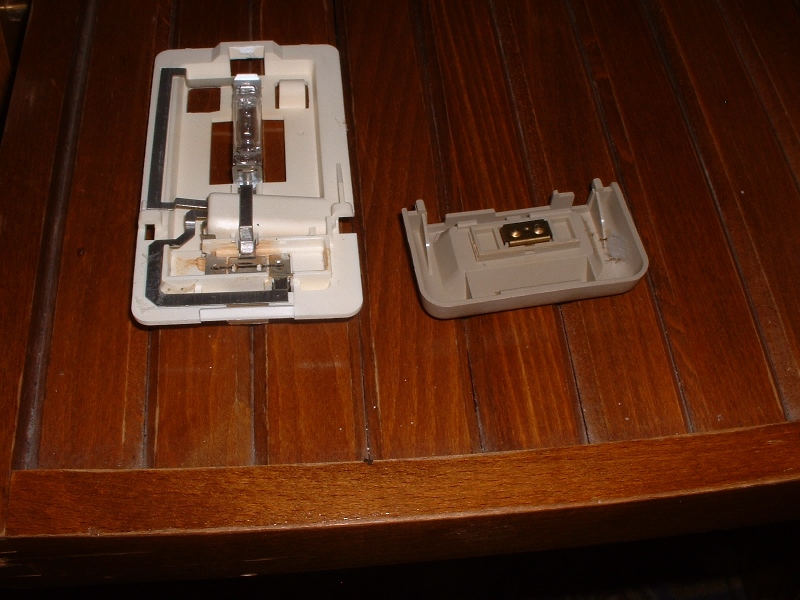
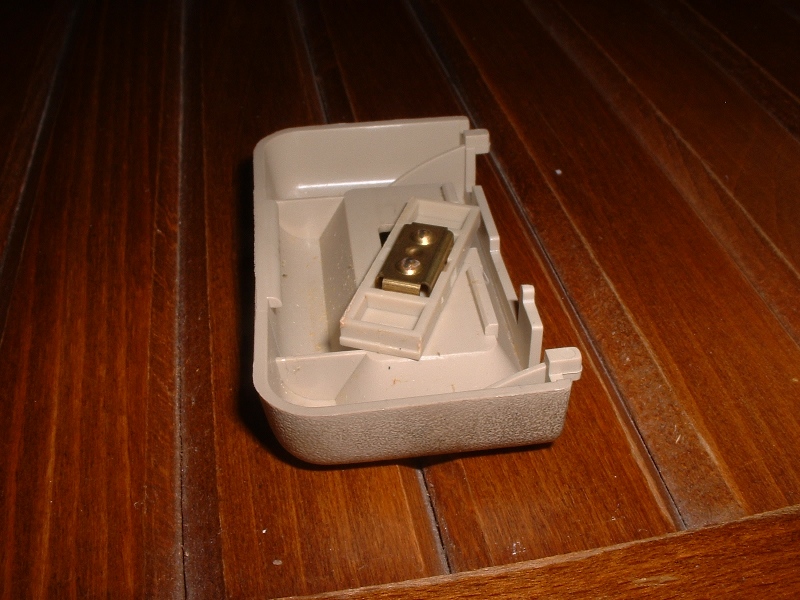
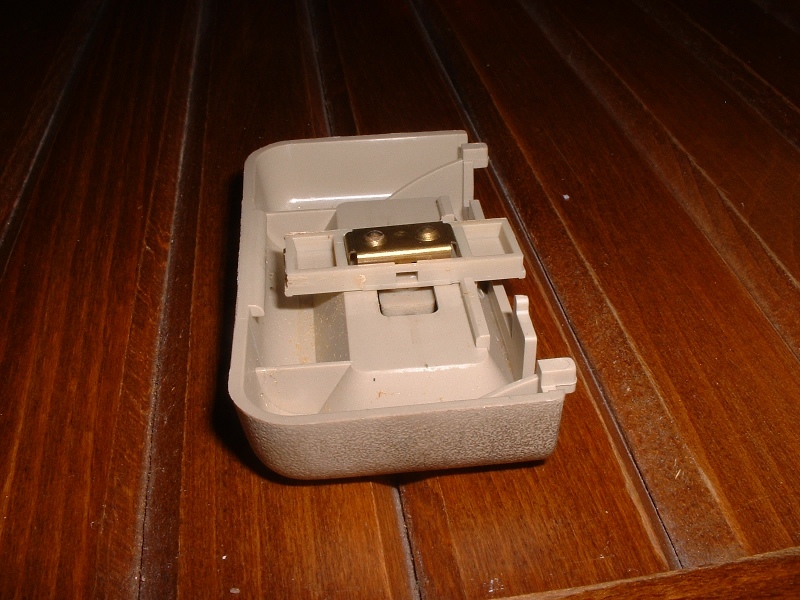
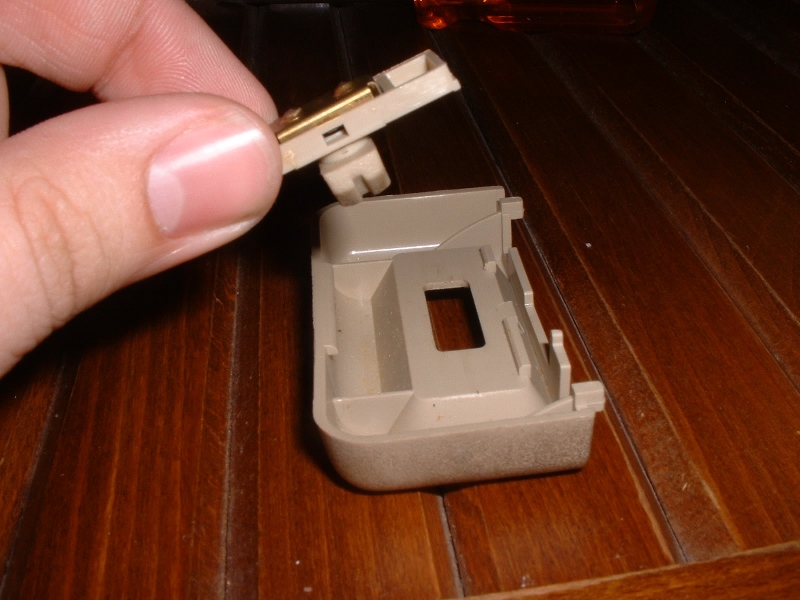
The door check is the piece that lies between the door’s hinges and holds the door open at a couple places, keeping it from blowing open & shut in the breeze. It looks like this:
***Before I continue, let me say that I replaced my door check because it was clunking whenever the door was opened/closed. This may not be a good reason to replace it, as I found out. The new part did not totally solve the problem, though it was a bit quieter. The real problem, it turned out, was that the metal on the door where the check mounts is stressed, and buckles a bit and creaks. I will be looking into reinforcing the mounting point.
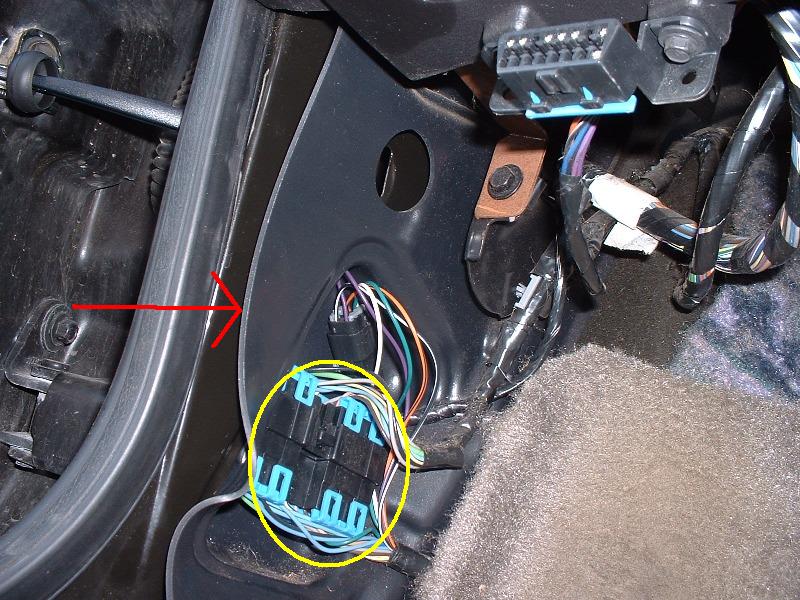
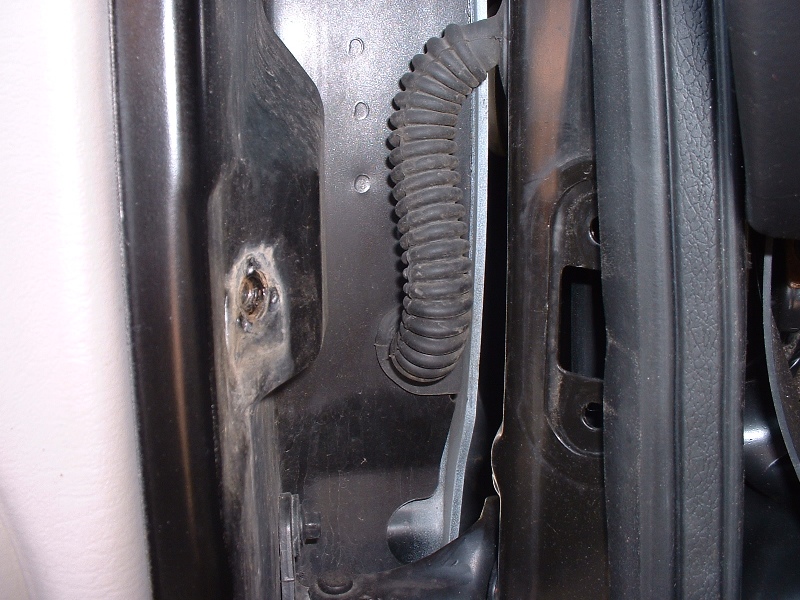
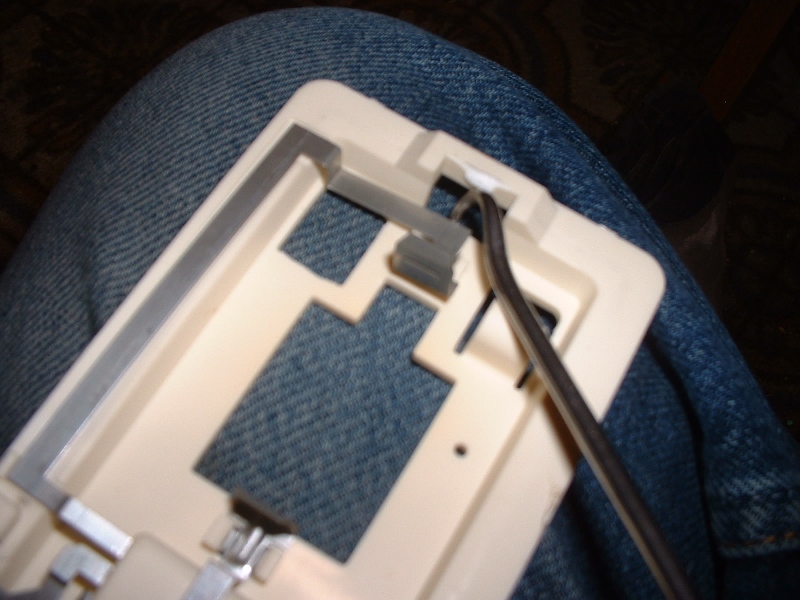
Once that trim is off, you’ll need to pull the rubber seal out of the way of the hole you will need to work in. First, remove the wiring harness from the rubber (yellow). Just grab the harness and carefully pull out – it is just wedged in there. Next, just grab at the edge of the rubber and pull out gently, but firmly (red).
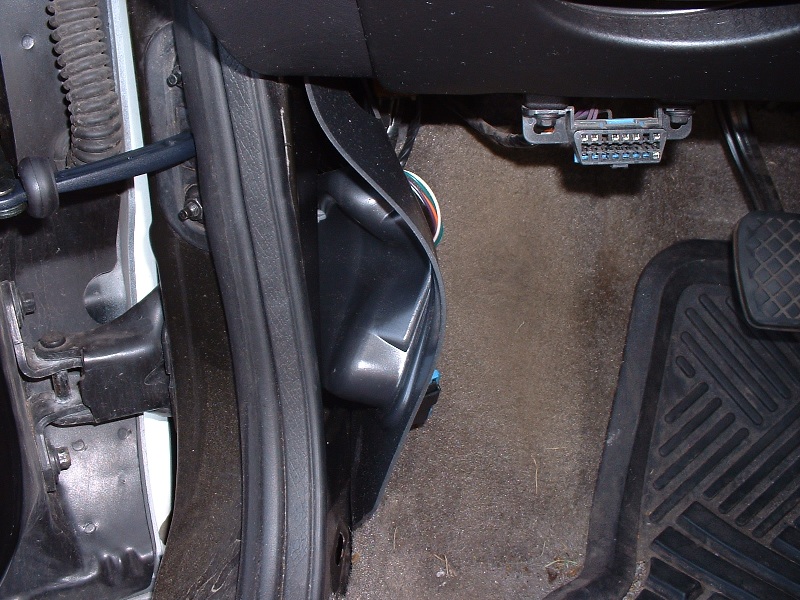
It will then look like this…
Step 3
Now we’re ready to grab that 10mm socket & ratchet and remove 2 nuts (red) & 1 bolt (yellow). The 2 nuts may stay connected to the plate (green).
Step 4
Next, slide off the plate. You can see in the picture that my upper nut did not stay connected to the plate, but the bottom one did. It appeared that they originally connected the nuts to the plate on purpose, probably to prevent loss.
Here’s what it looks like with the plate removed.
Step 5
Finally, slide the piece out the hole where the rubber piece is.
*NOTE* Don’t simply try to pry downward on the dome light – you will break two tabs off! (They may break off anyway – they’re notoriously brittle.)
Step 1
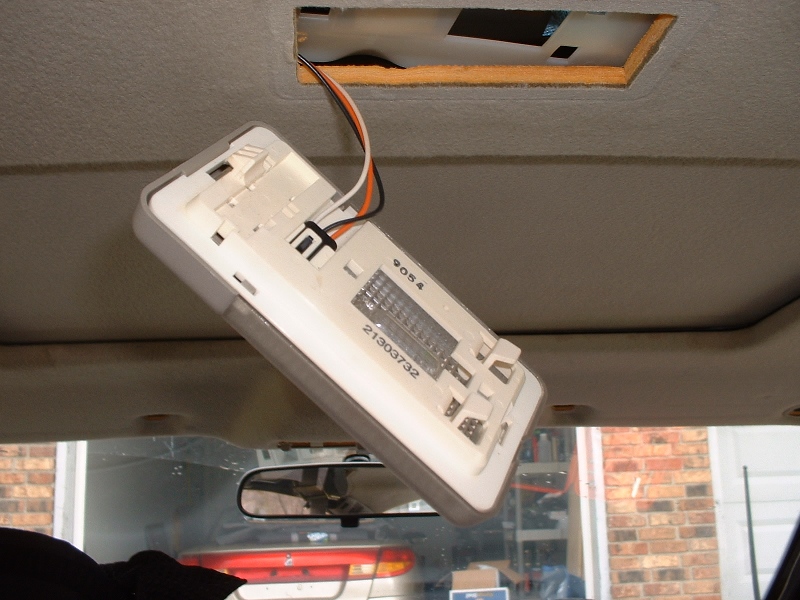
Push the dome lamp on the switch end toward the light end, and gently pull downward at the same time. There are 3 tabs that hold the light – 2 of them one one end, which are sprung. Compressing the sprung tabs allows clearance for the third, on the other end of the dome light.
Step 3
Use the flathead screwdriver to pry the wiring harness free from the clip and pull it loose.
Having broken the tabs off my dome light base before learning how to properly remove it from the car, I wanted a new dome light. I picked up a used one from a salvage car, only to find that the internals were junk – the car had been in a flood. I now had two bad dome lights – one with a good base & bad internals, and one with good internals and a bad base. I figured I had nothing to lose in trying to combine them into one good one.
The pictures in this guide are a mix from tinkering on both lights.
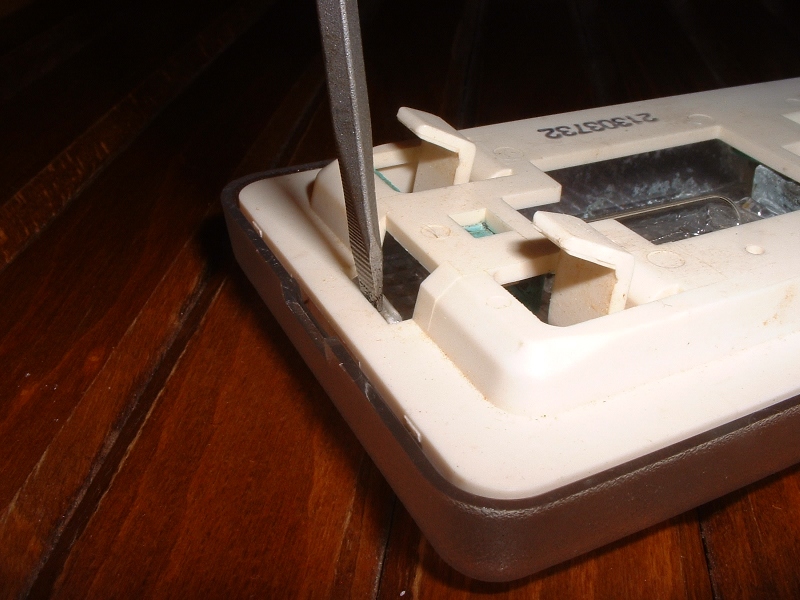
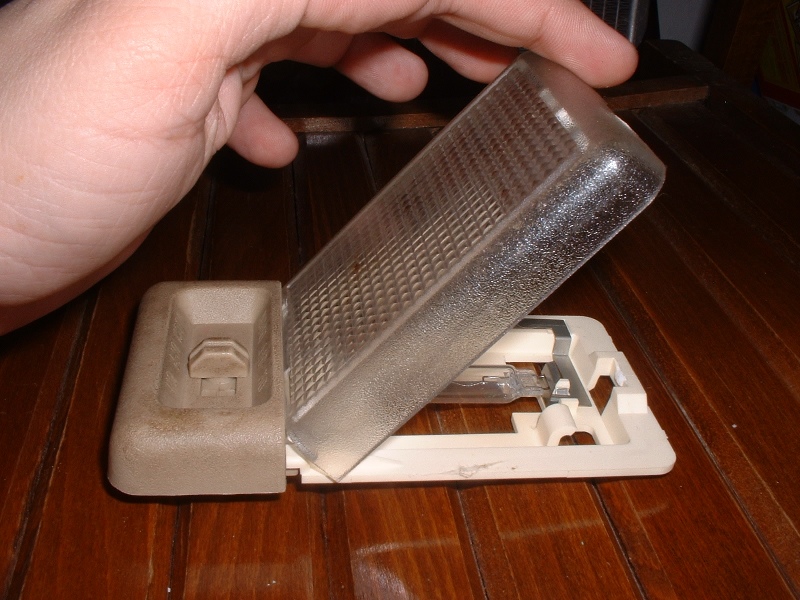
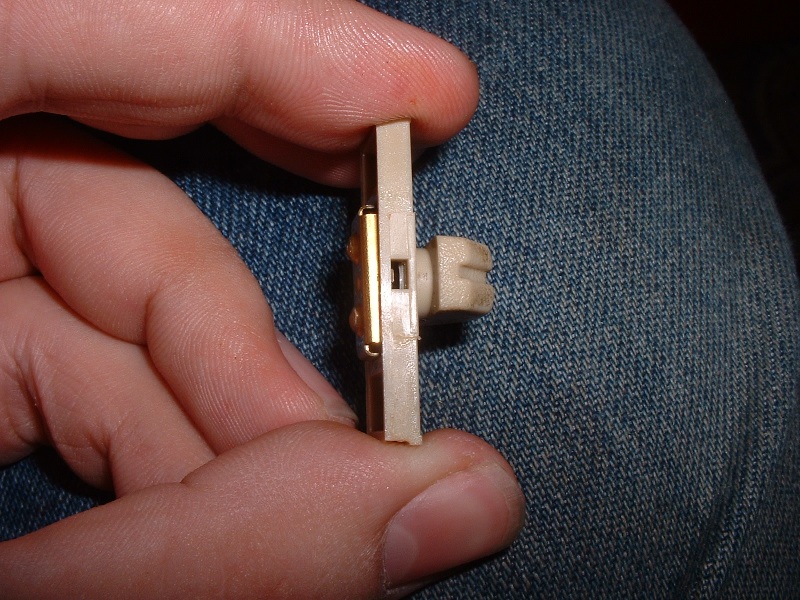
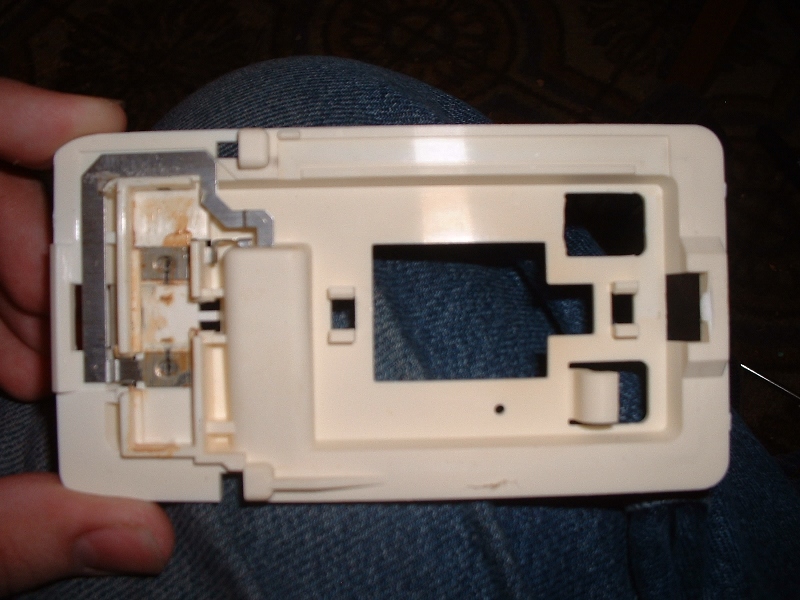
The lens is held on at 3 points. Pop the tab loose on the end of the light assembly with your small flathead screwdriver as pictured, then hinge the lens up, and it will come loose.
Remove Switch Cover
Tools
Two small flathead screwdrivers
Steps
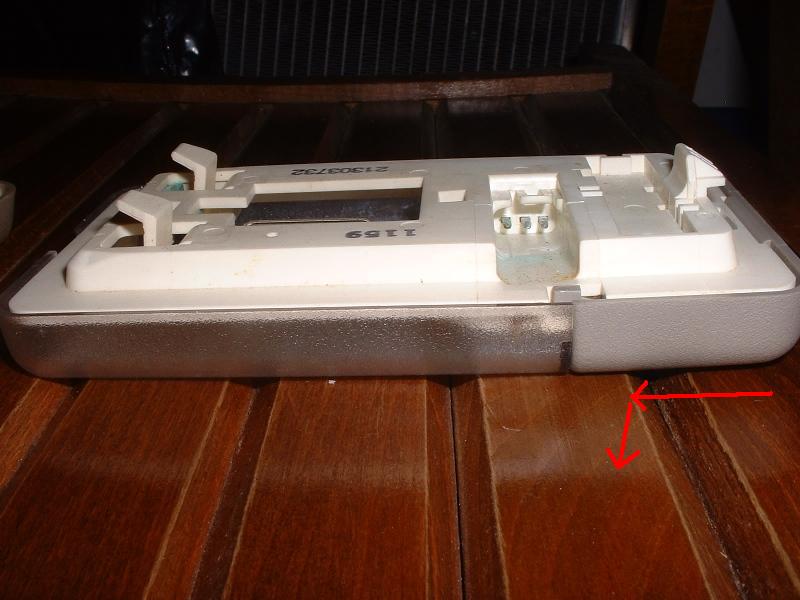
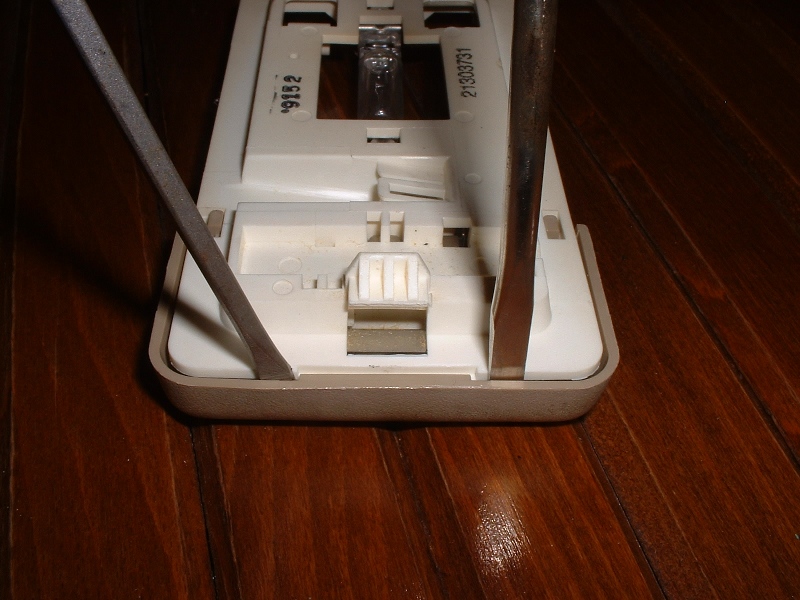
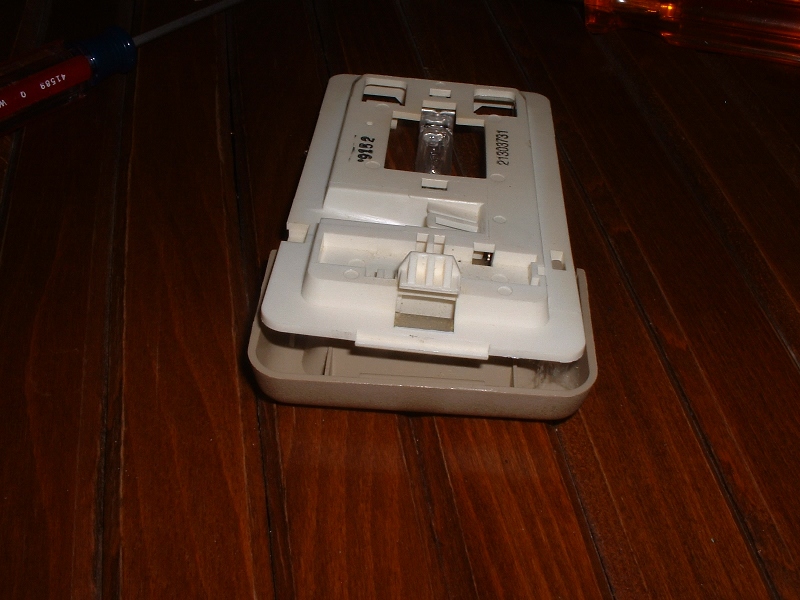
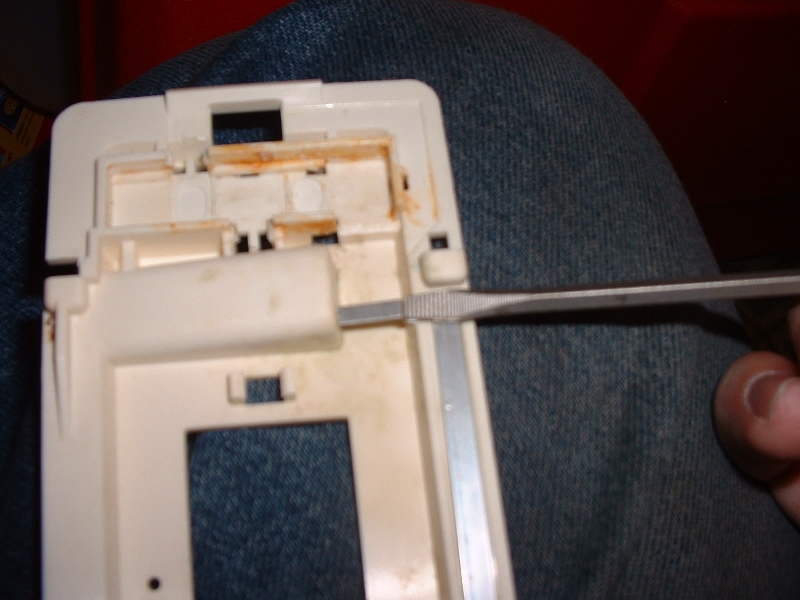
On the backside of the light assembly, insert the two small flathead screwdrivers on either side of the tab holding the switch cover on. Then twist the screwdrivers gently. The cover should pop right off.
Remove Switch from Switch Cover
Steps
To remove the switch from the switch cover, it will need to turn 90 degrees so the knob will clear the hole. There is a raised ledge that holds the switch from twisting, but it has a gap in it that allows for removing the switch. See pictures below.
Remove Switch Internals
Tools
Welding picks (a.k.a. “dental tools”)
Steps
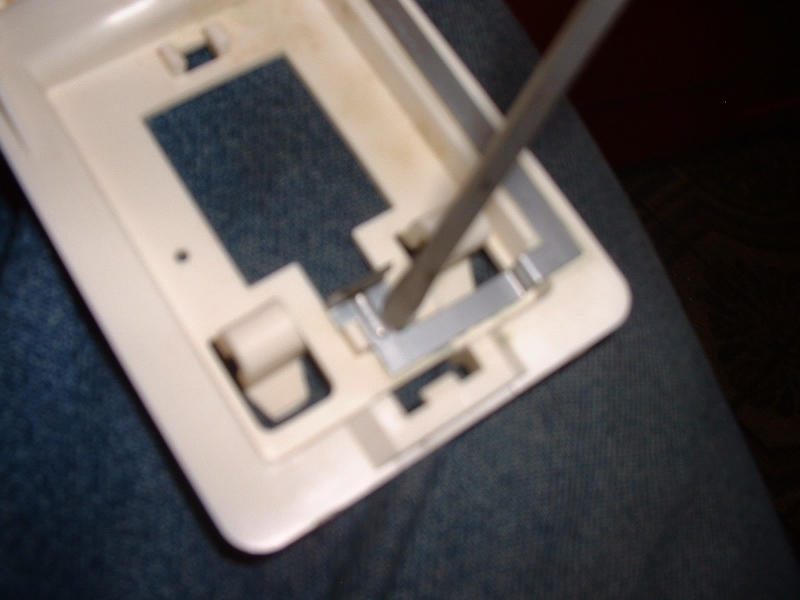
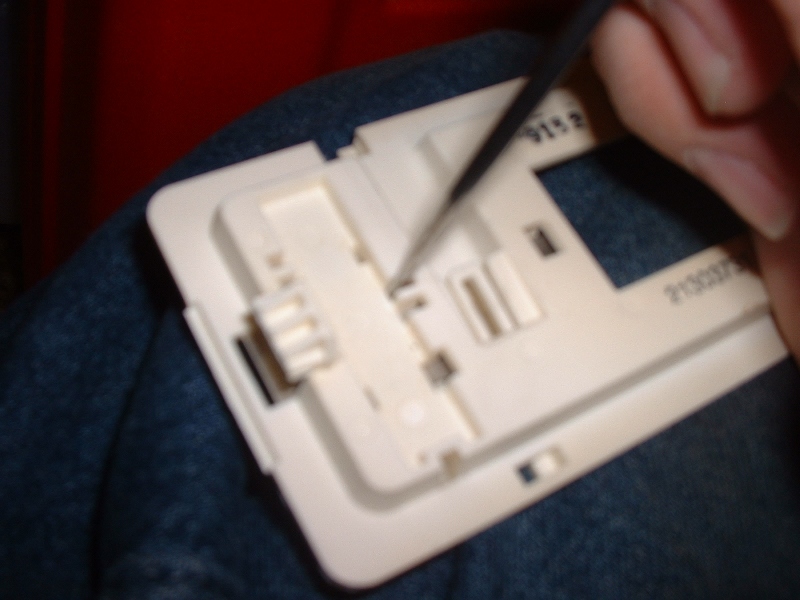
The switch is made up of 3 parts – the plastic switch, a metal plate, and a spring. The spring is held in place by the plate. The plate is held in place by two tabs – one on each side. To pop the plate free, use one of your picks (or some sort of small prying tool) to pry the tab inwards. Watch out for flying parts!
Remove Install Dome Light Internals
Tools
Small flathead screwdriver Welding picks (a.k.a. “dental tools”)
Steps
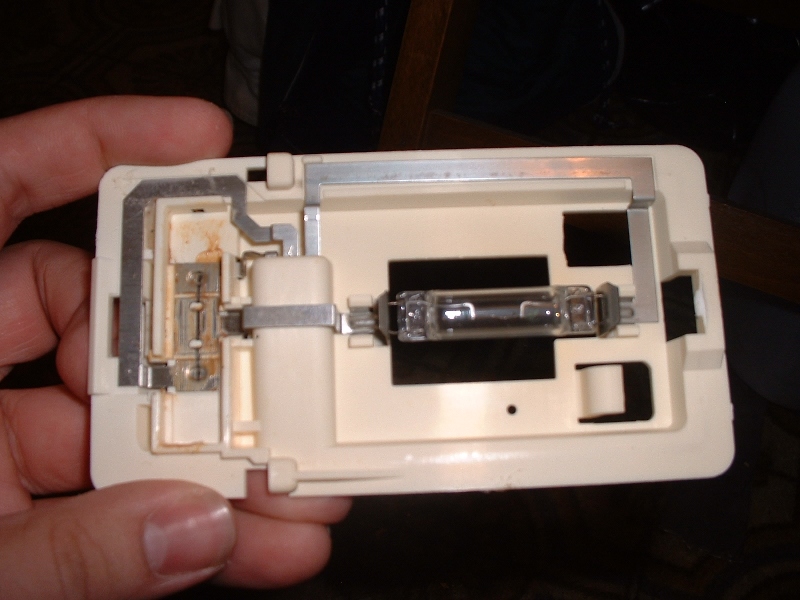
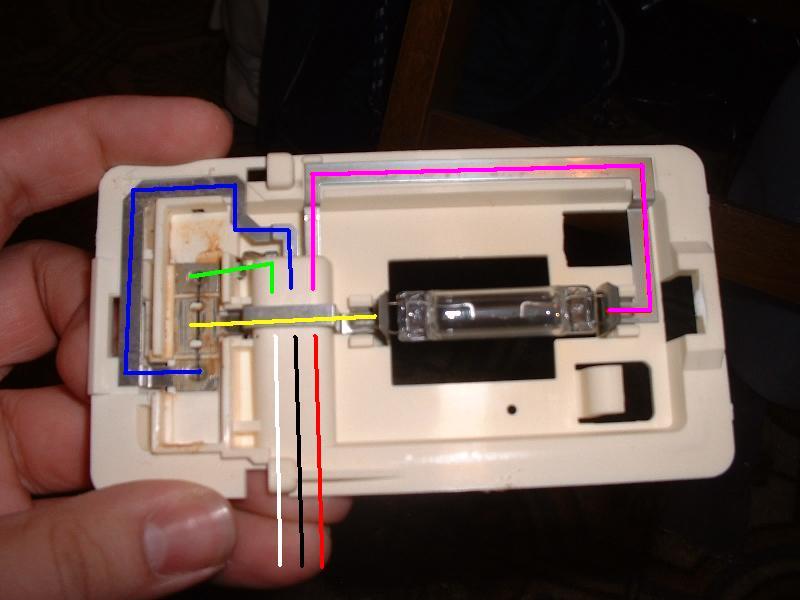
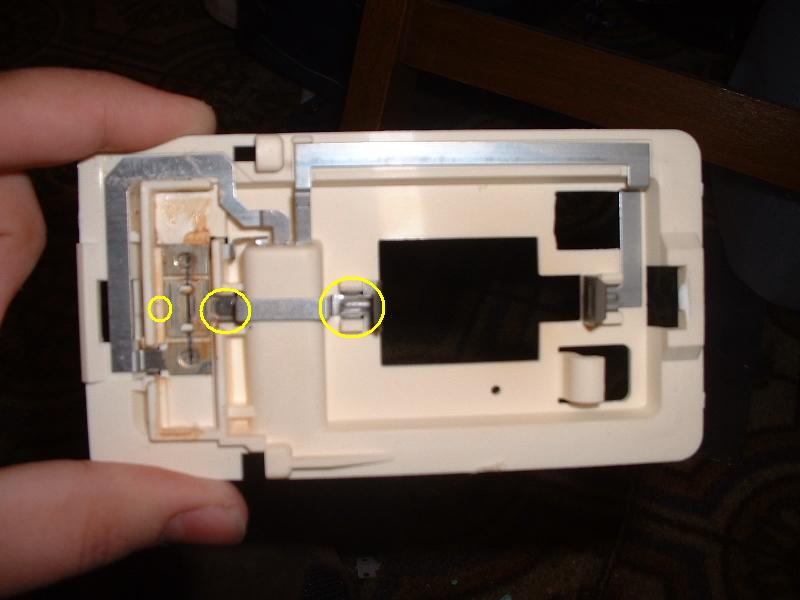
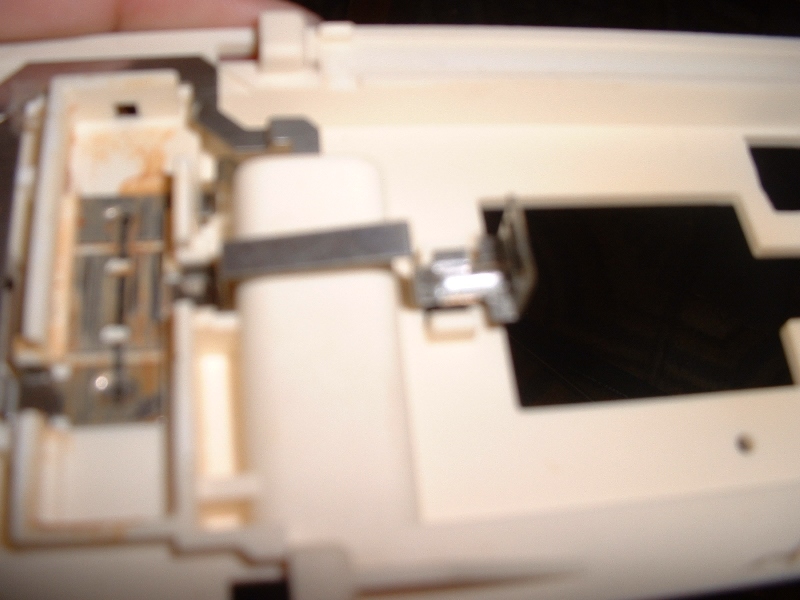
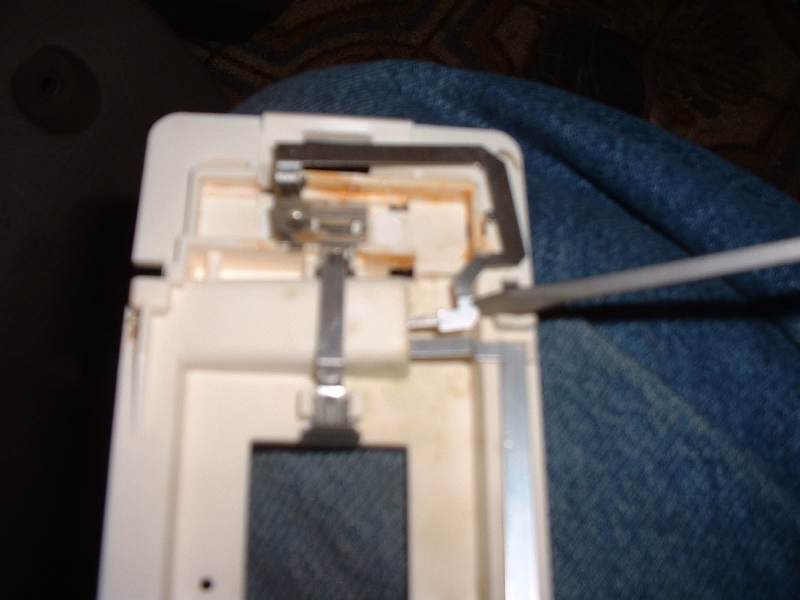
The dome light internals are made up of 4 shaped pieces of metal. They’re thin and easily bent, so be gentle with them. The 4 pieces are indicated by the different colored lines in the second picture below. Also, the 3 verticle lines indicate the 3 wires on the harness, and their colors – red, black, and white wires.
For reference:
Red wire = positive (always on, since dome light can be on with the car off)
Black wire = ground (constant, for the “on” switch position)
White wire = ground (switched, for the “door” position – not always grounded)
Pink metal = positive connector to bulb
Yellow metal = ground connector from bulb to switch
Green metal = ground connector – switch to white wire, for “door” switch position
Blue metal = ground connector from switch to black wire, for “on” switch position
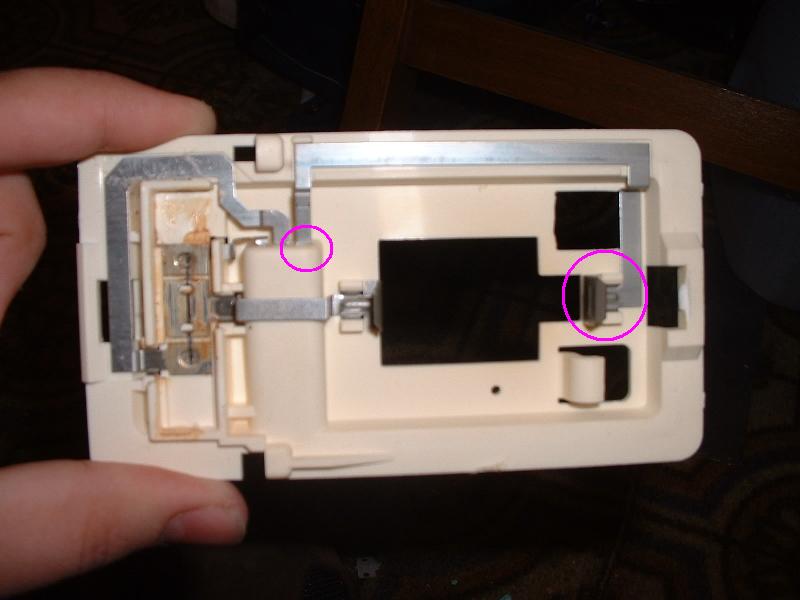
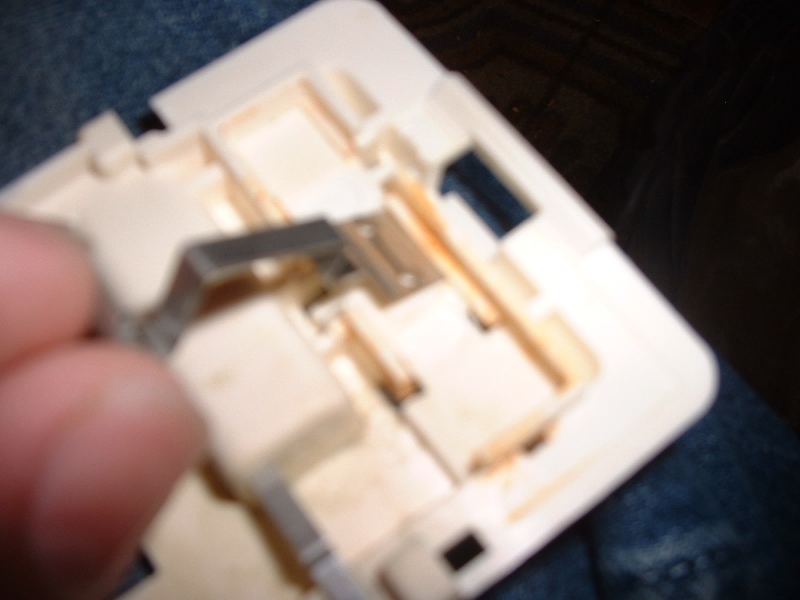
The metal pieces are held in place by small tabs on the metal, which click into place with small tabs in the plastic. The welders picks will help get these free with minimal bending of the metal.
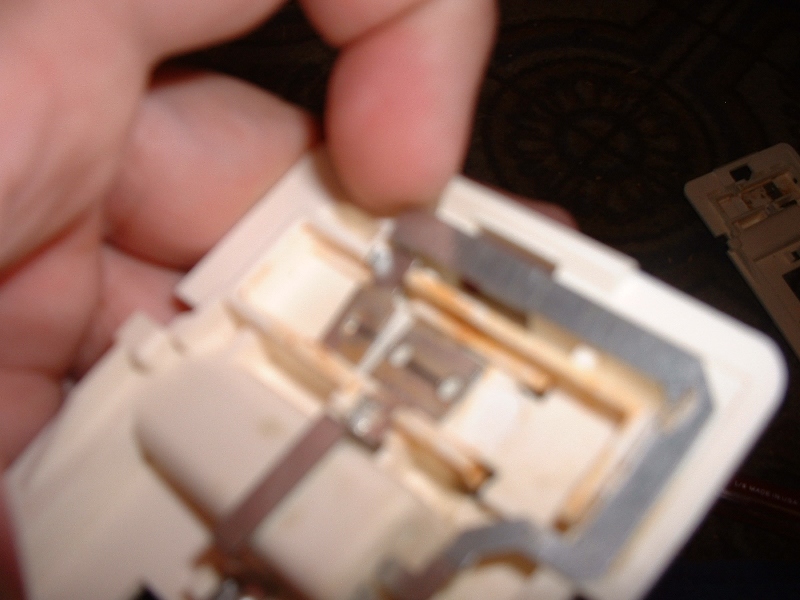
I apologize for the blurriness of the pictures for the rest of this guide – I didn’t take enough time to get good pictures.
Remove bulb:
The bulb is just wedged in, and should easily come out with a gentle pull.
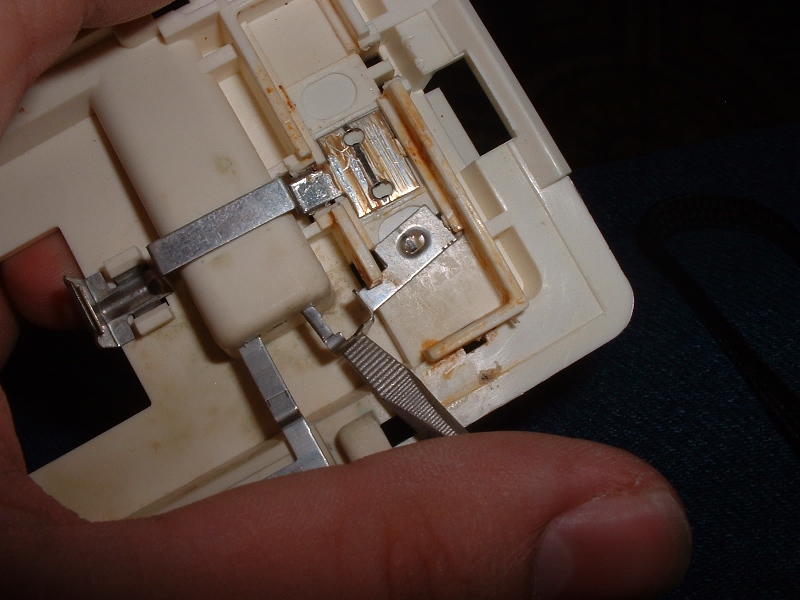
Remove “pink” metal:
This piece is held in at two places – the wire connector end, and by tabs at the bulb end.
Start with the bulb end. I used a curved welders pick to get underneath the metal and pop it free. You may also be able to use a straight pick from underneath.
Once the bulb end is free, push the wire connector prong free with your flathead screwdriver. Once it’s out, the metal piece should be loose.
Install “pink” metal:
Start with the wiring prong end. Insert it into the hole, and push the metal in with the flathead screwdriver. There’s a small bend in the metal that is a good place to push on, as pictured:
Next, push the bulb end down into the plastic tabs with the flathead screwdriver. It should easily click into place.
Remove “yellow” metal:
This piece is held in place by tabs on the bulb end, tabs in the middle near the switch, and a single tab on the switch end, which is inserted into a notch in the plastic. Start with the bulb end. As with the “pink” piece, you can pop the tabs free by getting the welders pick underneath the metal, or by going at it from behind, through holes in the plastic. Then do the same for the middle tabs. Once these are free, the piece should hinge upward, freeing the last tab from its notch.
Install “yellow” metal:
First, insert the tab on the switch end. Then, click the tabs into place by pressing downward with the flathead screwdriver.
Remove “blue” metal:
This piece is held in place by a tab on the switch end, tabs in the middle near the switch end, and the wiring connector prong. Start with the middle tabs, which are most easily popped free using a straight welders pick from underneath. Next, pry the prong free. Last, the whole thing should wiggle out easily.
Install “blue” metal:
NOTE: if you’re swapping all the parts like I did – wait to install the “blue” piece until after you’ve done the “green” piece. The pictures do not reflect this advice – I learned the hard way and had to re-remove the “blue” piece.
Start by pushing the wiring harness prong into its hole. Next, lift on the corner near the switch to get enough angle to insert the tab on the end of the metal. Last, press downward with the flathead screwdriver to snap the tabs into place.
Remove “green” metal:
This piece is held in place by a tab on the switch end, and its wiring harness prong. Just use the flathead screwdriver to pry the prong loose, and the whole piece should come free.
Install “green” metal:
First, insert the tabbed end. Then swivel the piece to insert the wiring harness prong, and press it into place with the flathead screwdriver.
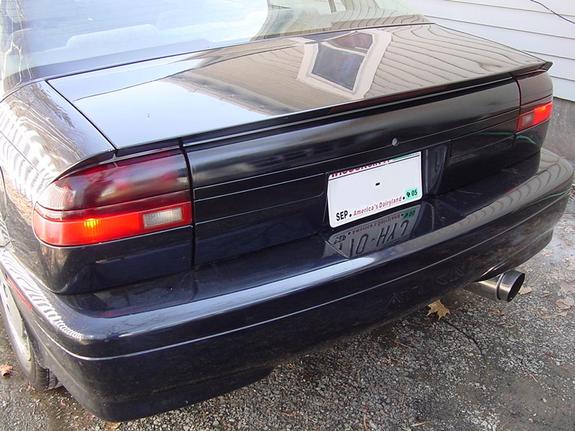
Nobody manufactures custom tail lights for the Saturn S-Series, however, there are ways to customize your factory Saturn tail lights:
Redding Out
This makes the rear turn signal red instead of amber.
Step 1
Remove your tail lights. (91-95 SLx – 3 Torx Screws)
Step 2
Wash with dish soap.
Step 3
Sand orange portion (or entire tail light if you want to) with 600 grit wet sandpaper.
Step 4
Wash tail lights again.
Step 5
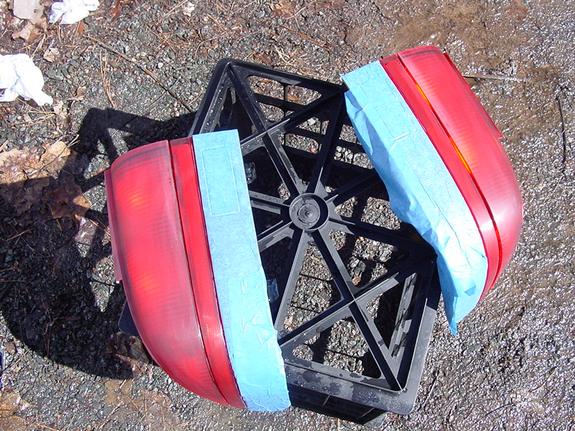
Mask off any portion that you do not want to paint (reverse lights)
Step 6
Spray Red Anodized Look Paint (Wal-Mart or Auto Parts Store) or Candy Apple Red Paint (Hobby Store) in thin coats, follow the directions on the can.
Step 7
Sand with 800 grit wet sandpaper between each coat.
Step 8
Spray clear coat for protection, or have tail lights professionally clear coated for best results.
Tinting
Follow same steps as redding out, but use VHT Niteshades (eBay, Summit Racing). Do not tint reverse lights because it will reduce night time visibility when backing up.
To remove raised lettering, use a flat razorblade.
Rewiring (Baed on 1st Gen SLx)
*Do Not Change Any of the Ground Wires
The rear lights are positively switched.
I chose to use the thin strip on the bottom of the tail light as the parking lights and turn signals (after redding out). The upper portion remains the brake light only. I wired the small 194 bulb in the corner to blink with the turn signal.
The original turn signal bulb is a single filament, so it can only serve one function. I took a dual filament socket and shaved the tail light housing with a rotary toll so it would fit the 1157 bulb hole.
Colors:
Brake: blue Parking: brown Turn Signal: yellow
Custom Paint
I took my tail lights to the local body shop with a design that I drew, and had them color match the tail lights to my car.