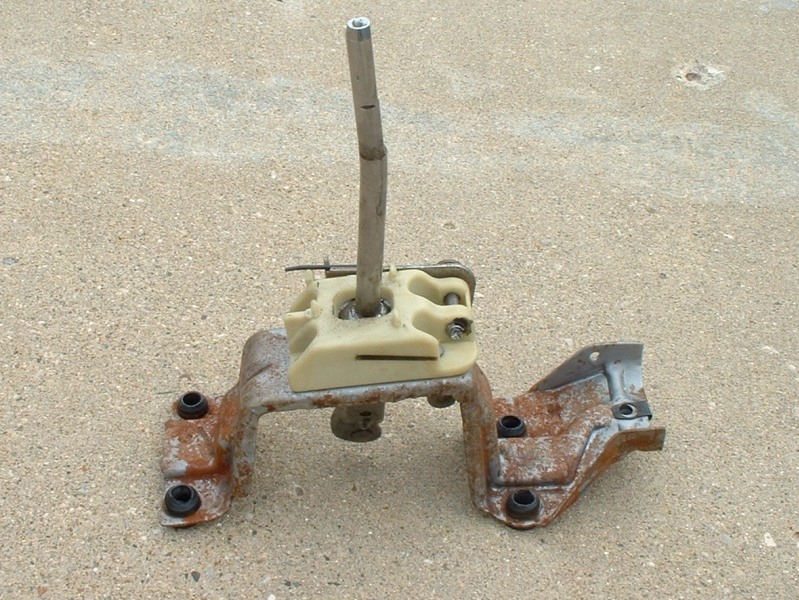
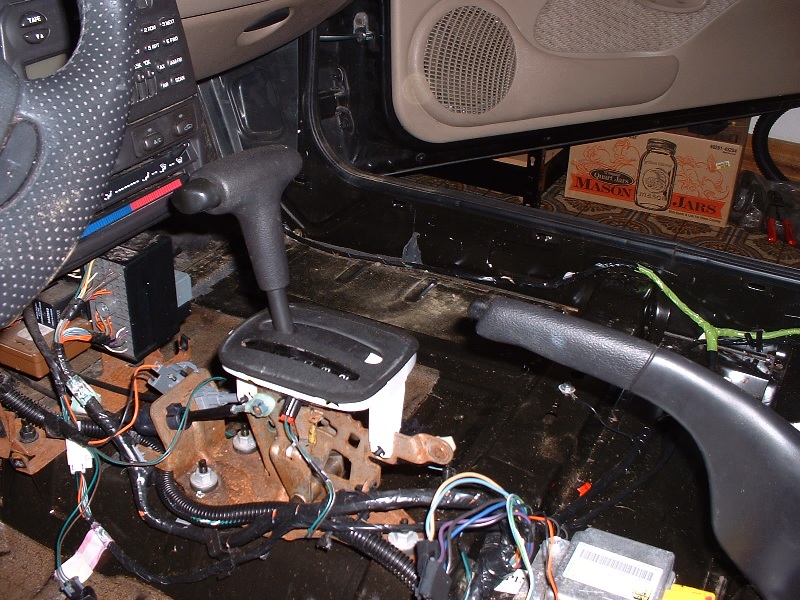
This is a way to get a shorter shifter, somewhat reducing the distance of the throws between shifts. This is not a true short shifter, which would move the fulcrum (pivot) point of the shifter to more greatly reduce the travel, but is a cheap way to get a shorter shaft and the look of a short shifter.
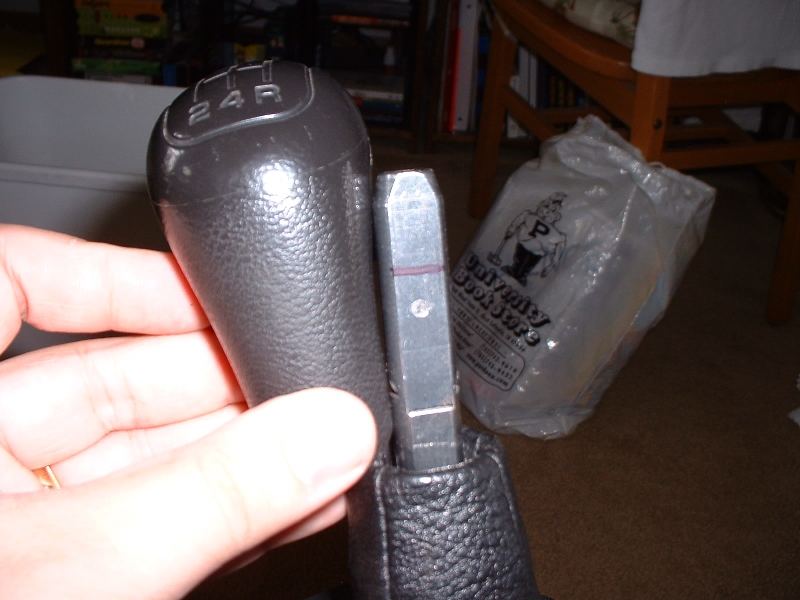
In my case, it was a way to get rid of the huge gap between the stock shift boot and my aftermarket shift knob. After the modification, I am still able to install the stock knob and it looks and acts just like an unmodified stock shifter.
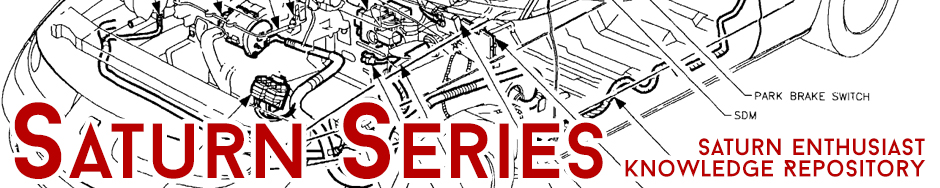
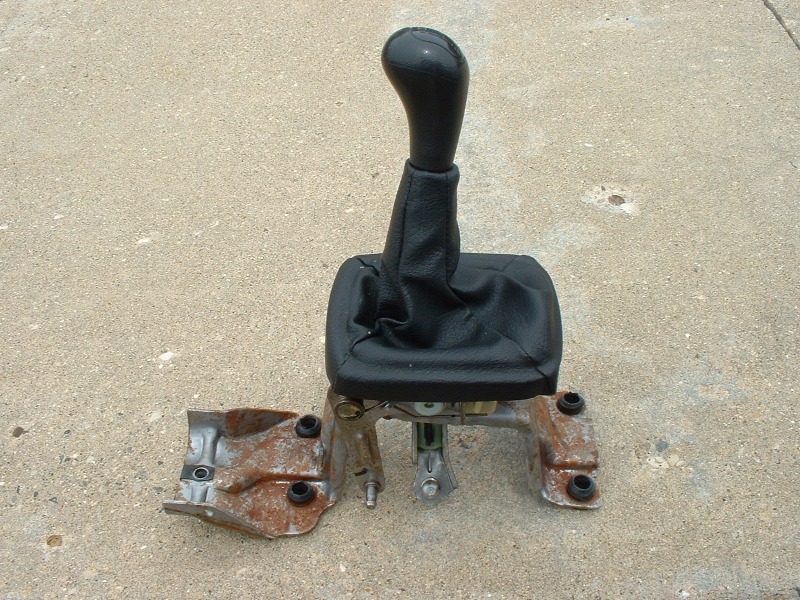
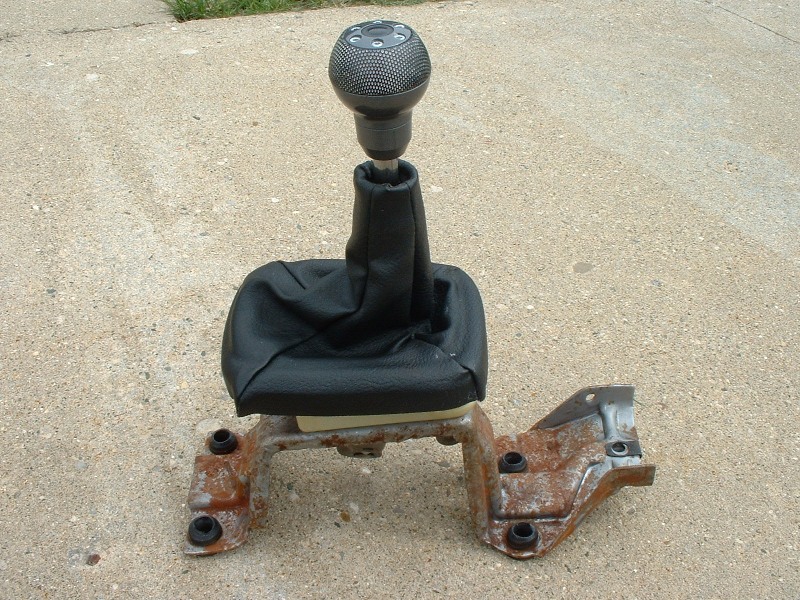
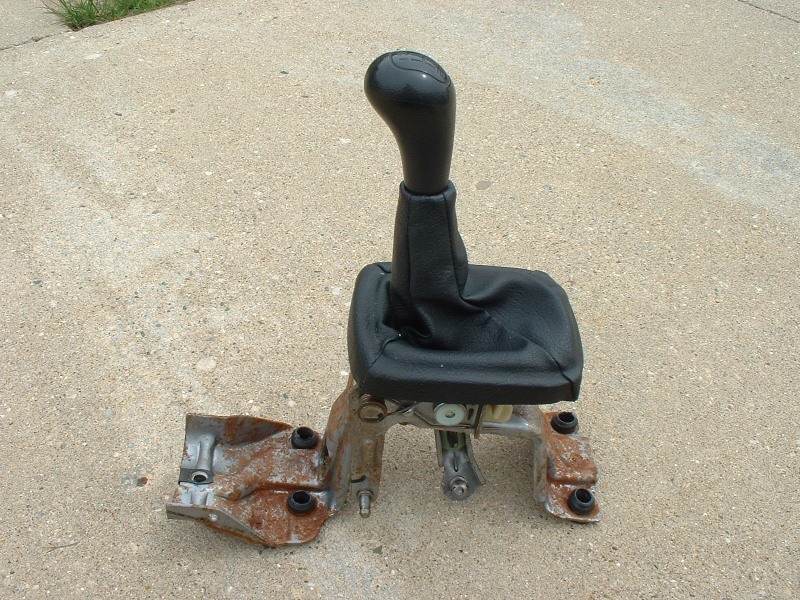
You can see below how the stock and aftermarket knobs looked on the shifter before the modification. Notice the nasty gap with the aftermarket knob.
Relevant Models
All S-Series with manual transmission
Tools
Ratchet 10mm socket 13mm socket (might require deep socket?) Needle-nose pliers Large pliers (slip-joint pliers work well) 2 flat-head screwdrivers Something to cut hard metal with (Dremel, Reciprocating saw, etc.)
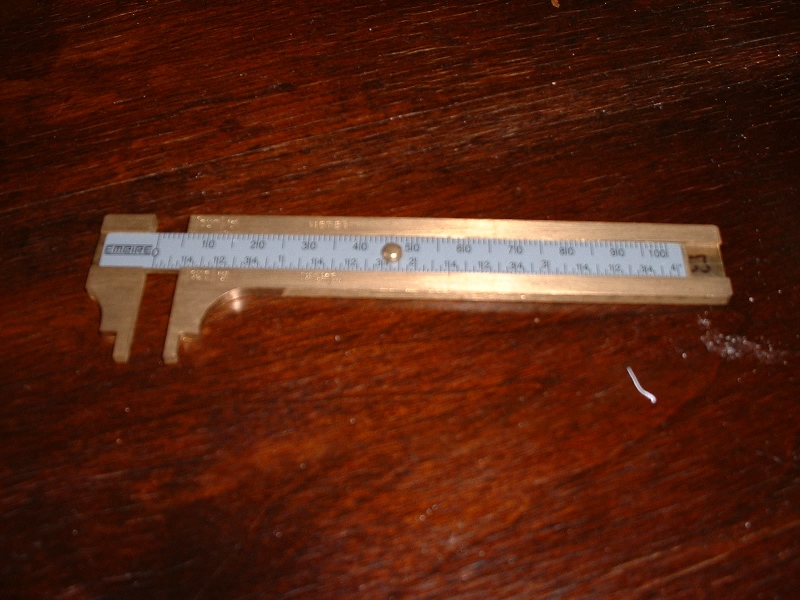
Figure out where you want to cut it. I took as much off of mine as I could without having to modify the shaft or boot and be able to use the stock boot with my aftermarket knob. I just wanted to get rid of the gap between the aftermarket knob and the stock boot, and I wanted to be able to revert to the stock knob if needed. For me, this meant cutting about 19mm off the shaft.
I placed the stock boot and the aftermarket shift knob on the shifter assembly, and measured the distance between with a slide caliper.
Step 3
Mark your cut. A sharpie works well. If you’re trying to use a knob like mine, be sure to leave a couple mm for the set screw cover to slide down a bit so you can tighten/loosen the set screws. It will leave a little wiggle in the boot when you’re done, but it’s a necessary evil. Once I marked my cut, I checked how much shaft would still be inside the stock knob. Plenty left.
Step 4
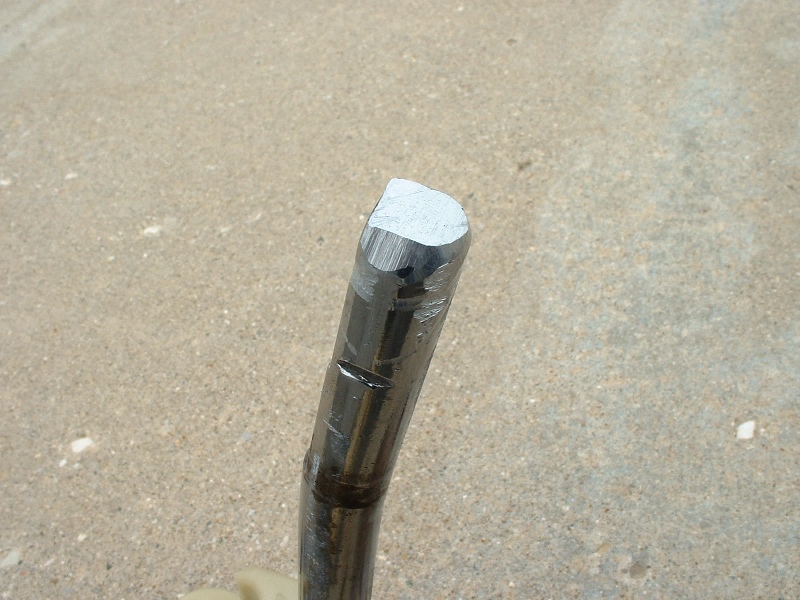
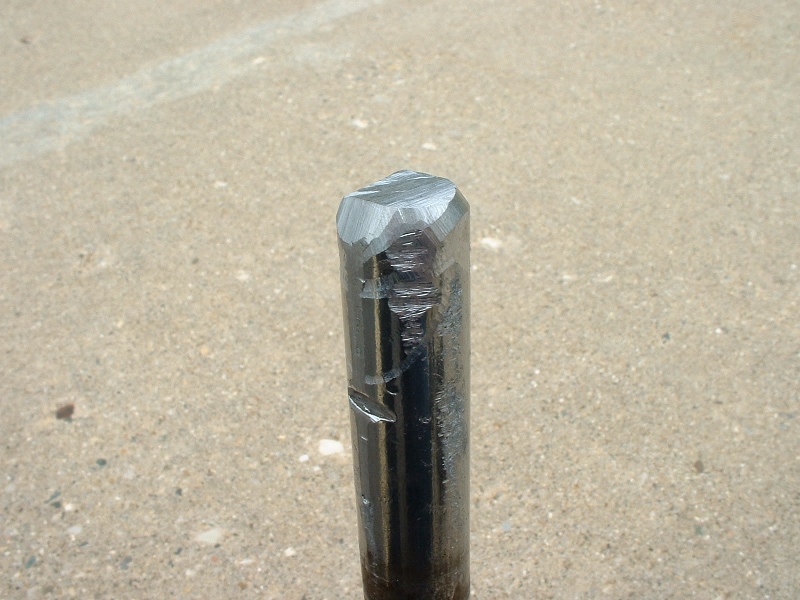
Cut. Many people use a Dremel rotary cutting tool. I used a Dremel at first, but it was taking too long, and I like overkill, so I grabbed my Milwaukee Super Sawzall & “the torch” metal cutting blade. Took care of that really quick (though it would’ve been quicker if I had a vice…) After chopping the tip off, I used the Dremel again with a metal shaving bit and smoothed out the end. A test fit of the boot and aftermarket knob proved that it worked very well. A test fit of the stock knob… not so well.
Step 5
Taper. When I test-fit the stock knob, it refused to go on. Then I realized that the end I just cut off had a taper on the end that helped push the clip in the stock knob outward, and my chopped shaft didn’t have the taper. Out came the Dremel again, and I shaved a taper to it. With the taper, the stock knob again would go on and click right into place.
NOTE: the metal shavings that come off when using a Dremel & metal shaving bit are NASTY LITTLE METAL SPLINTERS. Have a change of clothes and some tweezers handy for when you get done, because they will be everywhere.
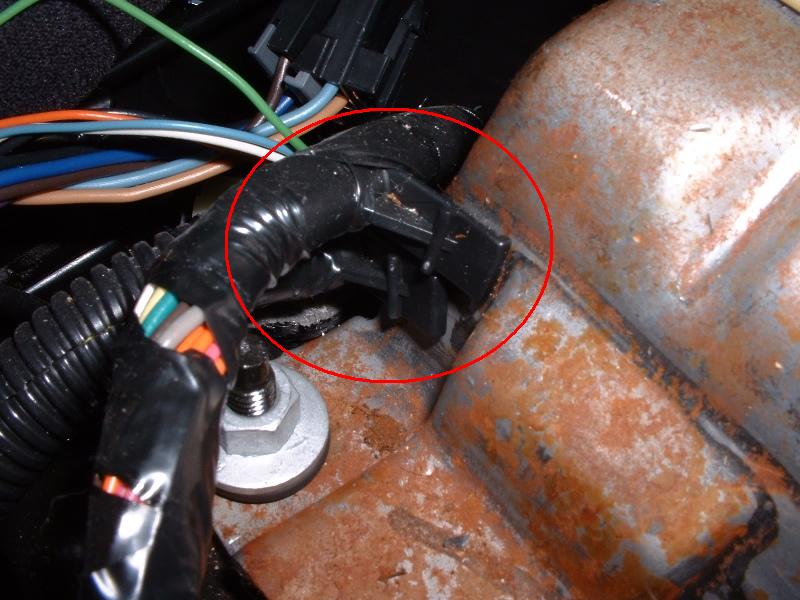
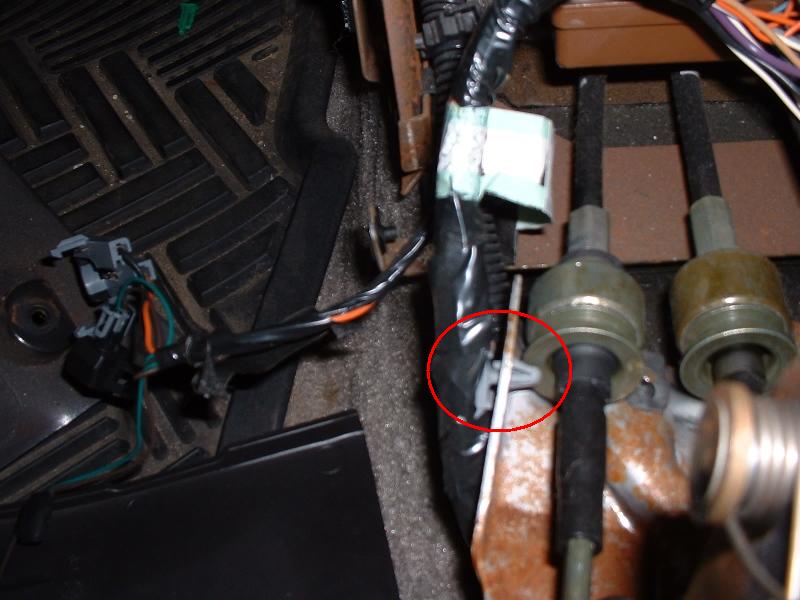
Remove the cable guide. You might be able to do this with your fingers, but have a flathead or something around in case you need it. It just clips in – pop it loose from the inside and slide it off.
Step 6
Remove the cable bracket. Use the 10mm socket to remove the bolt and bracket.
Step 7
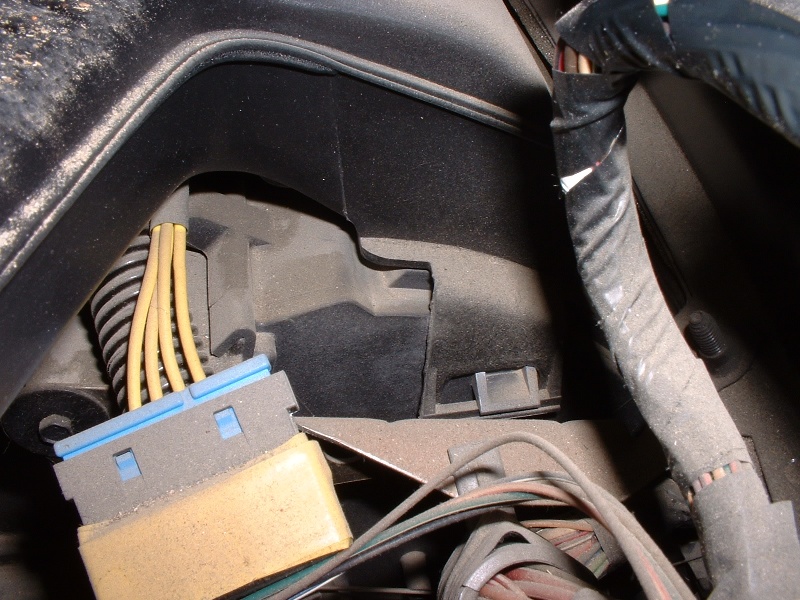
Remove the attached wires. On mine there were 3 sets of wires that were mounted to the shifter. You’ll want to pop these free so you don’t have to wrestle with them later. They’re tough to get out without somewhat boogering them up, but it’s not really a problem if you do booger them a bit. I just grabbed ahold with needle-nose pliers and pryed them out. 2 of them are mounted on the rear of the shifter, the 3rd by the cable bracket you just removed in step 6.
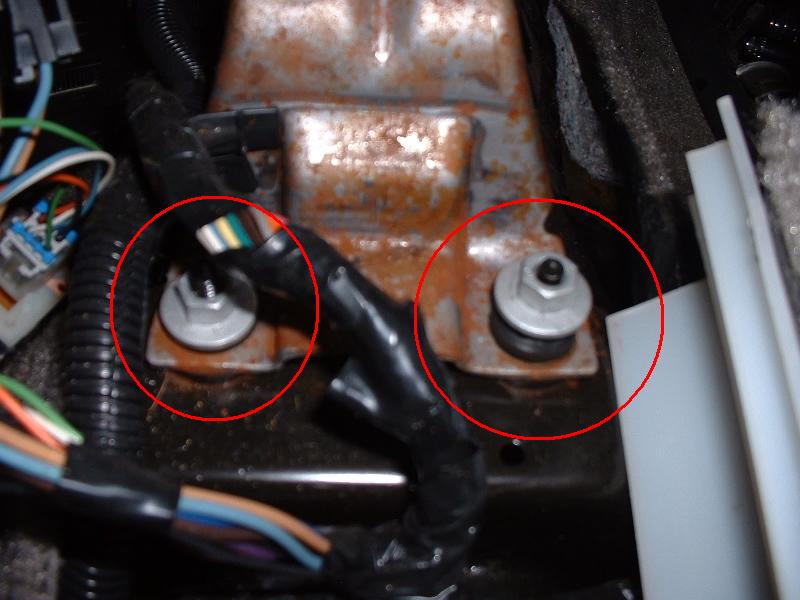
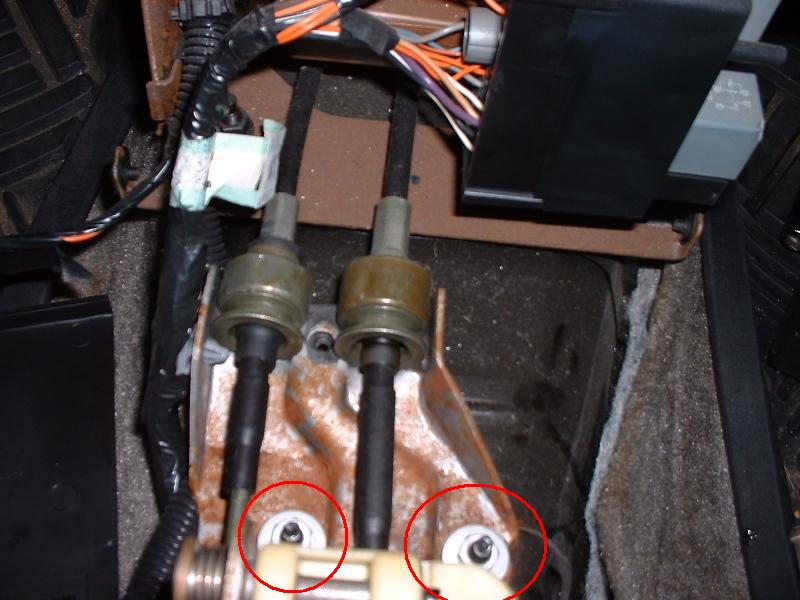
Step 8
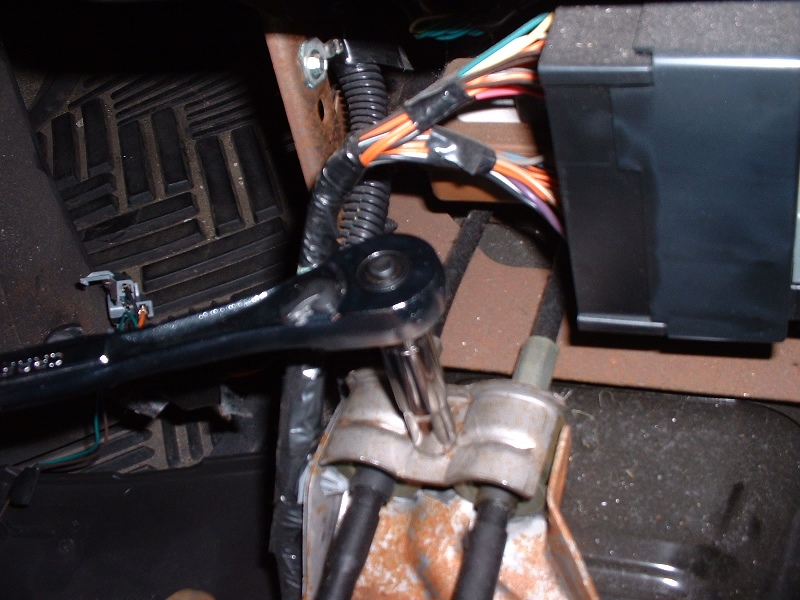
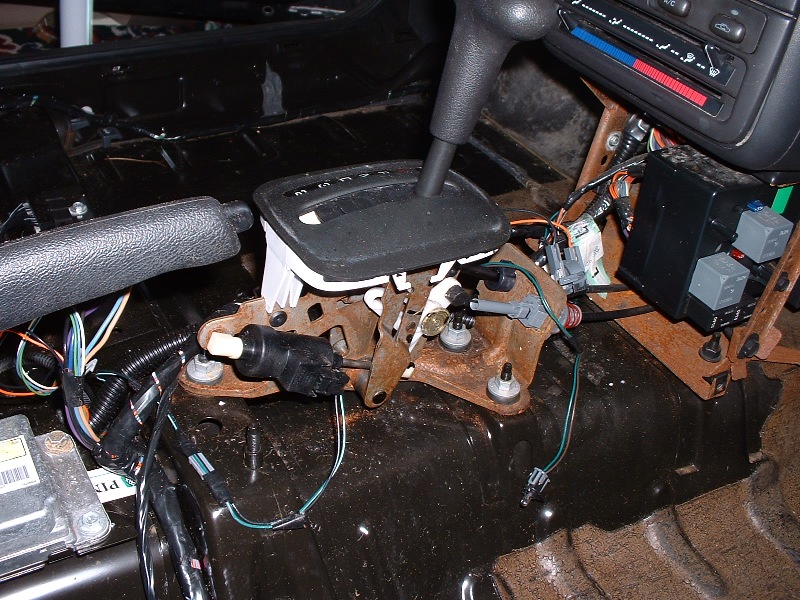
Remove the 4 nuts holding the assembly down. Use the 13mm socket to remove them. This might require a deep socket, I’m not sure.
Step 9
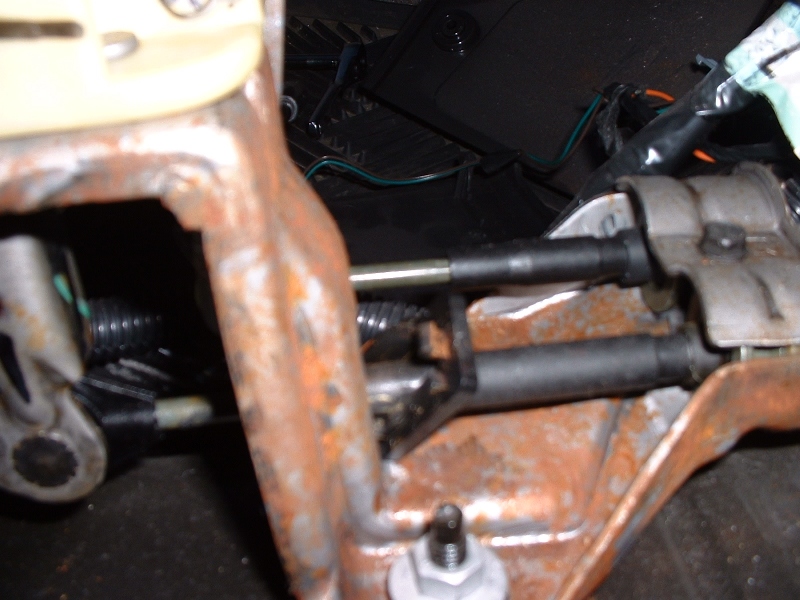
Lift the assembly off the bolts and lay it on its side so you can see the cables. At this point, the 2 cables should be all that’s attached to the assembly.
Step 10
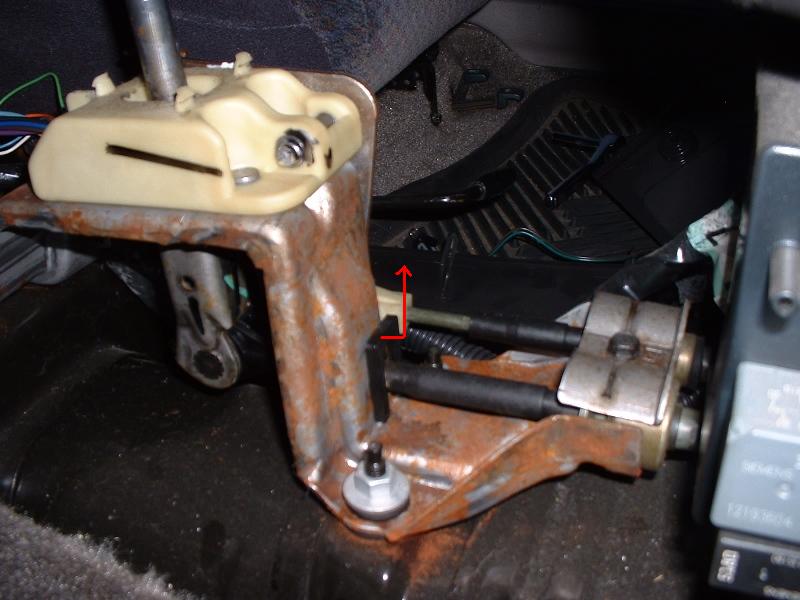
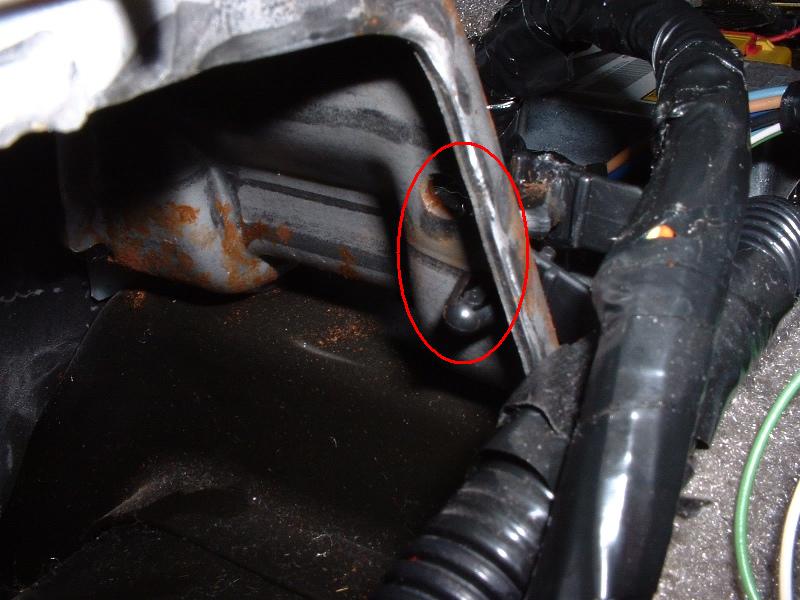
Remove the outer (selector) cable. Wedge 2 flathead screwdrivers (larger flatheads are better) under each side of where the cable mounts, and twist the screwdrivers to pop the cable free.
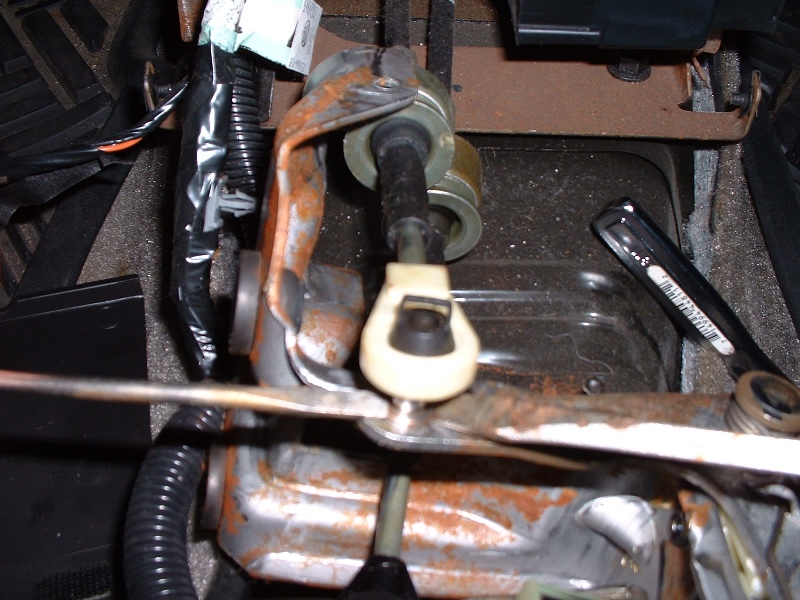
Step 11
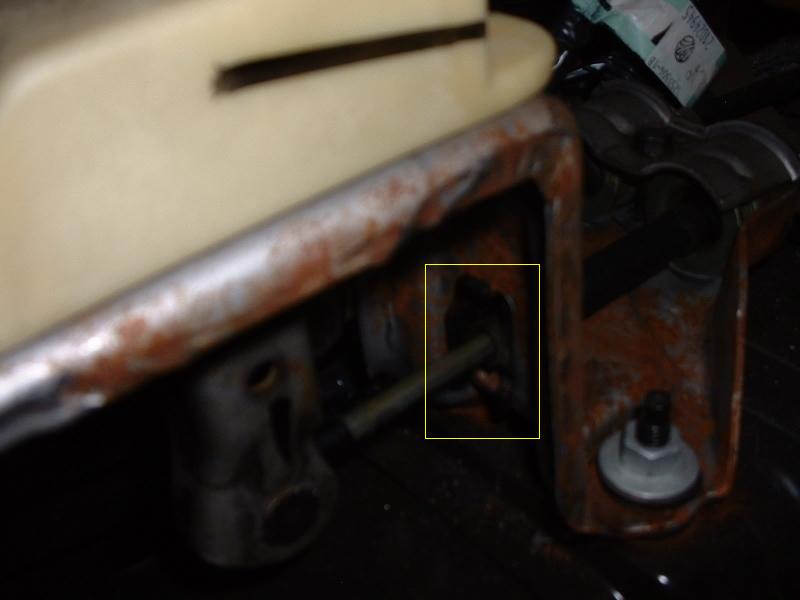
Remove the inner (shifter) cable. Use the large pliers to firmly grasp the cable clip and rotate it so it rolls off the ball it’s on and pop it free.
Installation
Installation is pretty much reverse of removal. When you go to re-attach the cables, the inner one is easiest to re-attach with some really big pliers, and just squeeze it back on. The outer one is similar, but much easier – I think I snapped it back on with my hands – no tools.
Sorry, this is just a placeholder post – we need someone to build this guide! Click the button above if you’d like to contact us about building & submitting this guide.
Sorry, this is just a placeholder post – we need someone to build this guide! Click the button above if you’d like to contact us about building & submitting this guide.
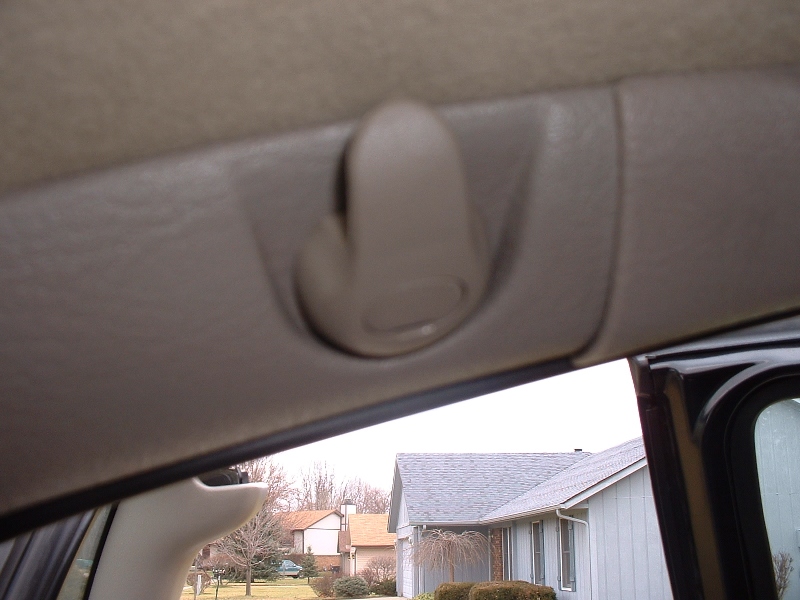
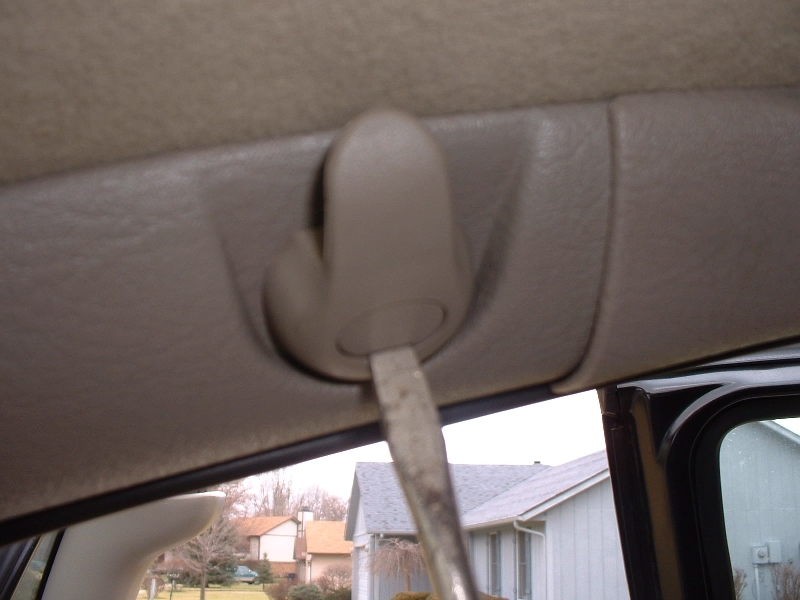
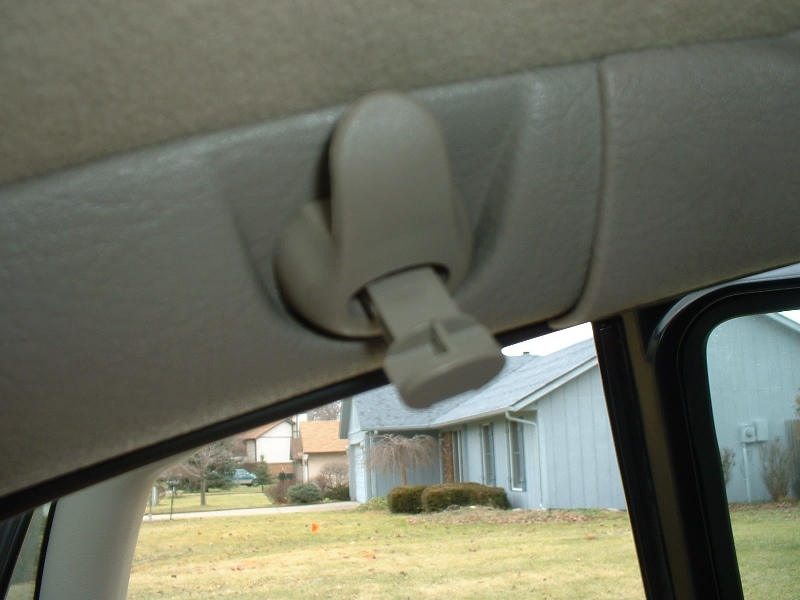
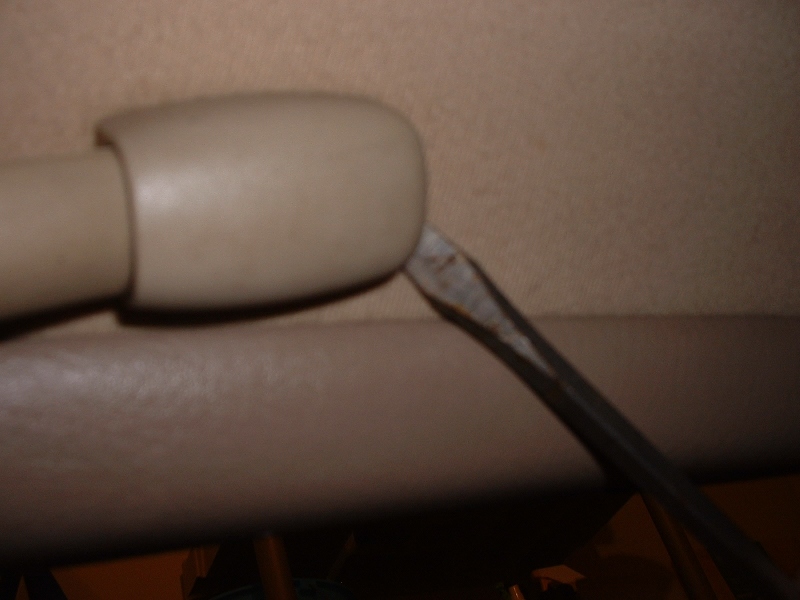
Pop the end covers loose. Put the flathead screwdriver behind them, and pull outward (can’t really pry against the headliner, so you mostly just have to pull. Don’t whack yourself in the face) Once the covers are loose, slide them to the middle of the handle.
Step 2
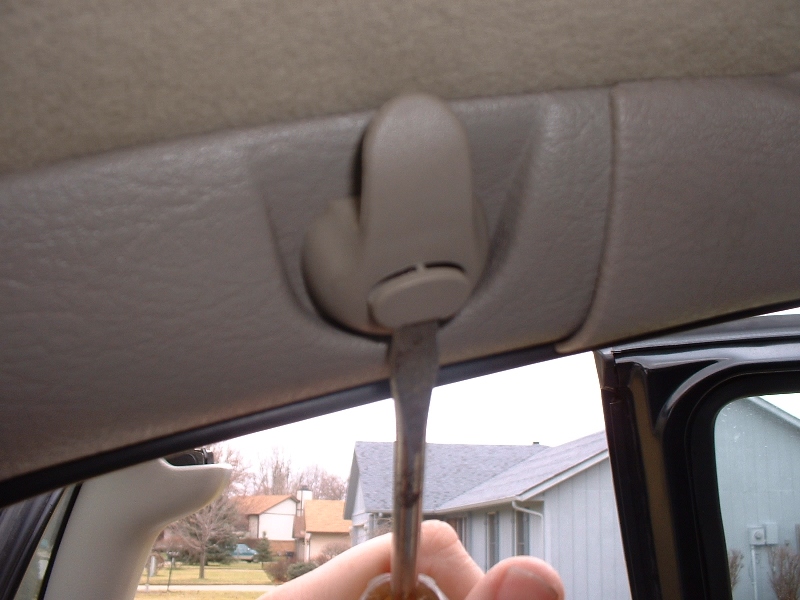
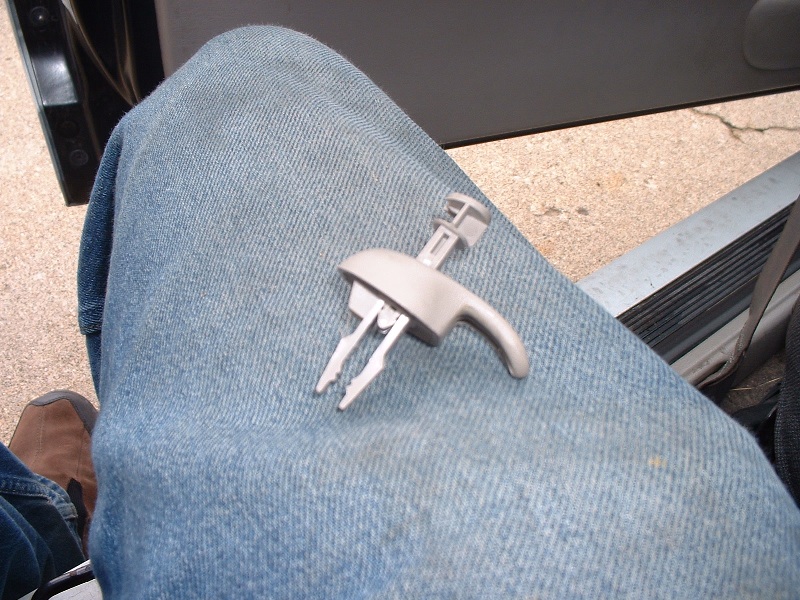
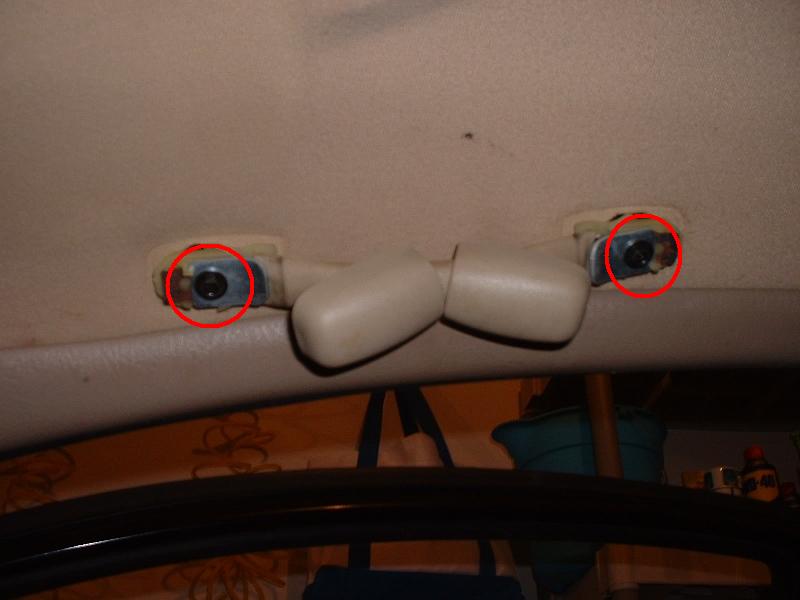
Loosen the 2 screws. Use the 7mm socket & ratchet to loosen them (normal thread direction). Once they’re loose, the handle should come free.
Installation
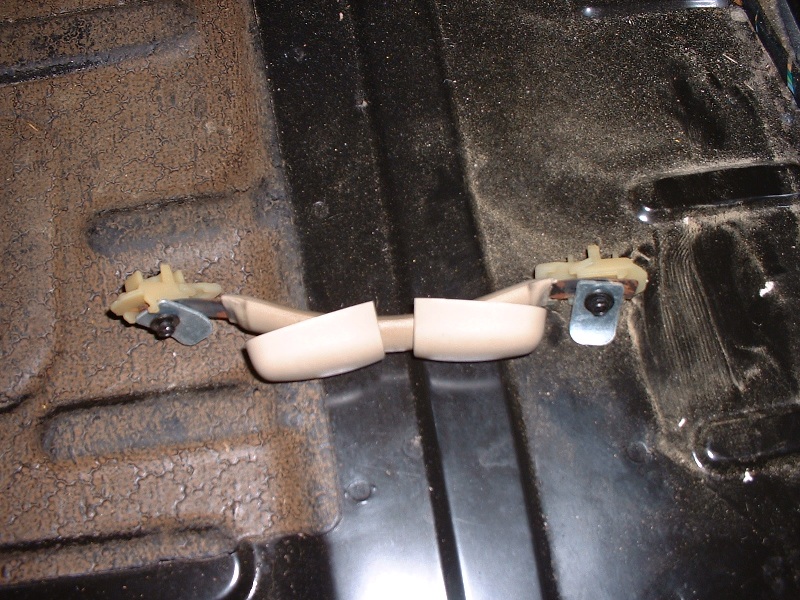
Installation is basically the reverse of removal, unless the backing plate comes loose. The backing plate is a thin metal plate between the headliner and the roof, which will normally stay in place if you don’t remove the headliner, but will likely fall off if you do remove the headliner. It has notches in it that line up with parts of the plastic end pieces, which you can see in this picture:
It can be a bit awkward, but once you line up the notches in the plate and get the screws started, everything will stay put.
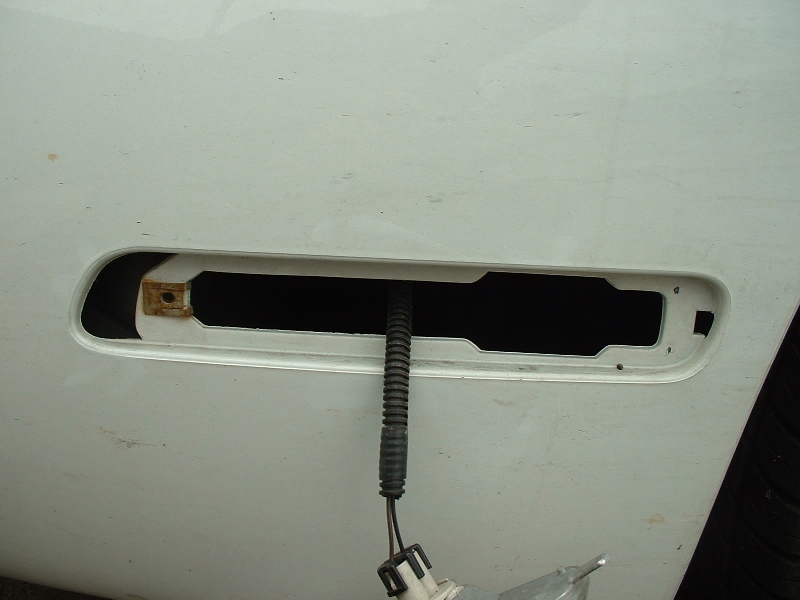
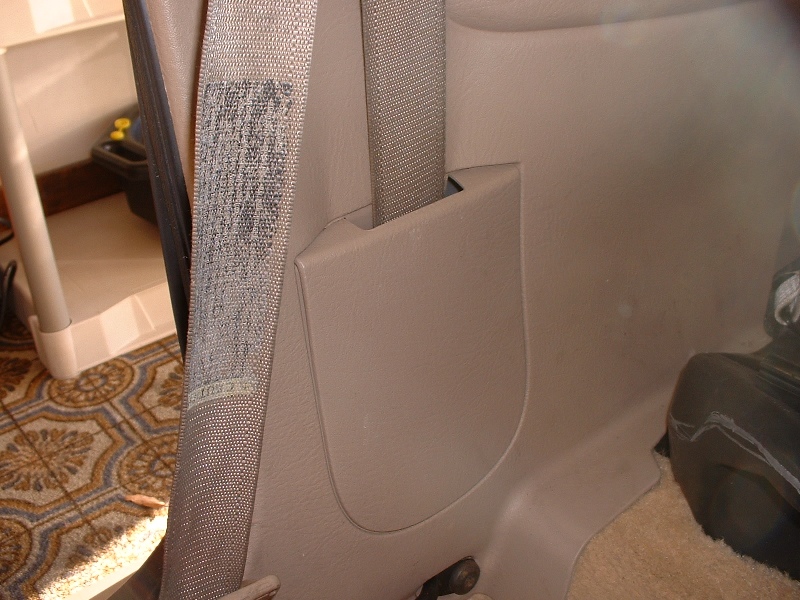
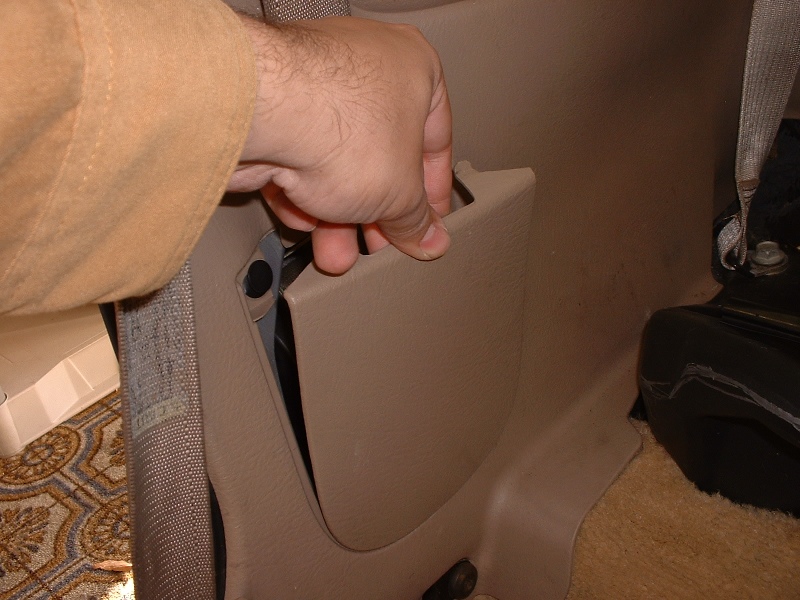
Remove seatbelt reel cover. Grab the top of the cover, and gently pull out.
Step 8
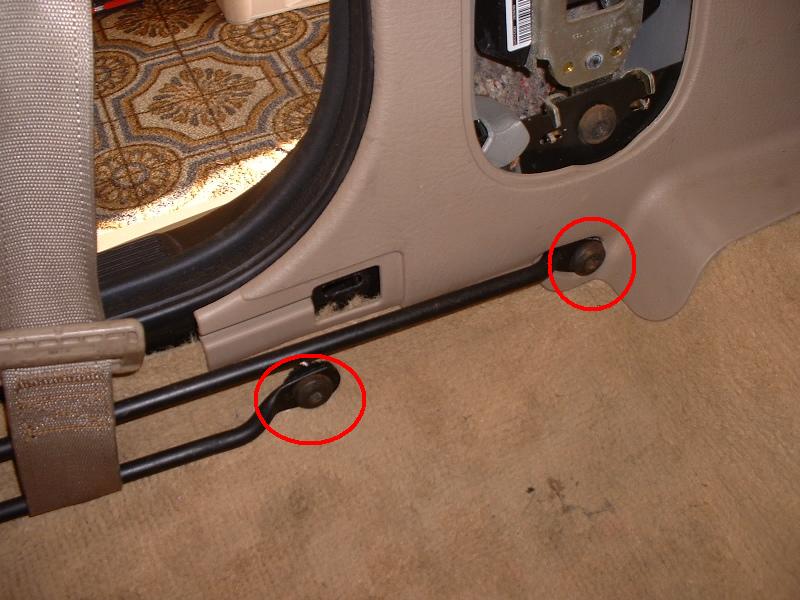
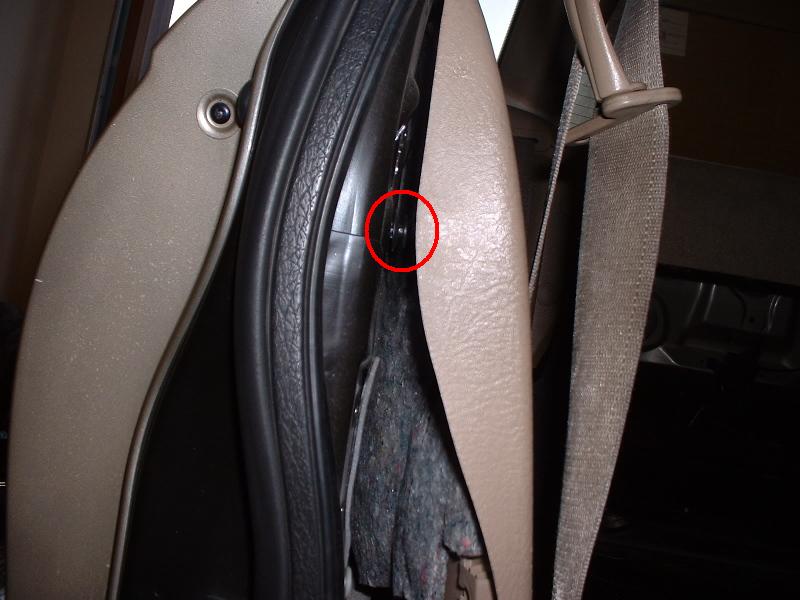
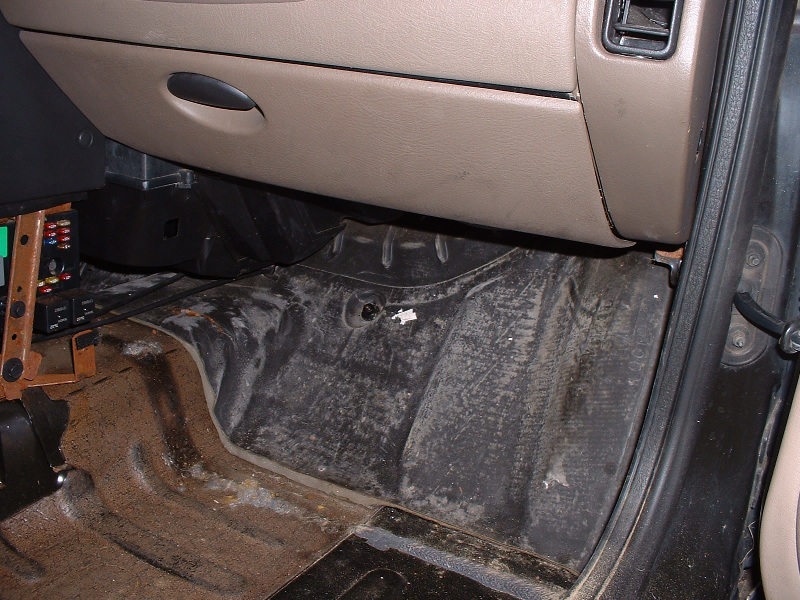
Loosen the passenger side trim. Unfortunately, this is where Saturn used some annoying body trim mounting pieces that are frustrating to work with. The first one is behind the seatbelt reel cover you removed. I was able to just slide the panel loose from it without actually removing the plastic peg. I may have to take it out for reinstallation, we’ll see.
The other one is behind the trim – pull gently out on the trim near the door opening and you should be able to spot it. Once you pull this one loose, the trim should be loose enough to remove the carpet.
Step 9
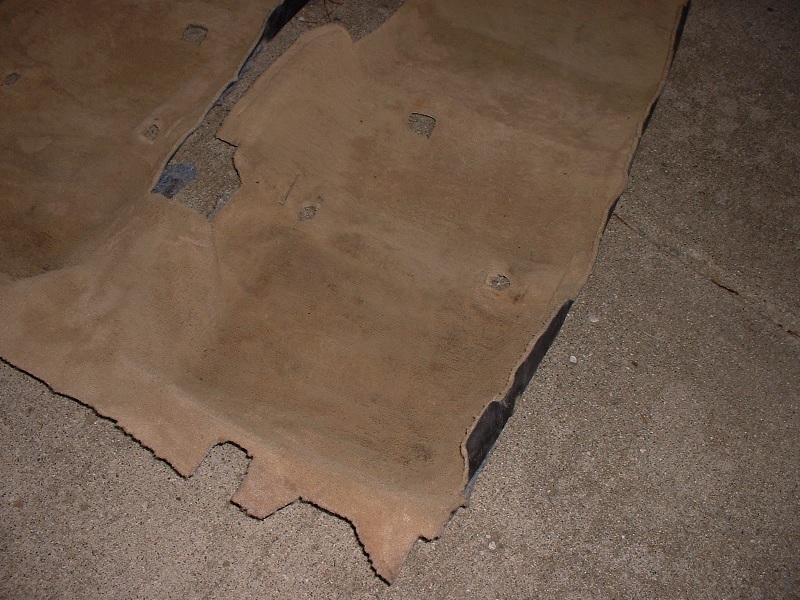
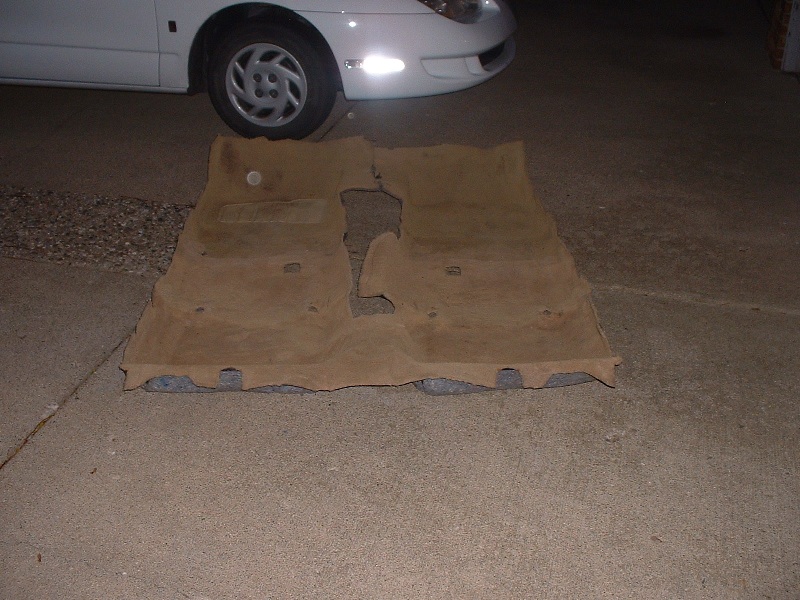
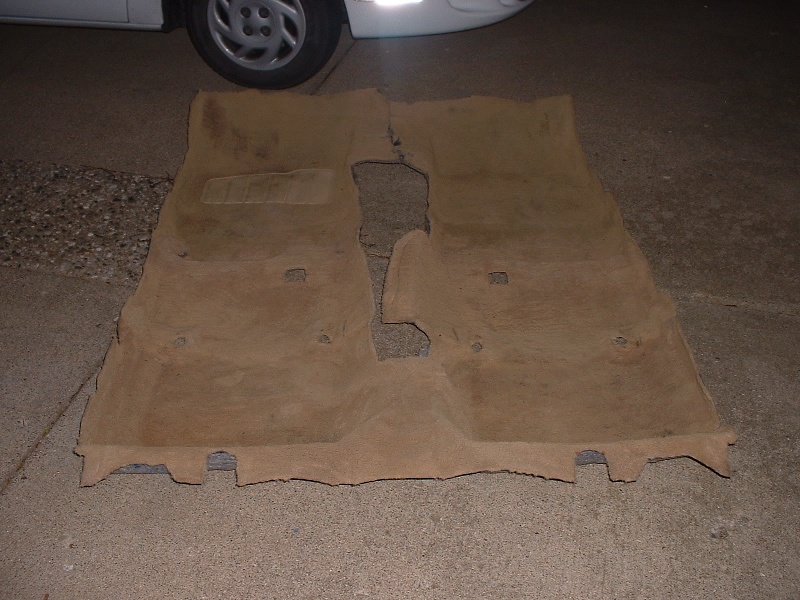
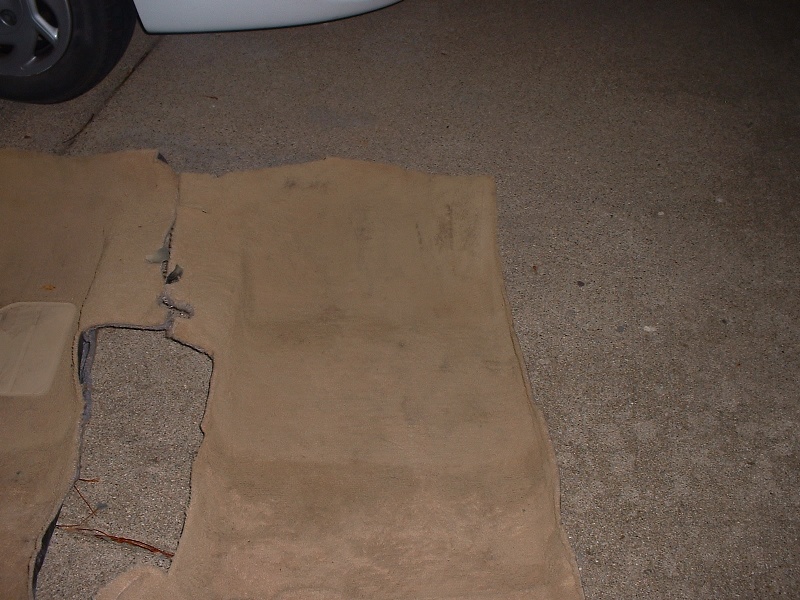
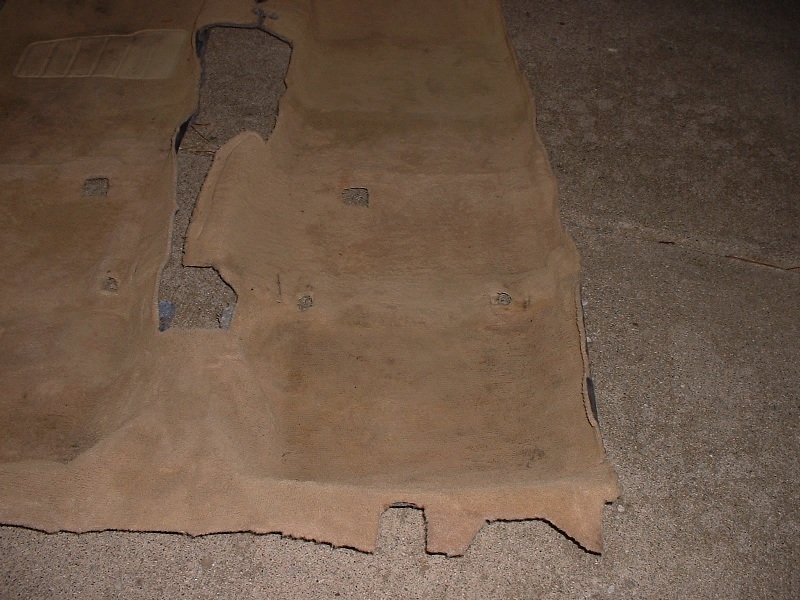
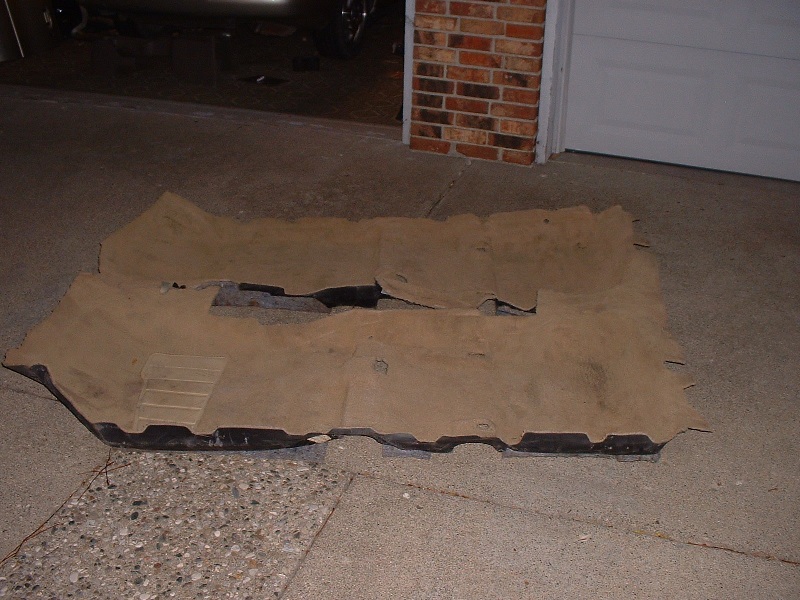
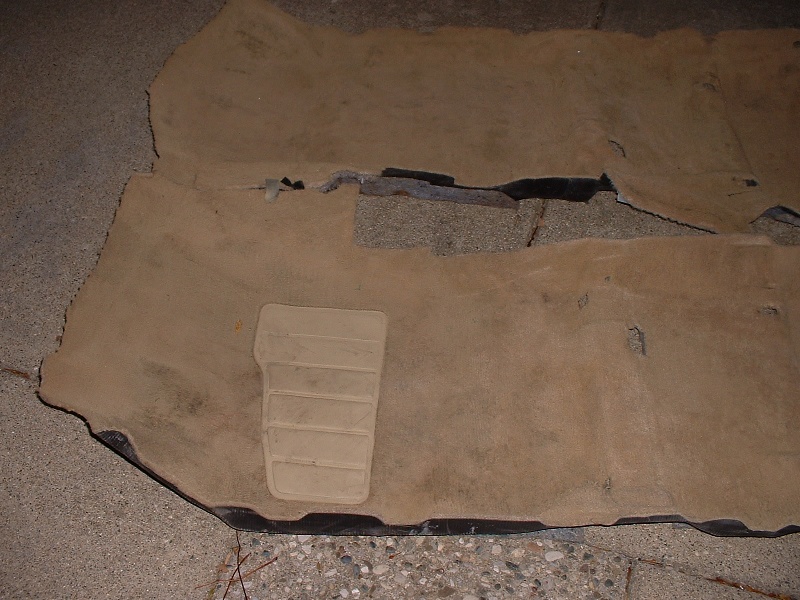
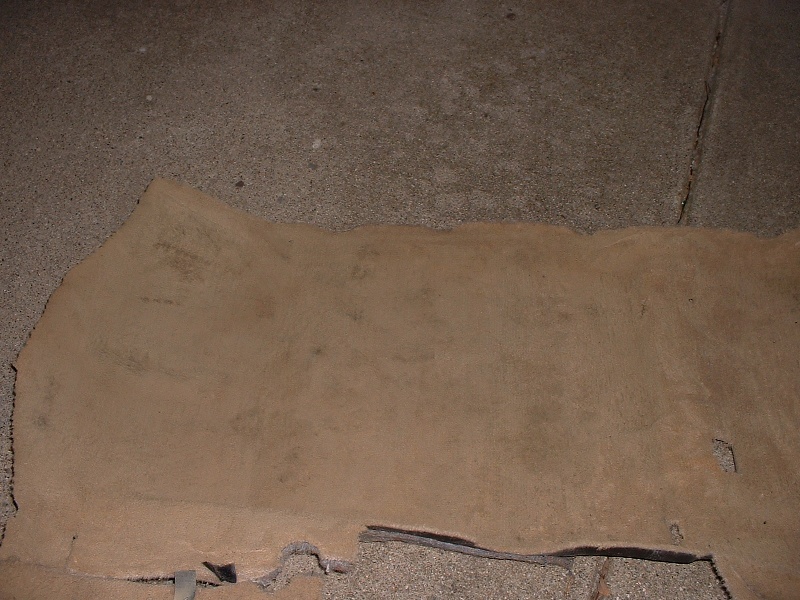
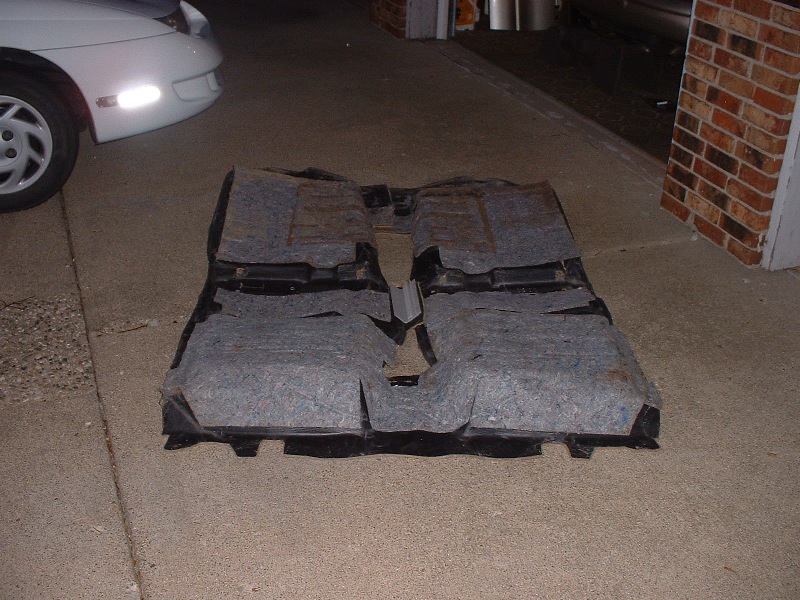
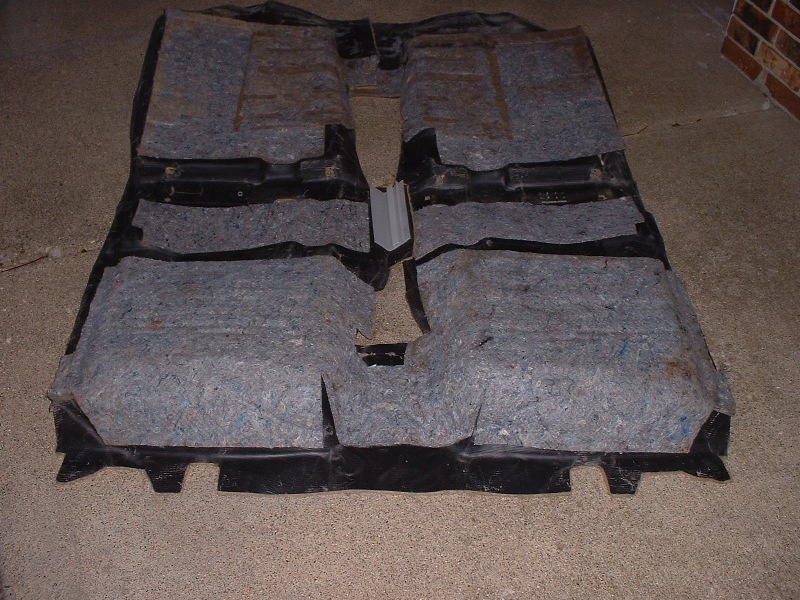
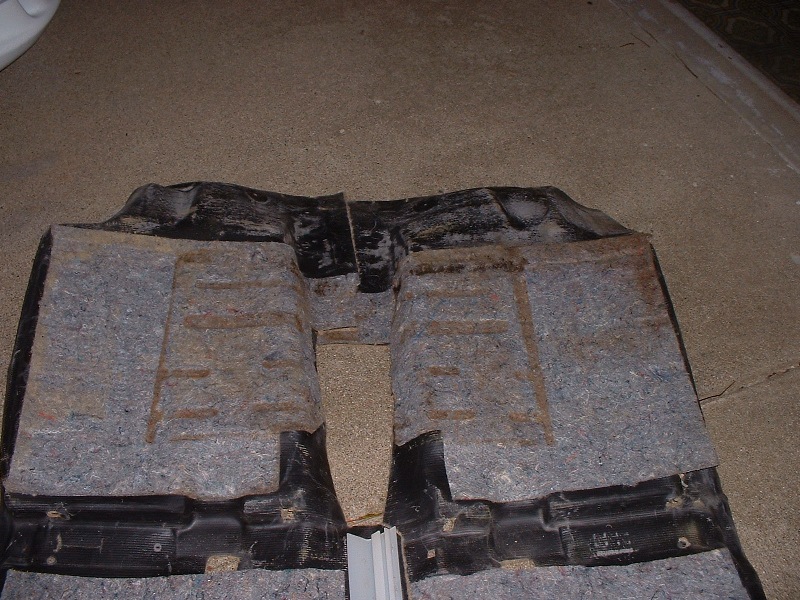
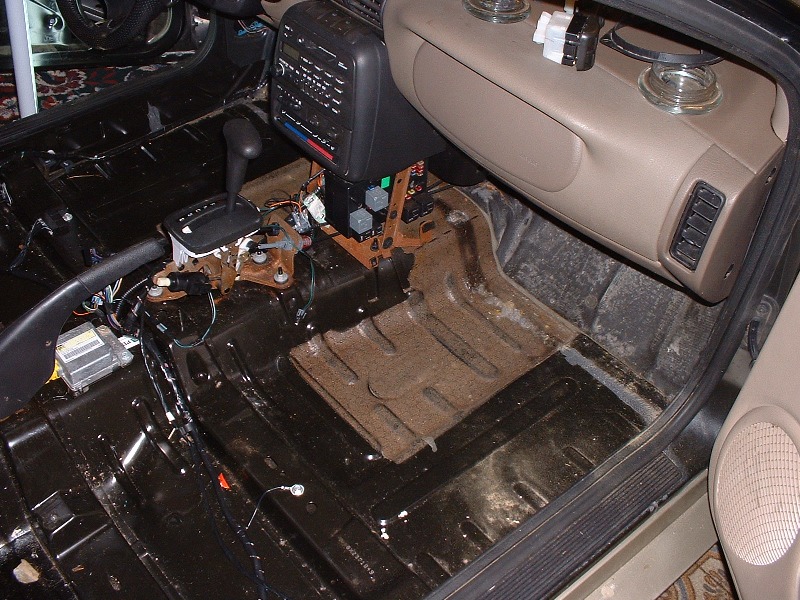
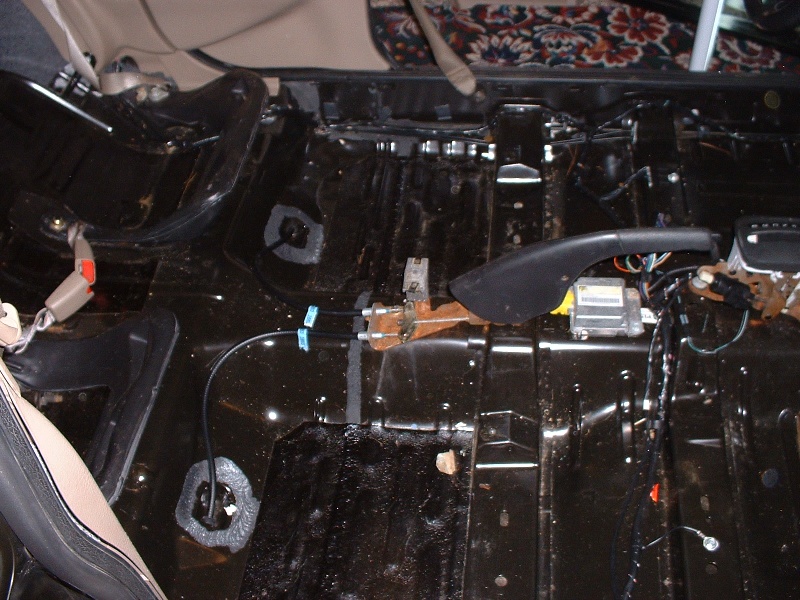
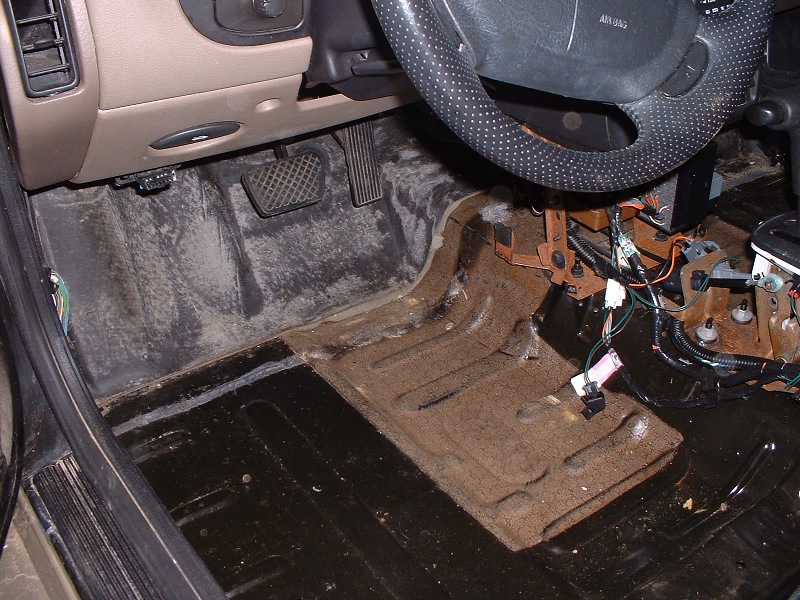
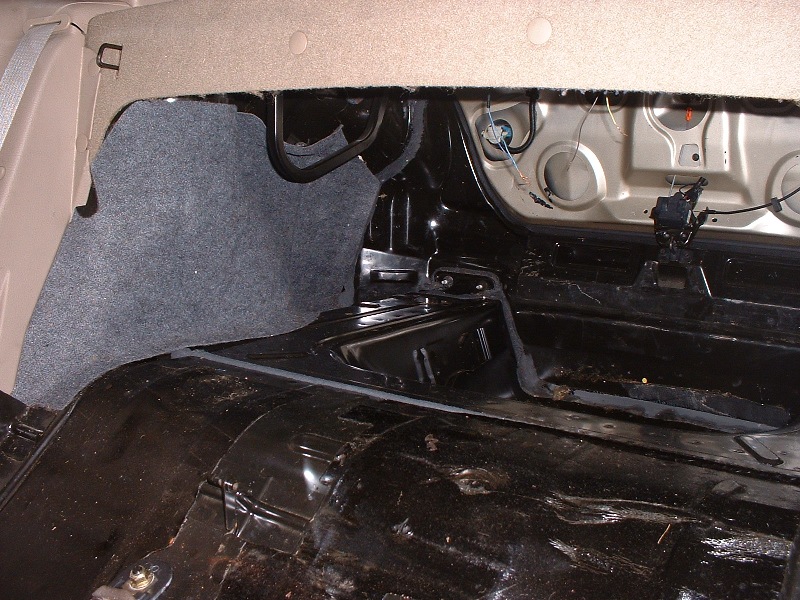
Remove the carpet. The carpet isn’t held down by anything except the trim pieces & seats you’ve removed, so at this point you just need to wrestle & fold it up until you can pull it out.
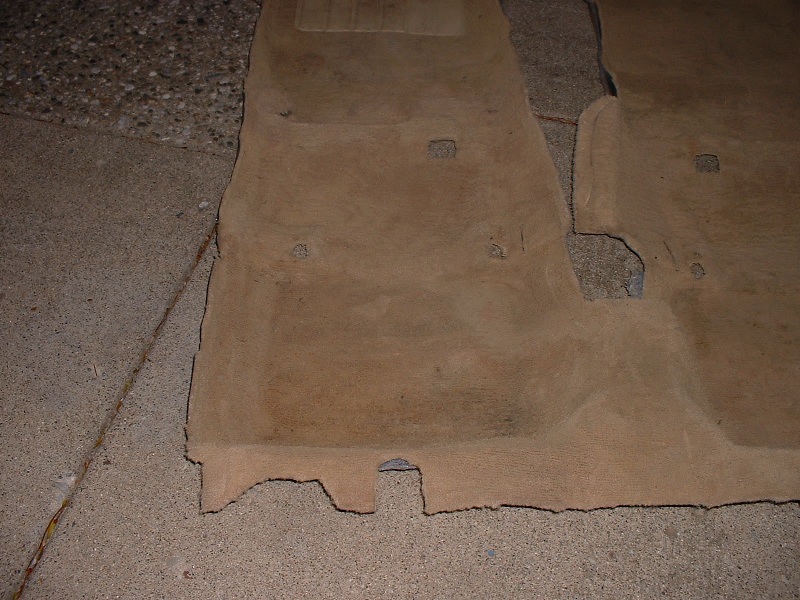
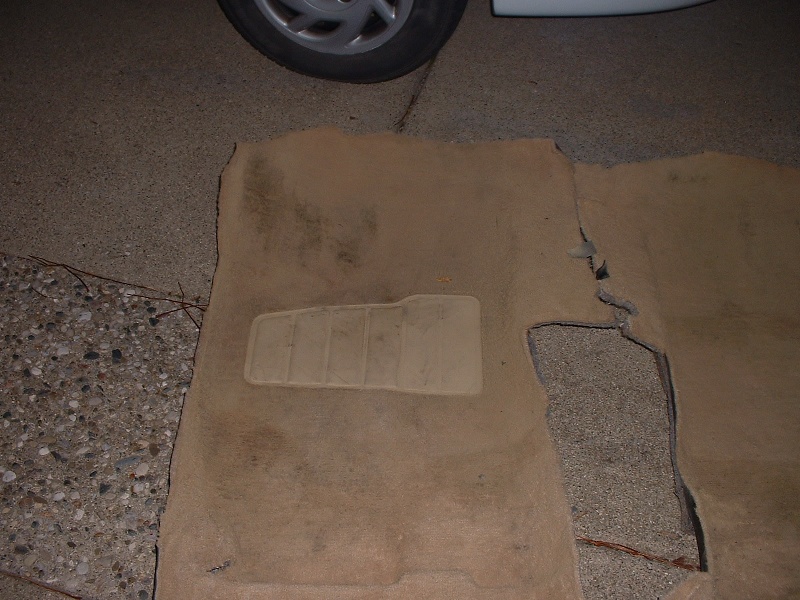
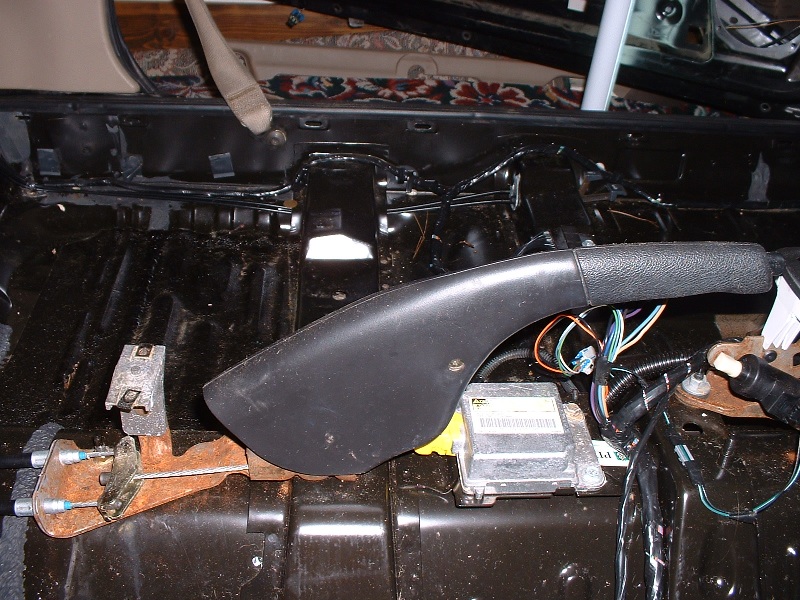
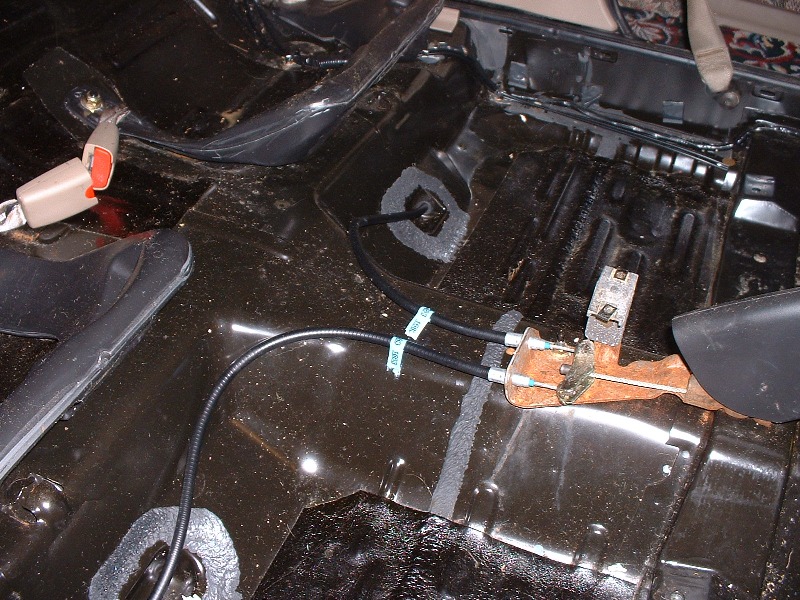
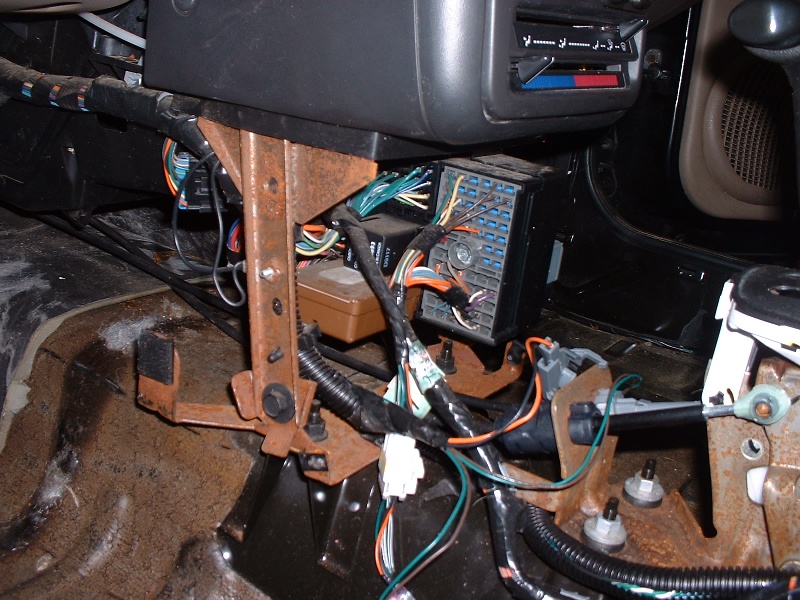
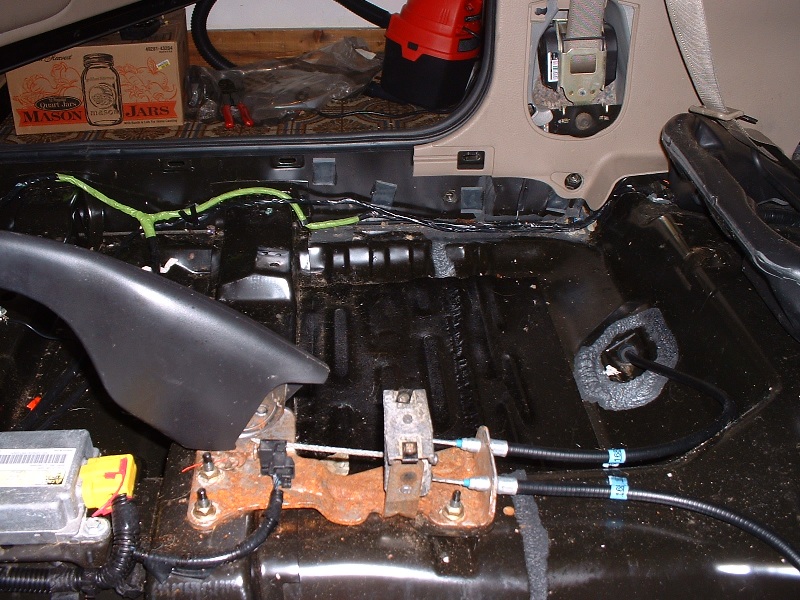
Here’s some pictures of the carpet removed, followed by pics of the largely bare interior:
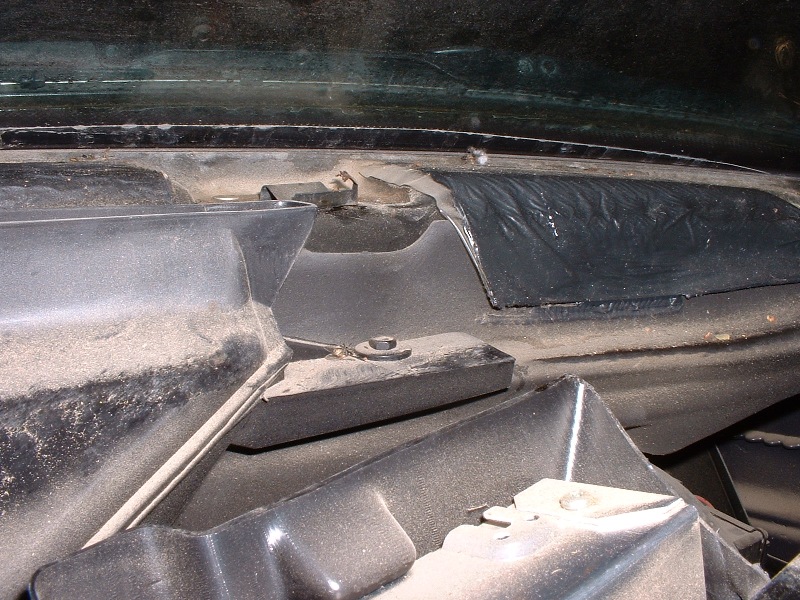
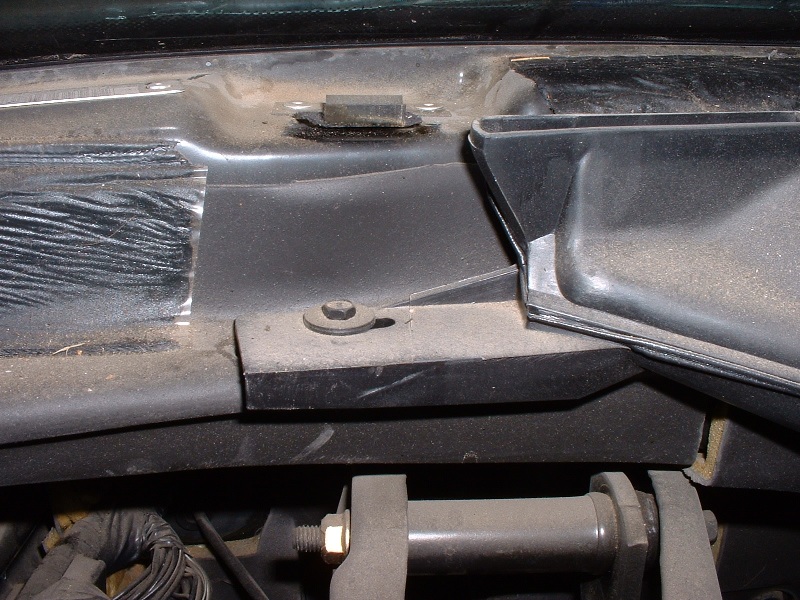
These are at the top of the duct by the windshield.
Step 3
Unsnap and remove.
It is held in place by snaps on each side. You can unsnap it with your hands. Start with the driver’s side, then wiggle it loose from the passenger side clip. I found I got the best leverage/angle from the passenger seat. You can see the snaps if you get out of the car and look through the windshield.